612.616.3296brad@rempeldesign.com
Sony A7R3 Initial Thoughts

So I recently jumped on the Sony bandwagon and purchased the new Sony a7r iii. I was in the market to replace my aging Canon 1D Mark IV with the 5D Mark IV. I own two Canon 1DX’s and I wanted a smaller travel landscape camera that I could still use for sports and remote shots if needed. Sony then released the a7r3 and it looked so amazing on paper I had to try it out. So after a lot of reading, educating myself and asking questions, I took the leap and made the purchase. I figured the worst case scenario is if I really hated the camera, I could sell it and still purchase the Canon 5D IV and not lose any money.

The Good, Bad, and Neutral:

Menus: The first adjustment to get used to is the menus. You’ve probably heard they are bad, cumbersome etc. I actually found it similar to the Canon and it just takes getting used to. Part of the issue is translating menu items from Canon to Sony and figuring out what things even mean. I’m so used to the Canon vocabulary that it was an adjustment figuring out what was what. One example on the Sony is “Swt. V/H AF Area”. I immediately have no idea what this even refers to until I read the manual and it’s the same as the Canon “Orientation Linked AF” (switches focus point when you move the camera from horizontal to vertical).  Once I figure out what the menu items mean, I think it’ll be easier to use.

Lightroom: I have to process images slightly different in Lightroom. Part of my sports workflow is to import images into Lightroom where I apply a general preset to all the images that’s specific to the venue I’m photographing at. For example I have a preset called “MN Wild 1250/3200/4.0”. I’ve found that the colors Canon produces are similar no matter what lens I’m using. I’ll use the 8-15 fisheye, 16-35 f/4, 70-200 f/2.8 and the 200-400/f4 and the preset gives me the desired output I’m looking for. When I applied the same preset to the Sony images, the images looked much warmer and “orange”. It’s not that the Sony images are wrong, I just have to make an additional preset for the Sony body. In my “Canon preset” I have my camera calibration set to “camera standard” and switching it to “adobe standard” seems to fix most of it with the Sony to match the output of the Canon. I also have to change the White Balance down from 5500k to 5250k and since I shoot RAW it’s an easy switch.


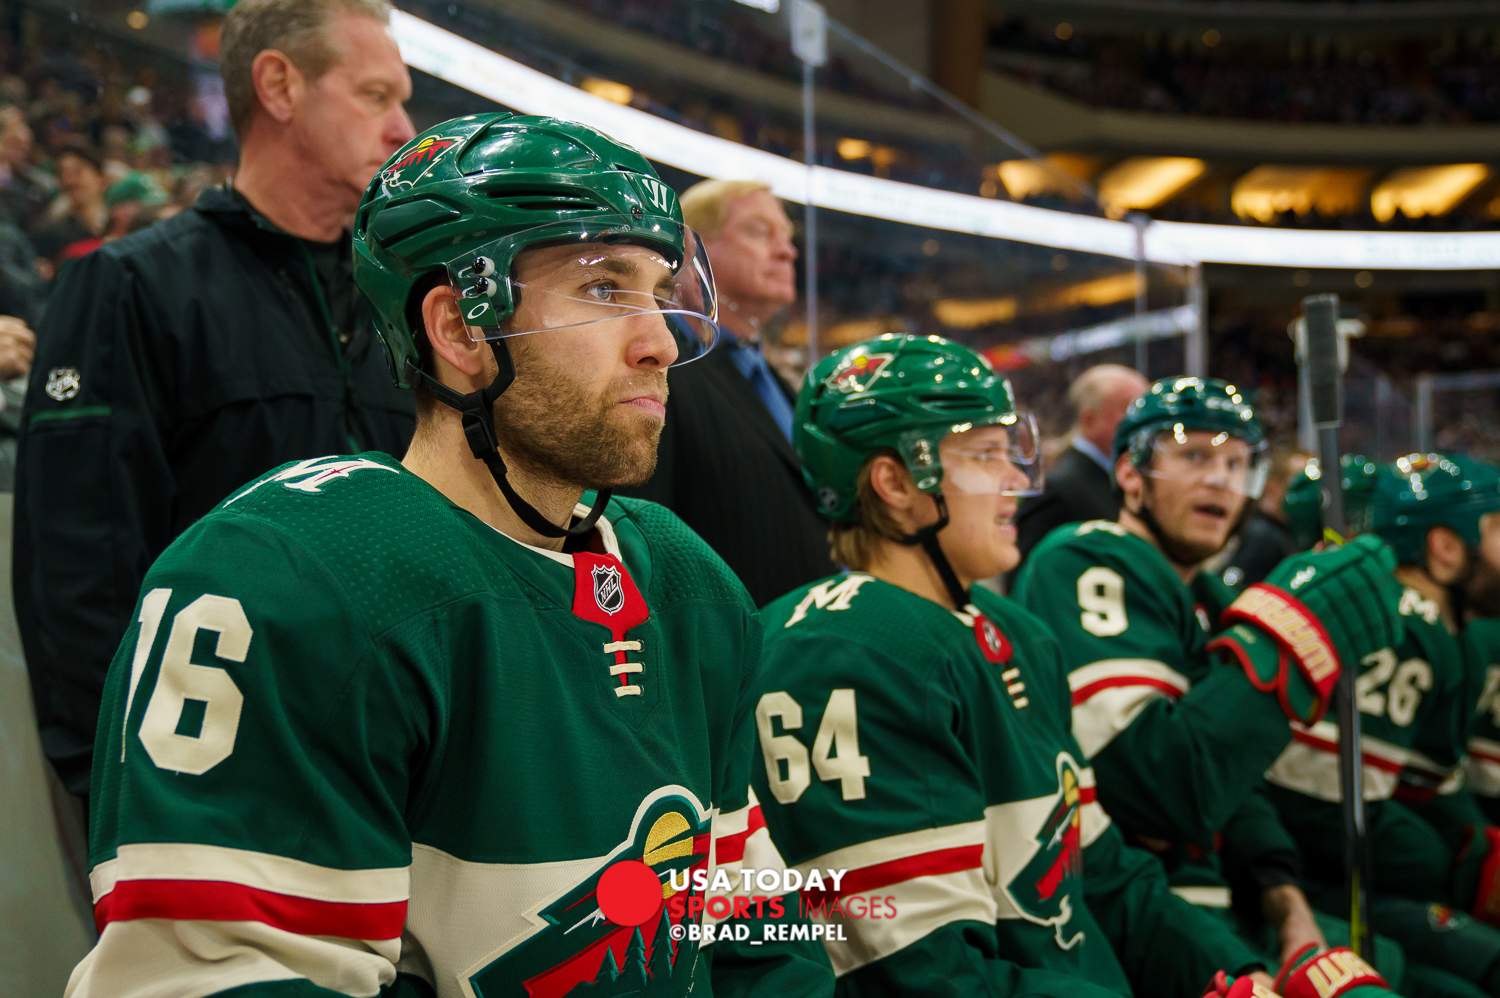
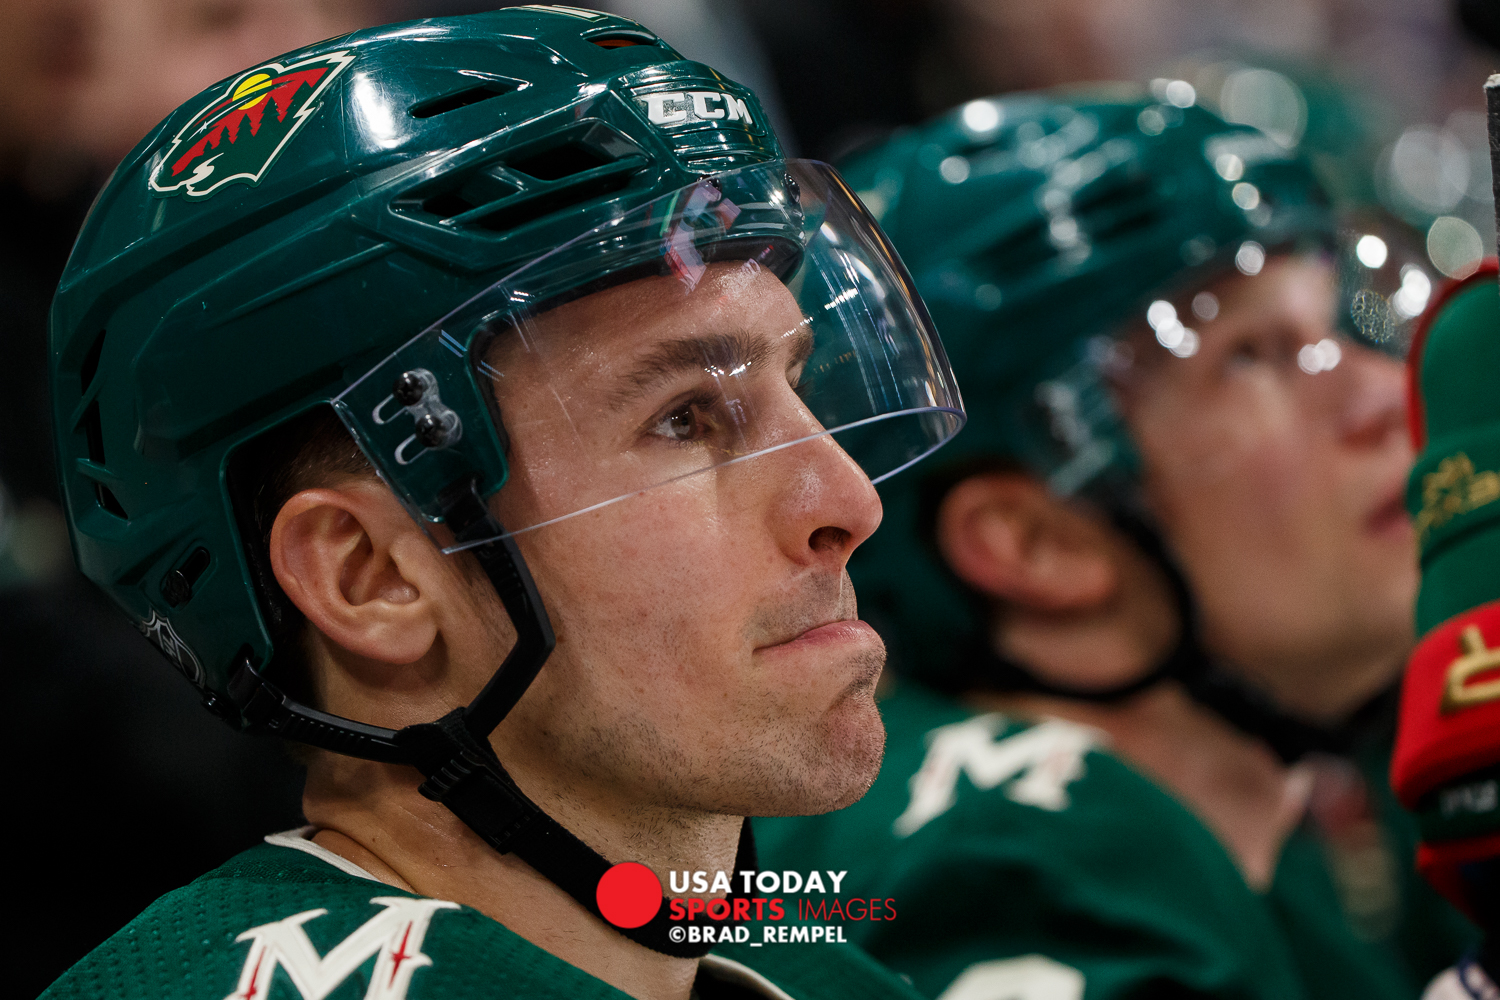
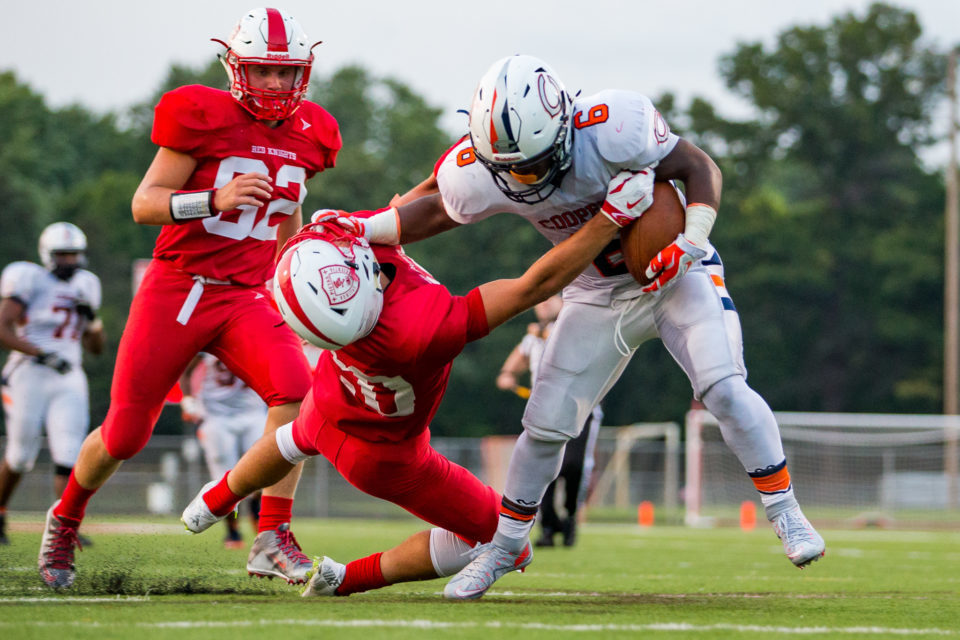
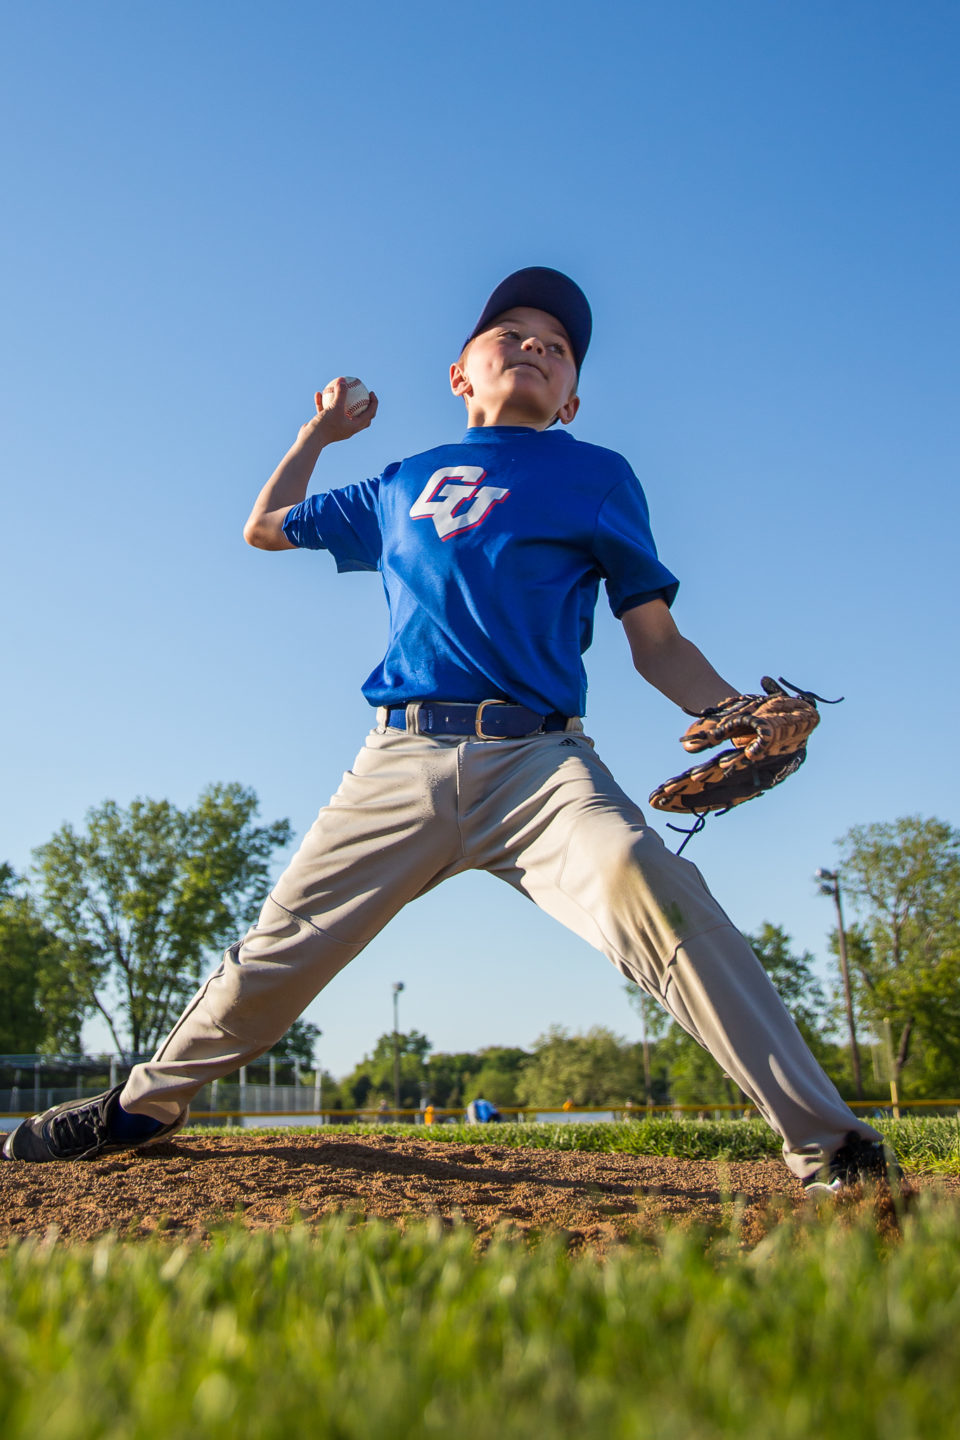
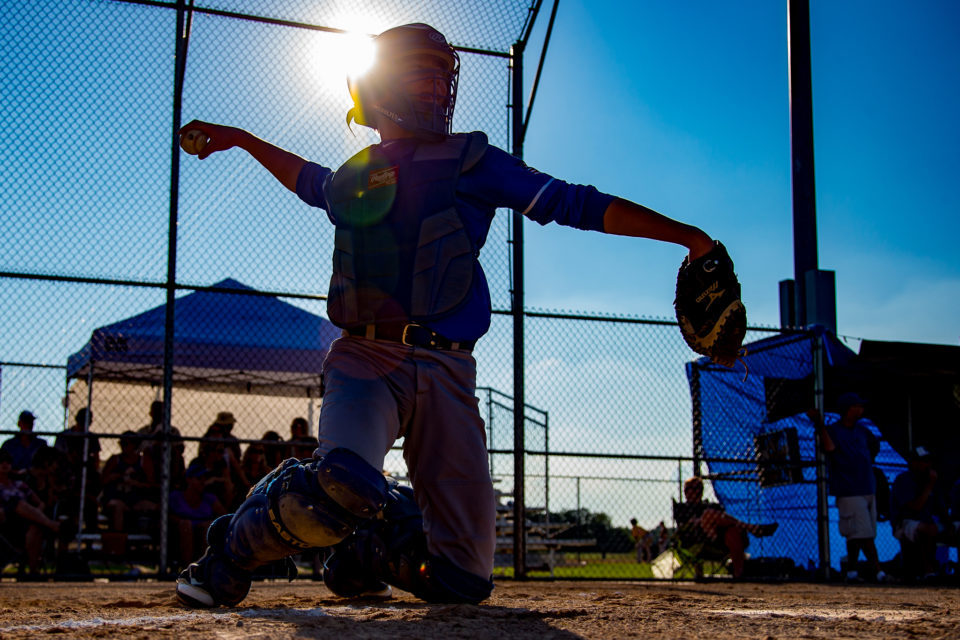
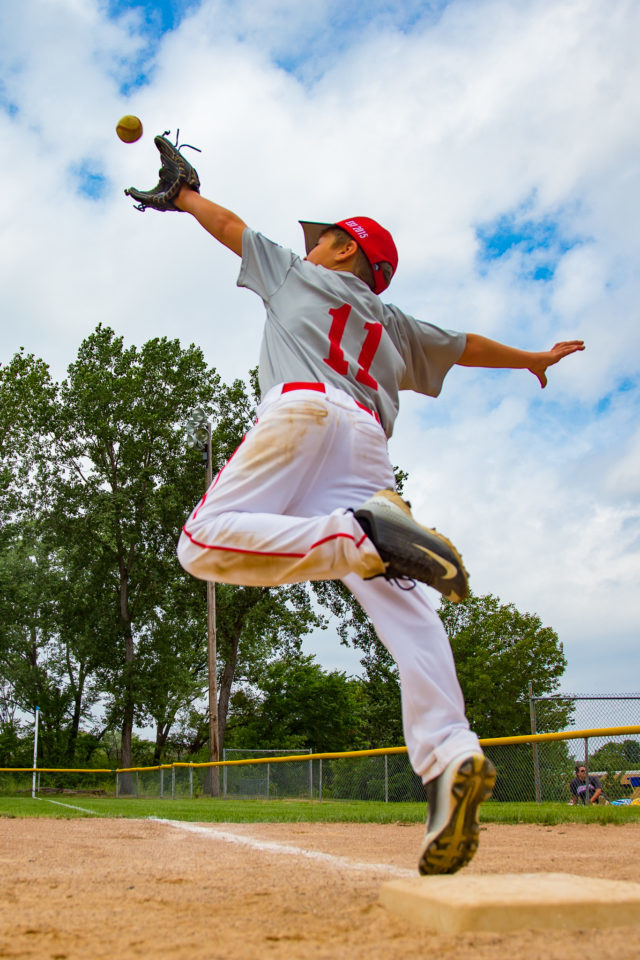
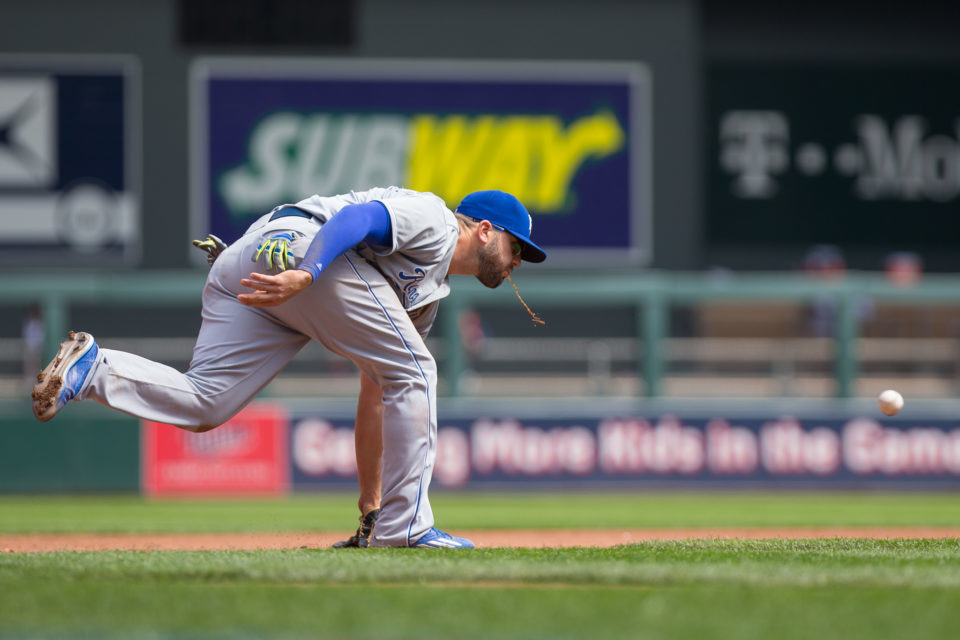
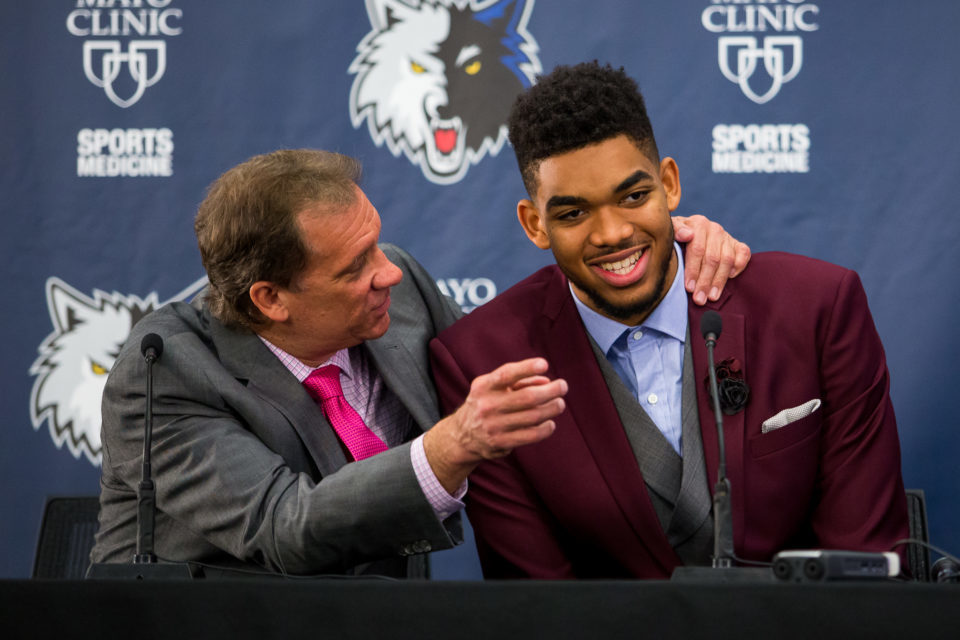
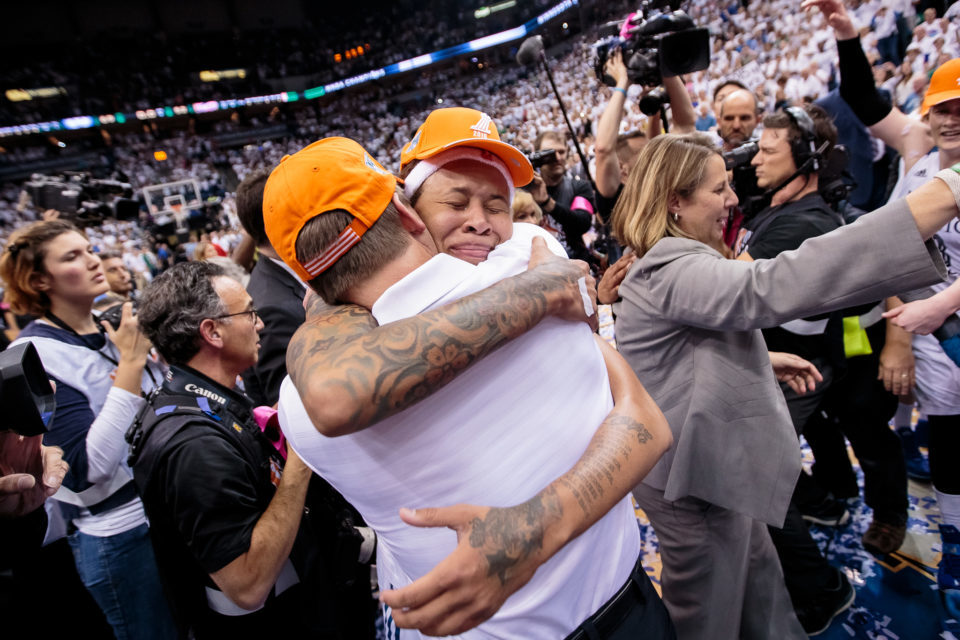
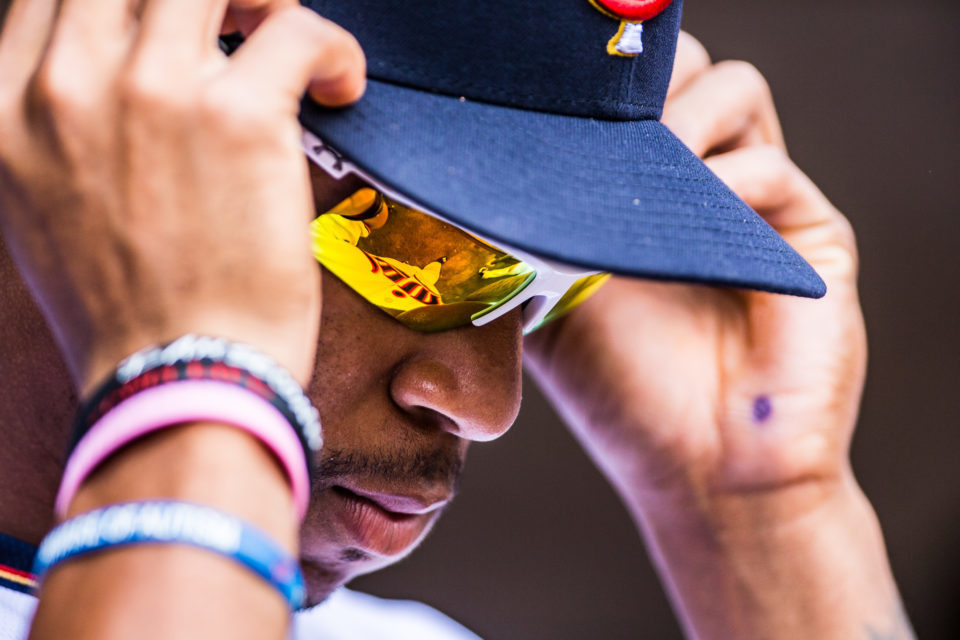
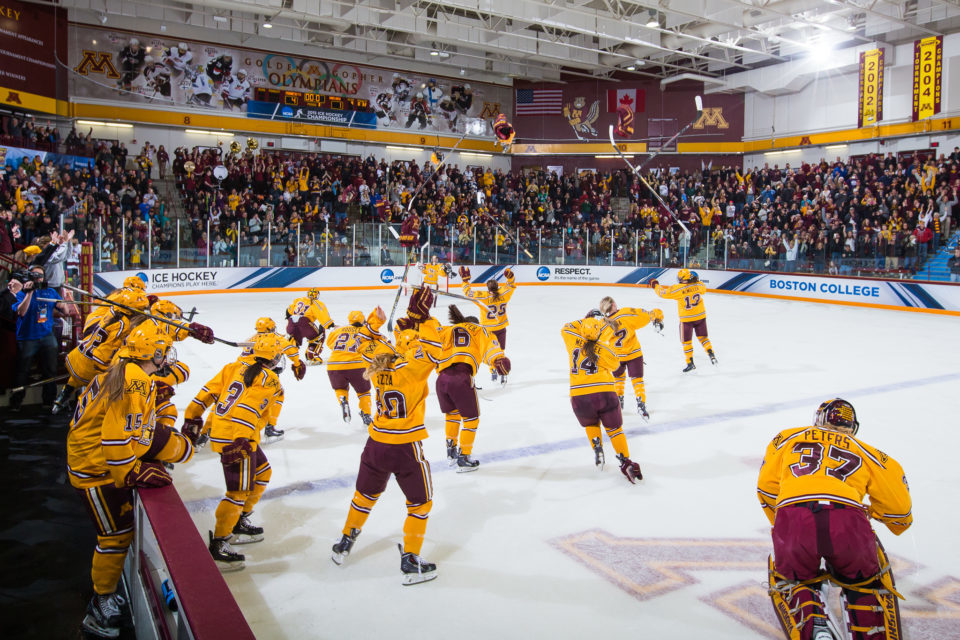
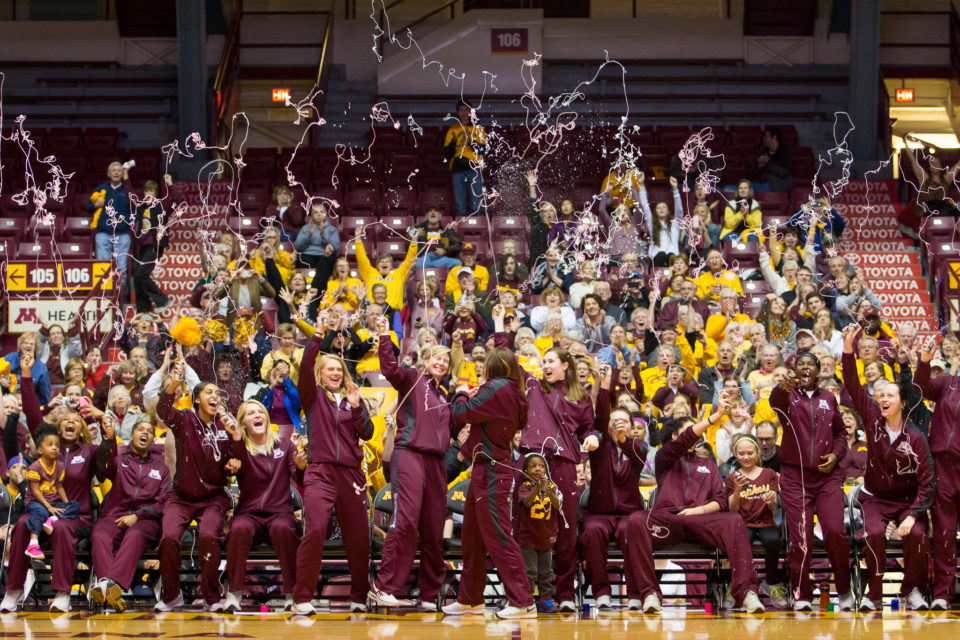
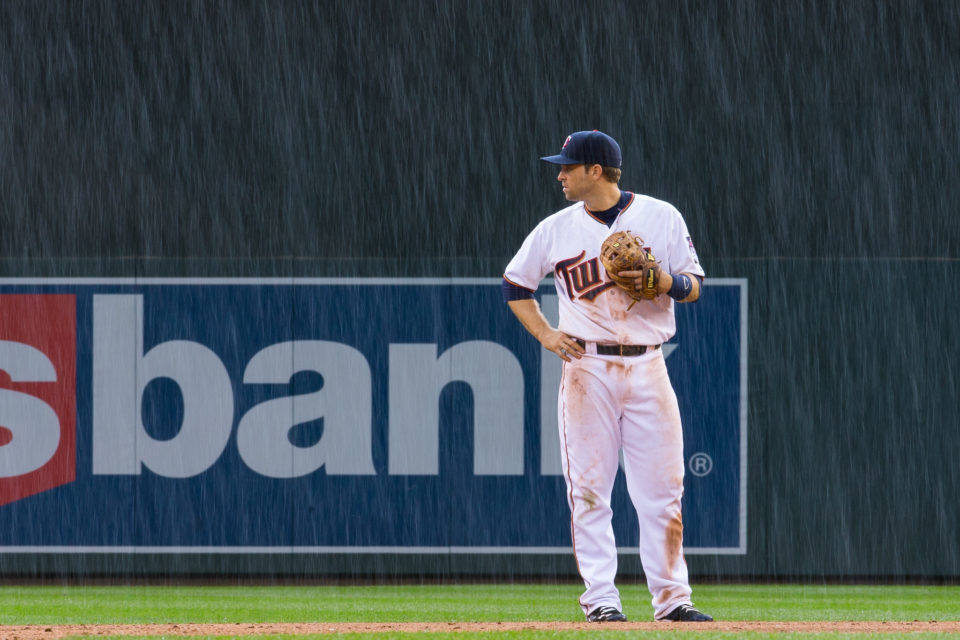
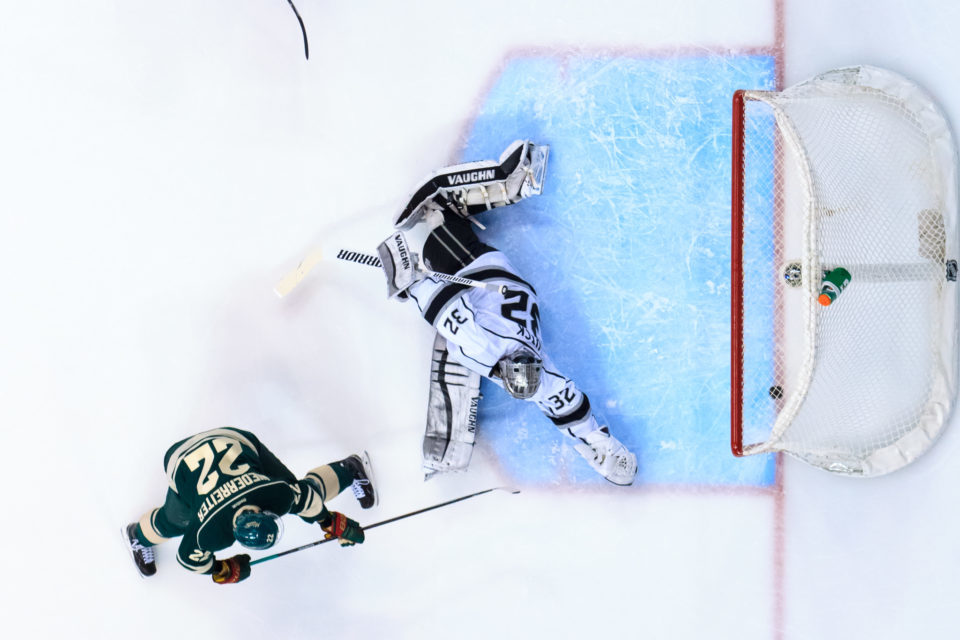
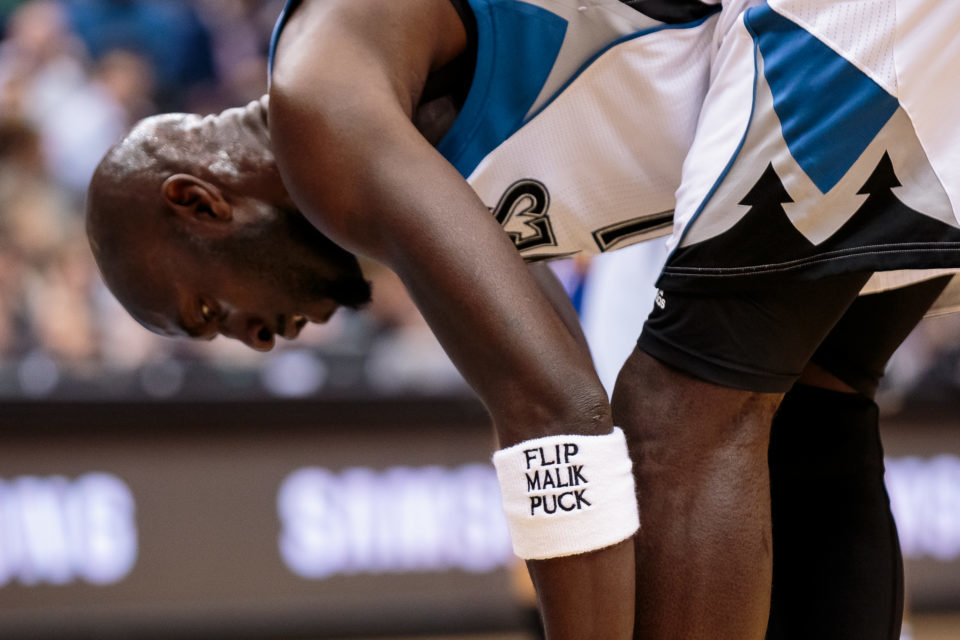
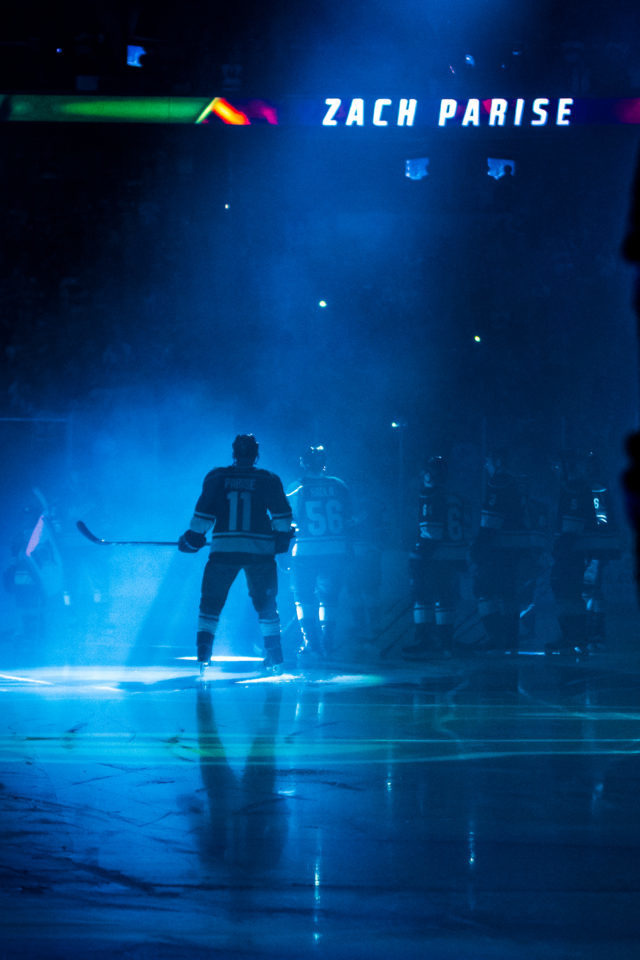
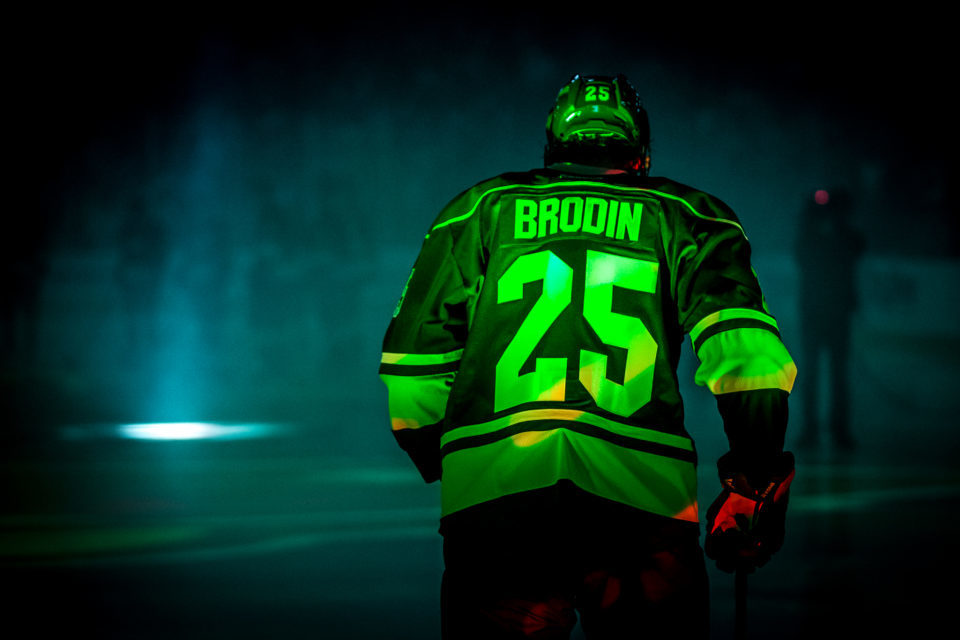
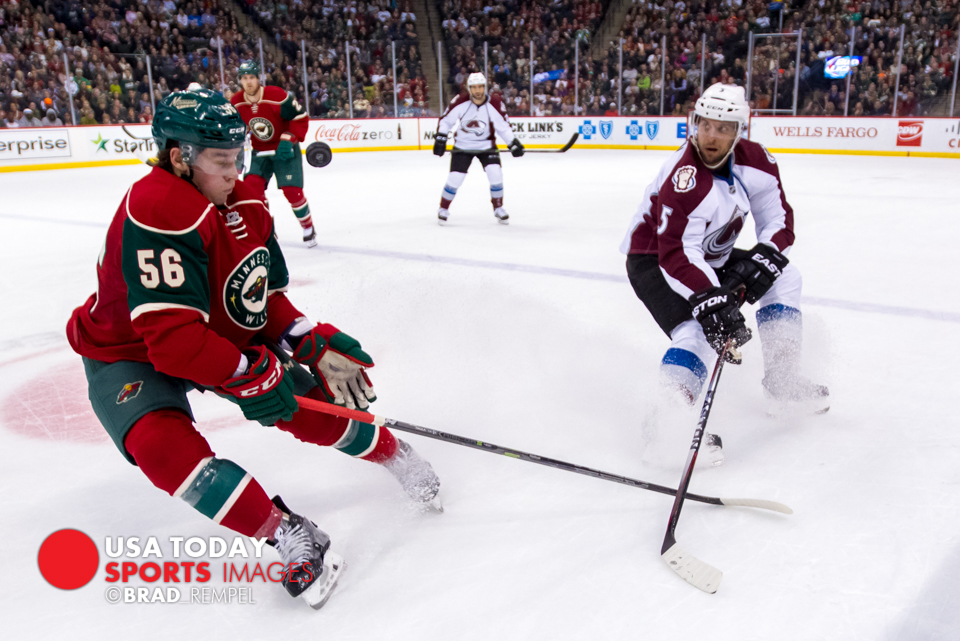
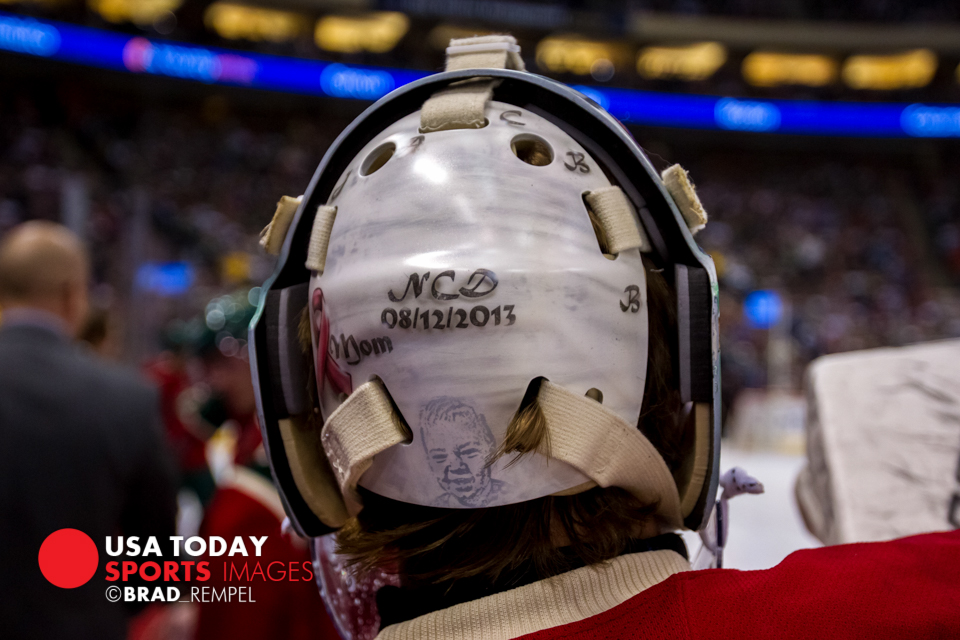
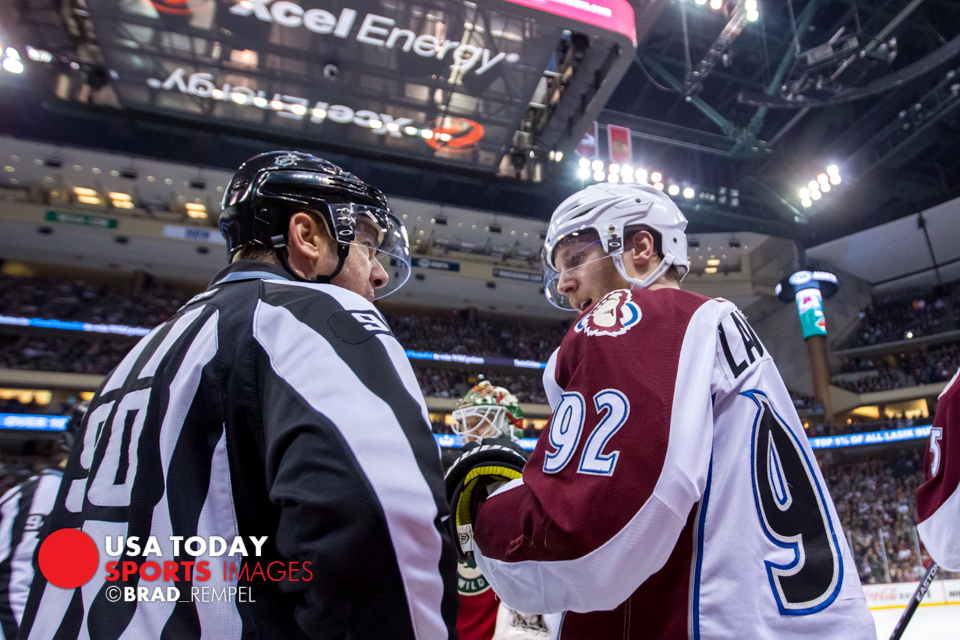
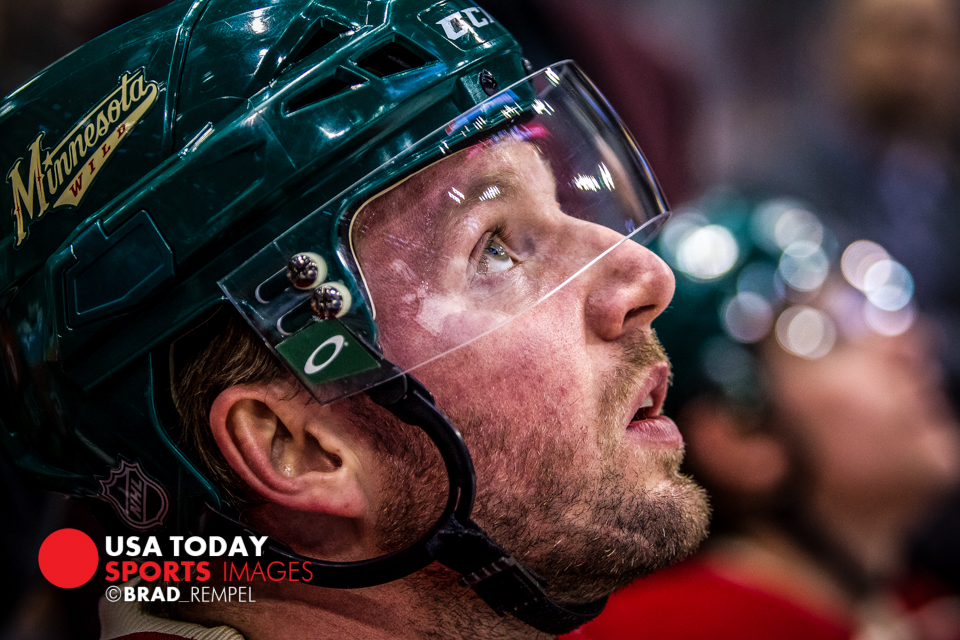
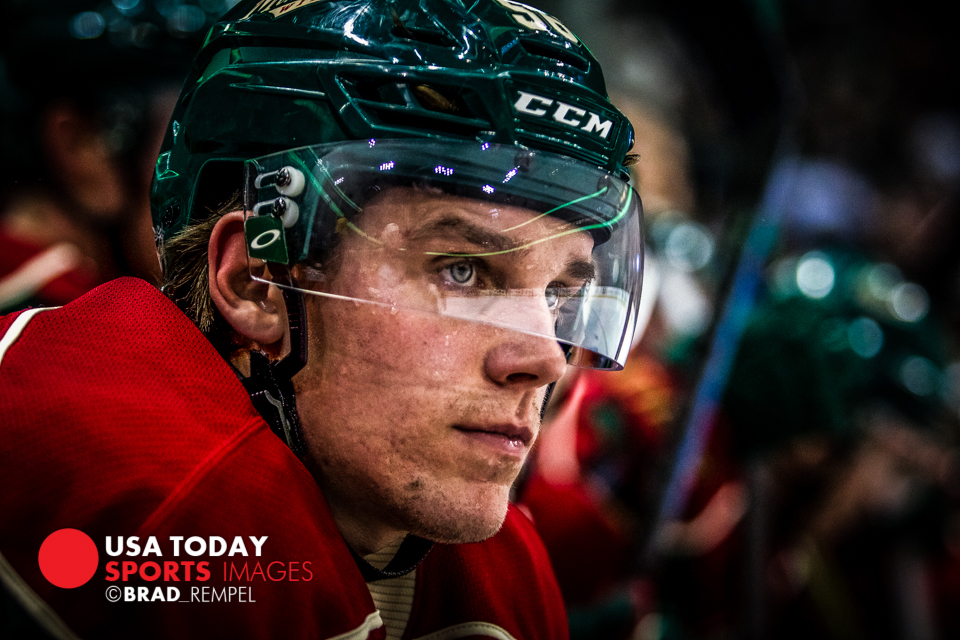
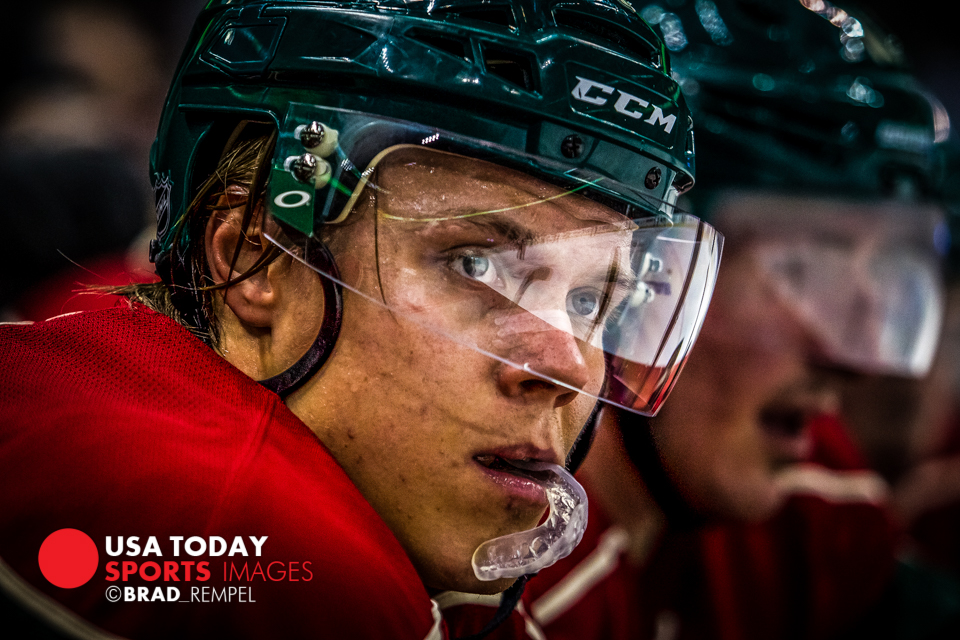
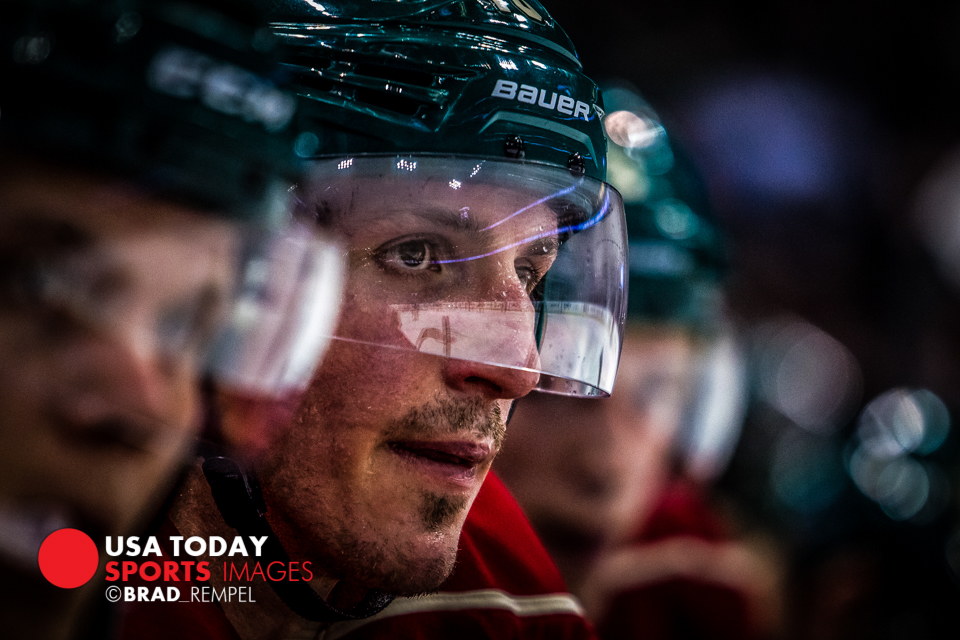
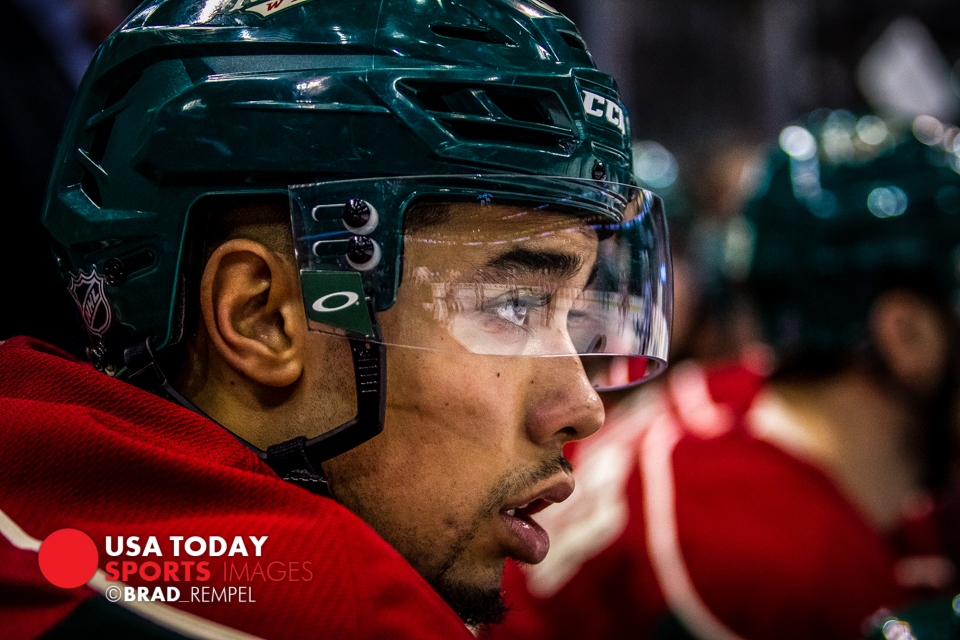
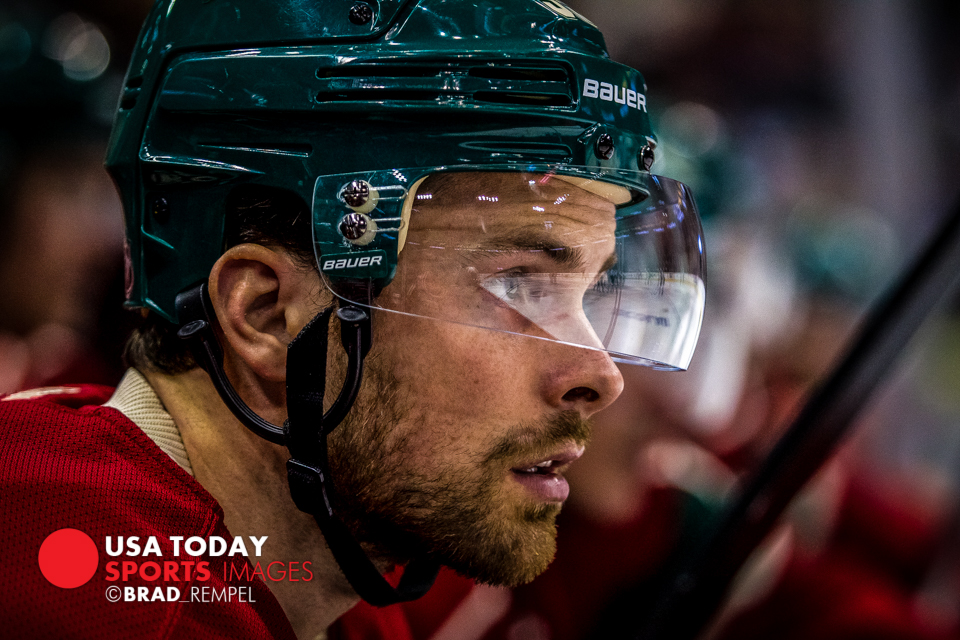
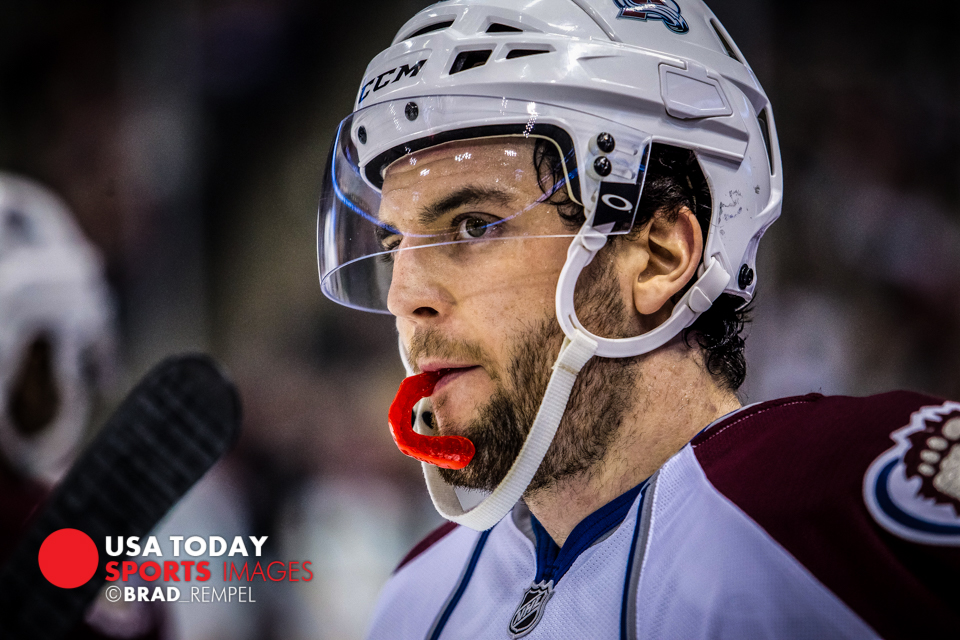
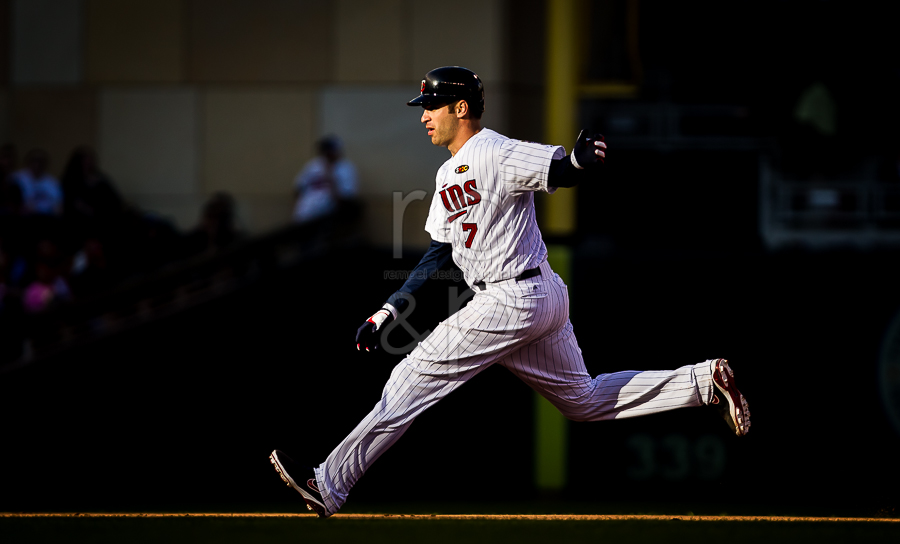
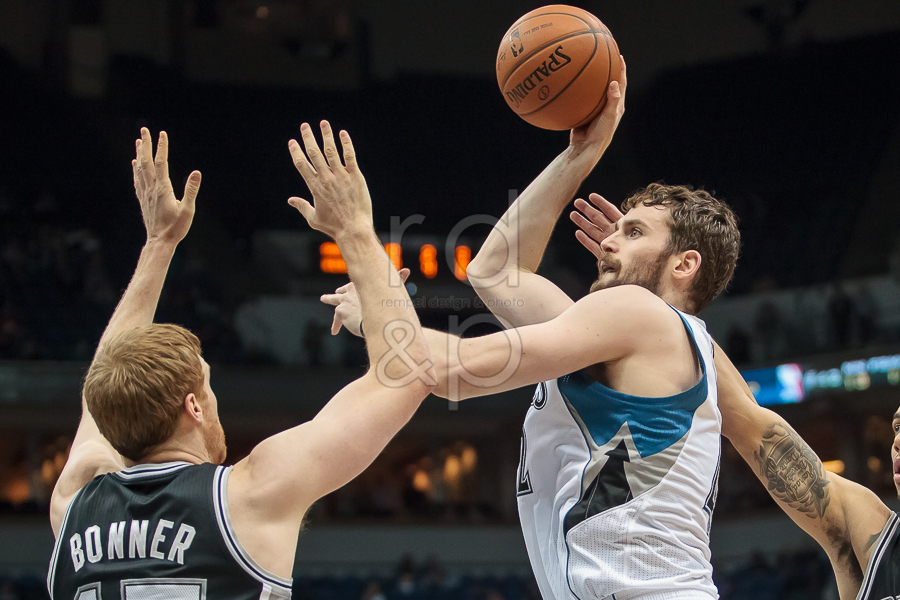
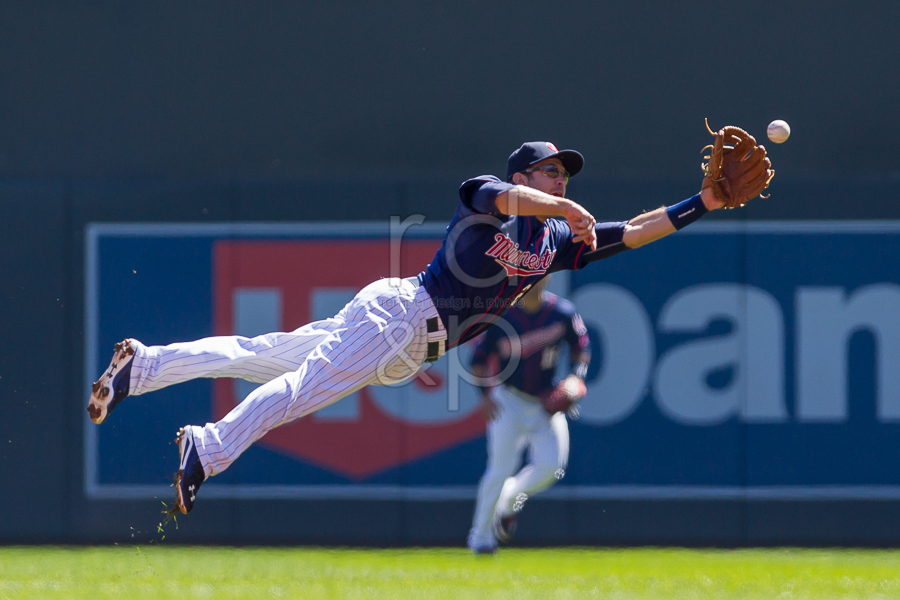
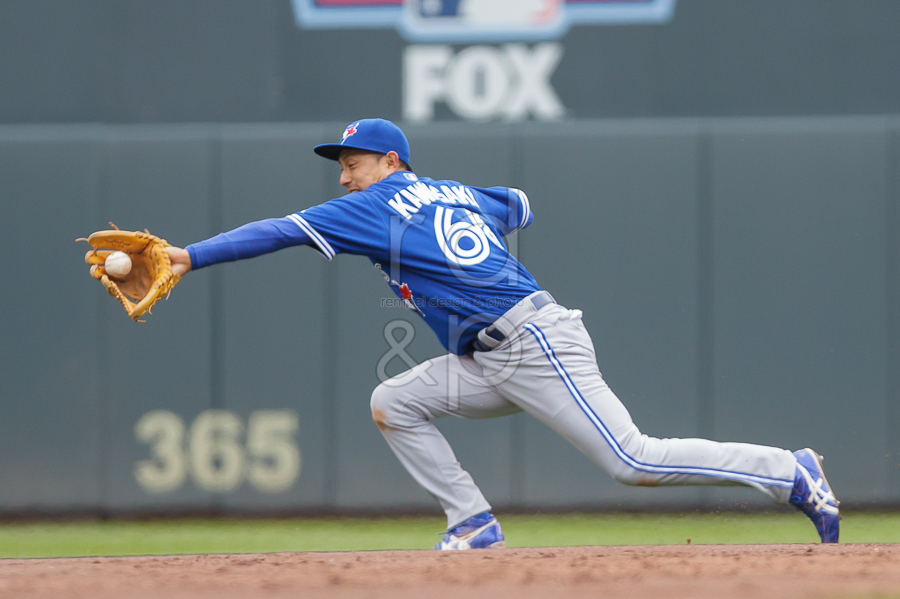
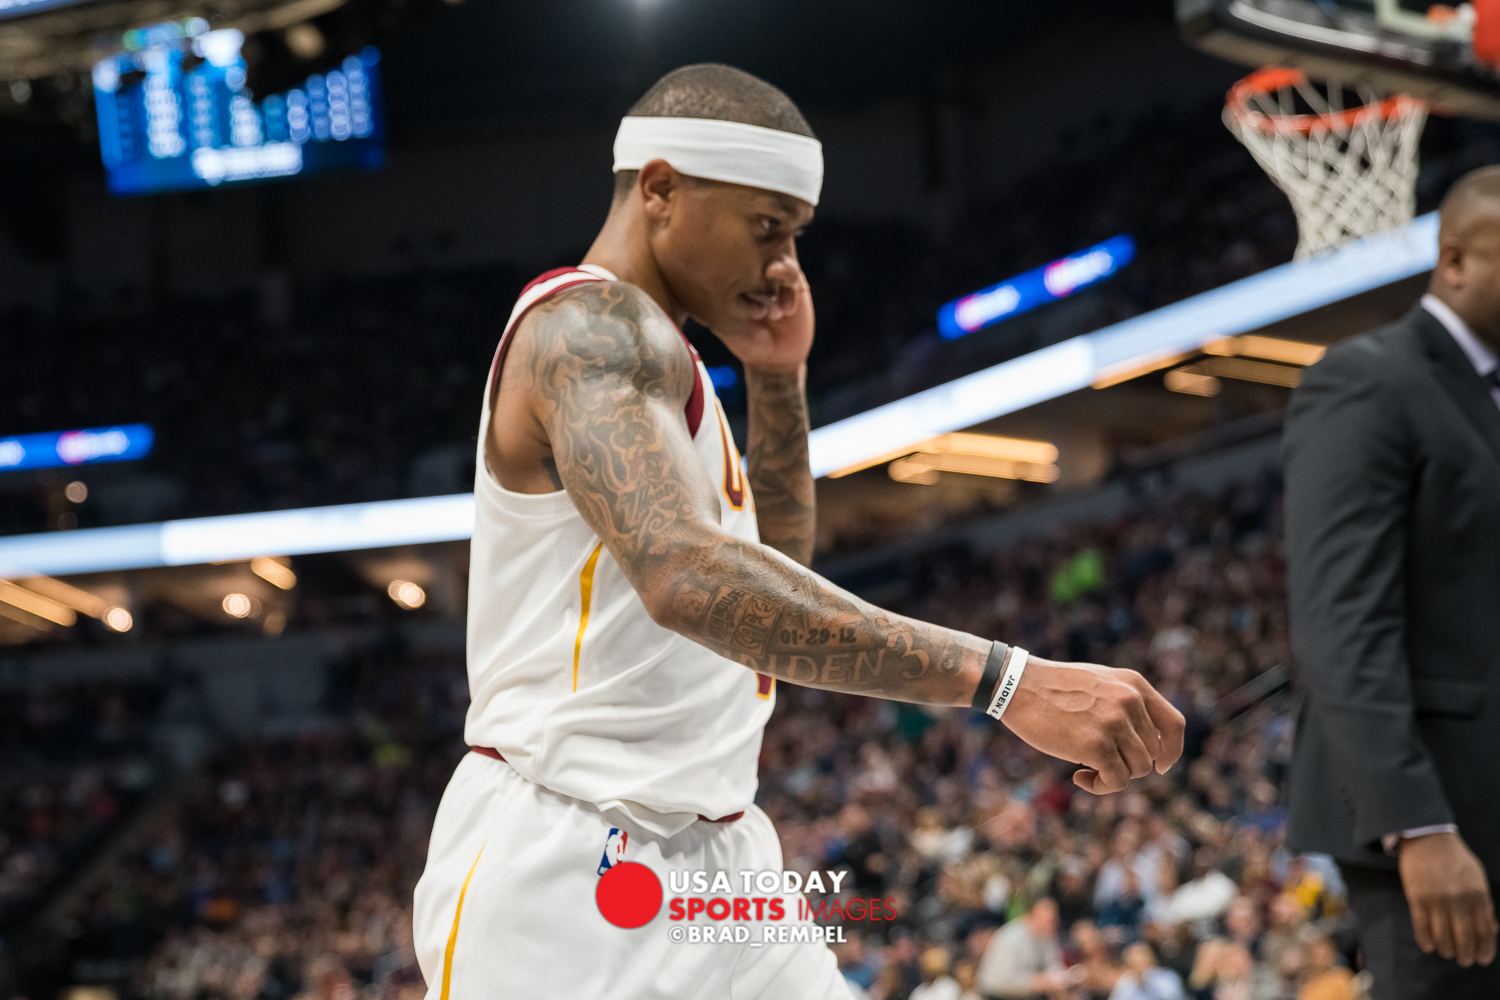
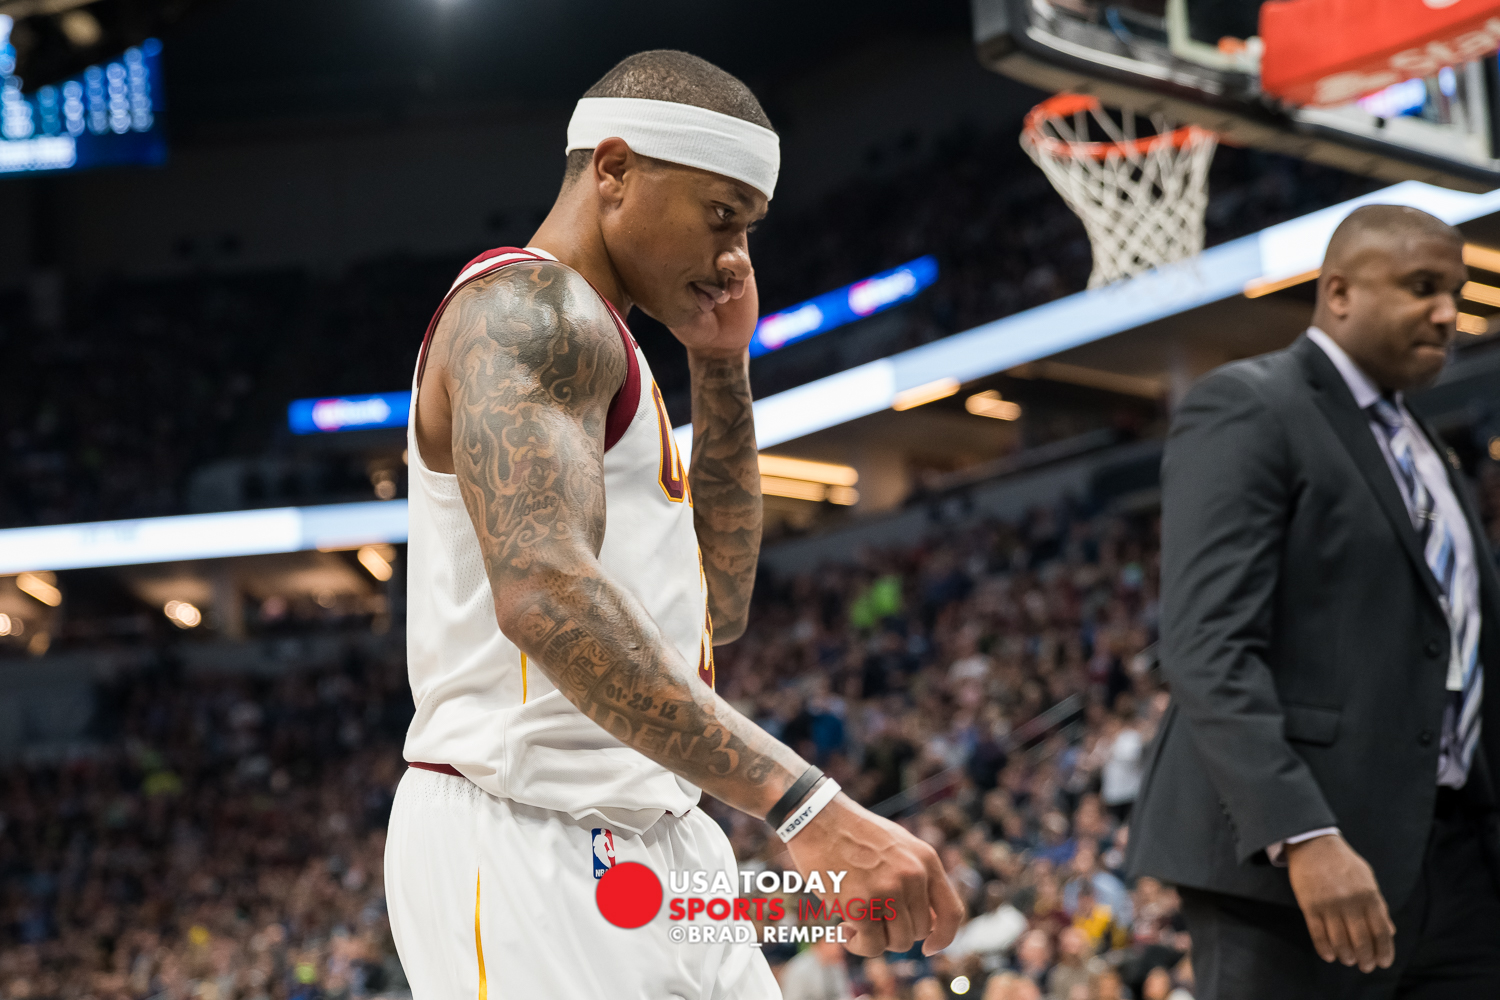
Focus: I felt like it missed getting the focus right on some simple shots but I feel it was my fault and I’m still trying to figure out how I want the camera to focus. I tried face focus, then I tried using the focus dot, and now I just figured out how to do pupil focus (which I haven’t tried yet). So again I’ll chalk up the “misses” to user error before I can blame the camera. I think it’ll perform great when I use it more and when it was on, images were really sharp. For my purposes I didn’t really pixel peep and compare it between the Canon lenses but all three seemed great for my use (Canon 16-35, 200-400 and Sony 24-70), see the last images for a comparison.


The Adapter: So along with the camera I also purchased the Metabones Canon to Sony e-mount adapter (5th generation). The hope was I could use my existing wide angle Canon 16-35 f/4 for landscape shots but it turns out it didn’t work with that lens. Extremely disappointing! The odd thing is that the lens works with the Sony a7r ii and the 4th generation adapter. It also didn’t work with my Canon 200-400 f/4 but worked with my Canon 70-200 f/2.8 ver. II. I tried to update the firmware but it looked like it was up to date so I ended up returning it. Since that was a bust I ended up buying the Sony 24-70 f/2.8 GM. FYI, Sony lenses aren’t cheap and probably more expensive then the Canon L series. So before I go on my next trip I’ll probably have to sell the Canon 16-35 f/4 (which I love!) and end up buying something similar from the Sony line up.

The Battery: I also found out that if I want to use it as a remote camera I’ll have to end up buying a battery grip because one battery wouldn’t last an entire game. Part of the reason I bought the camera was because it was small, tiny, and light, so buying the battery grip kind of defeats the purpose. It’ll be close to a wash when I return the adapter so it’s not a big deal. I’m not sure I’d travel with the grip just so I can save space when packing.

Pocket Wizards. So I tested it with the Pocket Wizard Plus III and IV’s and it works! I only tested it at my house but everything seemed to work perfectly. I was a little worried because a friend of mine said it didn’t work properly. What he/we discovered that it doesn’t work with the old versions of the MultiMax but it does with the Plus III. No idea if it works with the newer versions of the MultiMax. I’ve yet to use it at as a remote at a sporting event yet so I can’t give an opinion on how it worked.

The Verdict: Unknown so far. I haven’t used it enough to give it a grade and decide if I’m keeping it. My hunch is that it’ll perform great once I get used to it and eliminate the user errors. I’m not sure when I can take it out for some series landscape shots and I assume it’ll be amazing (I hope). It would be an expensive investment to completely jump ship. The cost of the Sony lenses are slightly higher compared to Canon and they just don’t offer the long lenses I’d need for sports. I’m sure they will down the road and the adapter is too much of an unknown for me to rely on.

Read More
Best of 2015 Sport Photos

Each year I find I grow as a photographer and I’m looking forward to what 2016 will bring.
Here are my favorite photos from 2015. Thanks for all the likes/follows/shares this past season. It really is appreciated.

Click to see all the images.

Read More
Between the Benches

Every so often during the Minnesota Wild games I’ll get assigned to photograph between the benches. It doesn’t happen that often because I’m usually 4th or 5th on the totem pole when it comes to getting assigned and since theres only 3 periods, I’m usually out of luck. But lucky me on Saturday night, there were only 4 photographers at the game against the Avalanche and the TV crew wasn’t assigned the box (wait, what?). Do to space restriction, there’s usually one photographer and one member of the TV crew assigned, so tonight we could get 2 photogs in…a rarity. So that night I was assigned 2 periods between the benches. Its still kinda new to me so I enjoy photographing there.

Pros: Cons:
  • You’re a foot away from the bench players
  • You can get drilled by a stick or a puck
  • You get to hear players chirp non-stop (sweet)
  • You have to wear an ugly helmet
  • You get some cool close up shots you typically can’t get
  • Players are always skating in front of you during line changes

Here’s what I got along with some excessive editing in Lightroom…enjoy and share!

Read More
Work Flow

Over the years I’ve learned that every photographer has their own workflow. Some are different..some the same and it’s based on your own personal preference. I’ve tried a couple different methods but here’s what I found works best for me. Is it right? No. Is it wrong? Nope. It’s just what I prefer. Here’s a step by step process of how I incorporate Lightroom and PhotoMechanic when photographing a sporting event.

Pre-game:
  1. fig. 1

    fig. 1

    I’ll make a folder on my desktop for the game I’m photographing. In this case I’ll use the last game I worked (Pittsburgh Penguins vs the Minnesota Wild) and I’ll call it “vs Pittsburgh 11-4” (fig. 1). Why? It’s just the way I have my Lightroom catalog set up (I break my folders down by sport, then year, then by opponent).

    • Minnesota Wild
      • 2014-2015
        • vs Pittsburgh 11-4
  2. Next, I’ll download my .xmp file provided by the agency I’m shooting for and save it into that folder. Then I’ll make the necessary changes to the Stationary Pad in PhotoMechanic which is usually just making a generic caption that I will apply to all the images. Speed will be important when it comes to captioning and uploading the files during and after a game.

I make my team code replacement files for PhotoMechanic. You can use the http://www.codereplacements.com/ website and pay for the service but I’m cheap and I don’t find it hard to do it yourself. This is probably a separate blog post but it’s a combination of the team data from ESPN, then using Excel and Word to create the text files. Unless it’s the first game of the season, the home team is already done so it’s really just making one for the visiting team and it takes me about 5-10 minutes. I’ll then load the code replacement files into PhotoMechanic. It usually consists of 3 different text files:

  • Home Team
  • Visiting team
  • Hockey terms (I’ll use short code for terms like celebrates, shoots, passes, skates with the puck, congratulates (cel, sh, pa, swp, etc..). It just saves me time when I caption and it’s something that I’ll use every game.

That’s it for pre-game. Let’s go eat!

During the game

For hockey, you shoot the entire period, then run back to the photo editing room during intermission and work as fast as you can. This is 18 minutes which sounds like a lot, but it flies by and there’s a lot to do.

  1.  fig. 2I import all my photos through Lightroom with a USB 3.0 card reader for the fastest transfer speed. Why Lightroom vs PhotoMechanic first? I like to apply a global develop setting to the entire card when I import it. I know my lighting is consistent so I can apply the same develop settings to every picture. In this case it’s at Xcel Energy Center and I already have a preset made (MN Wild 1250/1250/2.8). Within that preset I have a number of corrections I apply so I’d rather apply them all at once in the beginning vs individually later. Here’s why:
    • I know what camera settings I’ll be shooting at in manual mode. 1250 shutter, 1250 ISO, at f/2.8
    • I shoot in large RAW format so it’ll adjust my white balance on import. I find this the biggest advantage in photographing in RAW. I’ll adjust WB to whatever temperature I need instead of using a warmer/colder on a .jpeg.
    • *Side Note*: Some people shoot RAW + jpeg and make their edits on the jpeg thinking importing the RAW files will take too long and they’re too big. I’ve never had an issue in regards to speed. Maybe it’s my computer, card reader..who knows but I don’t have an issue with it.
    • *2nd Side Note*: The first time I switched over to RAW I was scared that it was going to be different when I processed photos. When I open a RAW file or a jpeg in Lightroom they’ll function exactly the same. There’s no compression in the RAW file and you can have more editing capabilities, so there’s no reason not to. Go ahead, make the switch, you’ll be glad you did.
  2. As its importing I go through the entire period of images. This is the biggest drawback to using Lightroom vs PhotoMechanic. PhotoMechanic is a zillion times faster at rendering the image and it’s much faster to go through and select the images you want. Lightroom takes its time rendering and you’ll get the spinning “loading” symbol at the bottom. If I ever change my workflow, this will be the reason. I’ll go through all the images and flag them using the “p” key (pick). If I screw up, I’ll unflag them with “u” key. An entire period is usually between 150-250 images. Between whistles I’ll delete images that I know I’ll never use, or they’re blurry, or they’re just plan shitty so I limit how many I import between periods.
  3. Once I’ve flagged all the images I like (including stock for later), I’ll turn on the library filter so it shows me just the flagged images or my keepers. From the “grid view” I’ll select a few game relevant images that I need to transmit, usually between 4-8 and give them a color. 1st period = red, 2nd period = yellow, 3rd and final images = green. Why these colors? It’s just the order in Lightroom so it helps me keep track of what I’ve sent and I don’t resend the same image after the game.
  4. I’ll then sort the flagged images by “label color” so the “red” images show up first and enter the “develop” mode.
  5. Within develop mode all I really need to do is crop since all the images had the “MN Wild preset” applied to them. On occasion you’ll have some minor tweaking if it’s in a dark spot in the arena.
  6. Once the cropping is done, I’ll export the files to the desktop in a separate folder and call it “USA1” so I know it’s my first set of transmitted images (next period is USA2). On export you’ll set up:
    • Folder location
    • Renaming (if you need to)
    • File size limitations
    • Resolution
  7. fig. 4

    fig. 3

    Then I go into PhotoMechanic and hit refresh and my newly editing folder USA1 will appear. Open it, select all, and then apply stationary pad to all the images. Now every image has the generic caption for all the images and I just need to fill in the “XXXXXX” for each image using the code replacement files (home, away, and hockey terms) that are already loaded. (fig. 3)

  8. In figure 4, you’ll see how PhotoMechanics code replacement works:

    fig. 4

    fig. 4

  9. Then I click “Save, Upload, Advance” and caption the next image until I’ve done all the selected images for that period (fig. 4). The FTP servers are already set up to go to the appropriate agencies. *knock on wood* – I’ve only screwed up once sending a couple files to the wrong agency. Whoops, forgot who I was shooting for that night.

Now hopefully this was all done in 18 minutes so I can run out to the next location for the next period. On occasion you don’t quite get it done in 18 and you’ll miss the start of the next period. Oh well, all you can do is try.

Post-Game

The only thing slightly different in the post-game transmission is I’ll look through all 3 periods flagged photos and find other pictures that may have been game relevant that occurred during the 1st and 2nd periods. Things like stock photos of goal scorers or other photos that were good but didn’t have the time to send. Since I’ve “colored” the photos by period, I know which ones I’ve sent already.

My PhotoMechanic by default is set to organize the pictures by capture time. This will also help when figuring out what period the action happened.
I’ve also got more time so I can relax a little. In the end I’m hoping to send about 30-35 end of game images and the others that I flagged will go to the stock folders another day.

VERY IMPORTANT: If you export your folders into separate sub-folders (like described), after you’re done shooting you’ll have to copy all the saved images with captions back into Lightroom.
So from Photomechanic:

  • Select all
  • Save photos as (select the main folder: vs Pittsburgh 11-4

Then in Lightroom right click on the folder and “synchronize the folder”. It’ll then import all the new jpegs you just captioned and transmitted and all the metadata in the caption field. So now if I need to find any Charlie Coyle pictures, my library is up to date. *Side note* – If your images look all out of whack, it’s because you’ve applied the “MNWild” import settings again on the already corrected jpegs. Just select all, right click, develop settings, and “reset”.

It sounds like a lot and it is. You’ll eventually get into your own rhythm and it’ll seem like a snap in no time.

Read More
Top 11 Pics

Over the last two weeks Minneapolis has been a busy three sport city with the Timberwolves, Wild, and Twins all playing at the same time. Over the last 12 days I’ve covered 11 events including; 2 Wild,  3 Wolves, and 6 Twins games and I’ve also thrown in a home office remodel project (why not right, pics are on Twitter and Instagram if you really want to see).

So here it is, my top 11 pics from 11 events. Enjoy and Share!

Read More