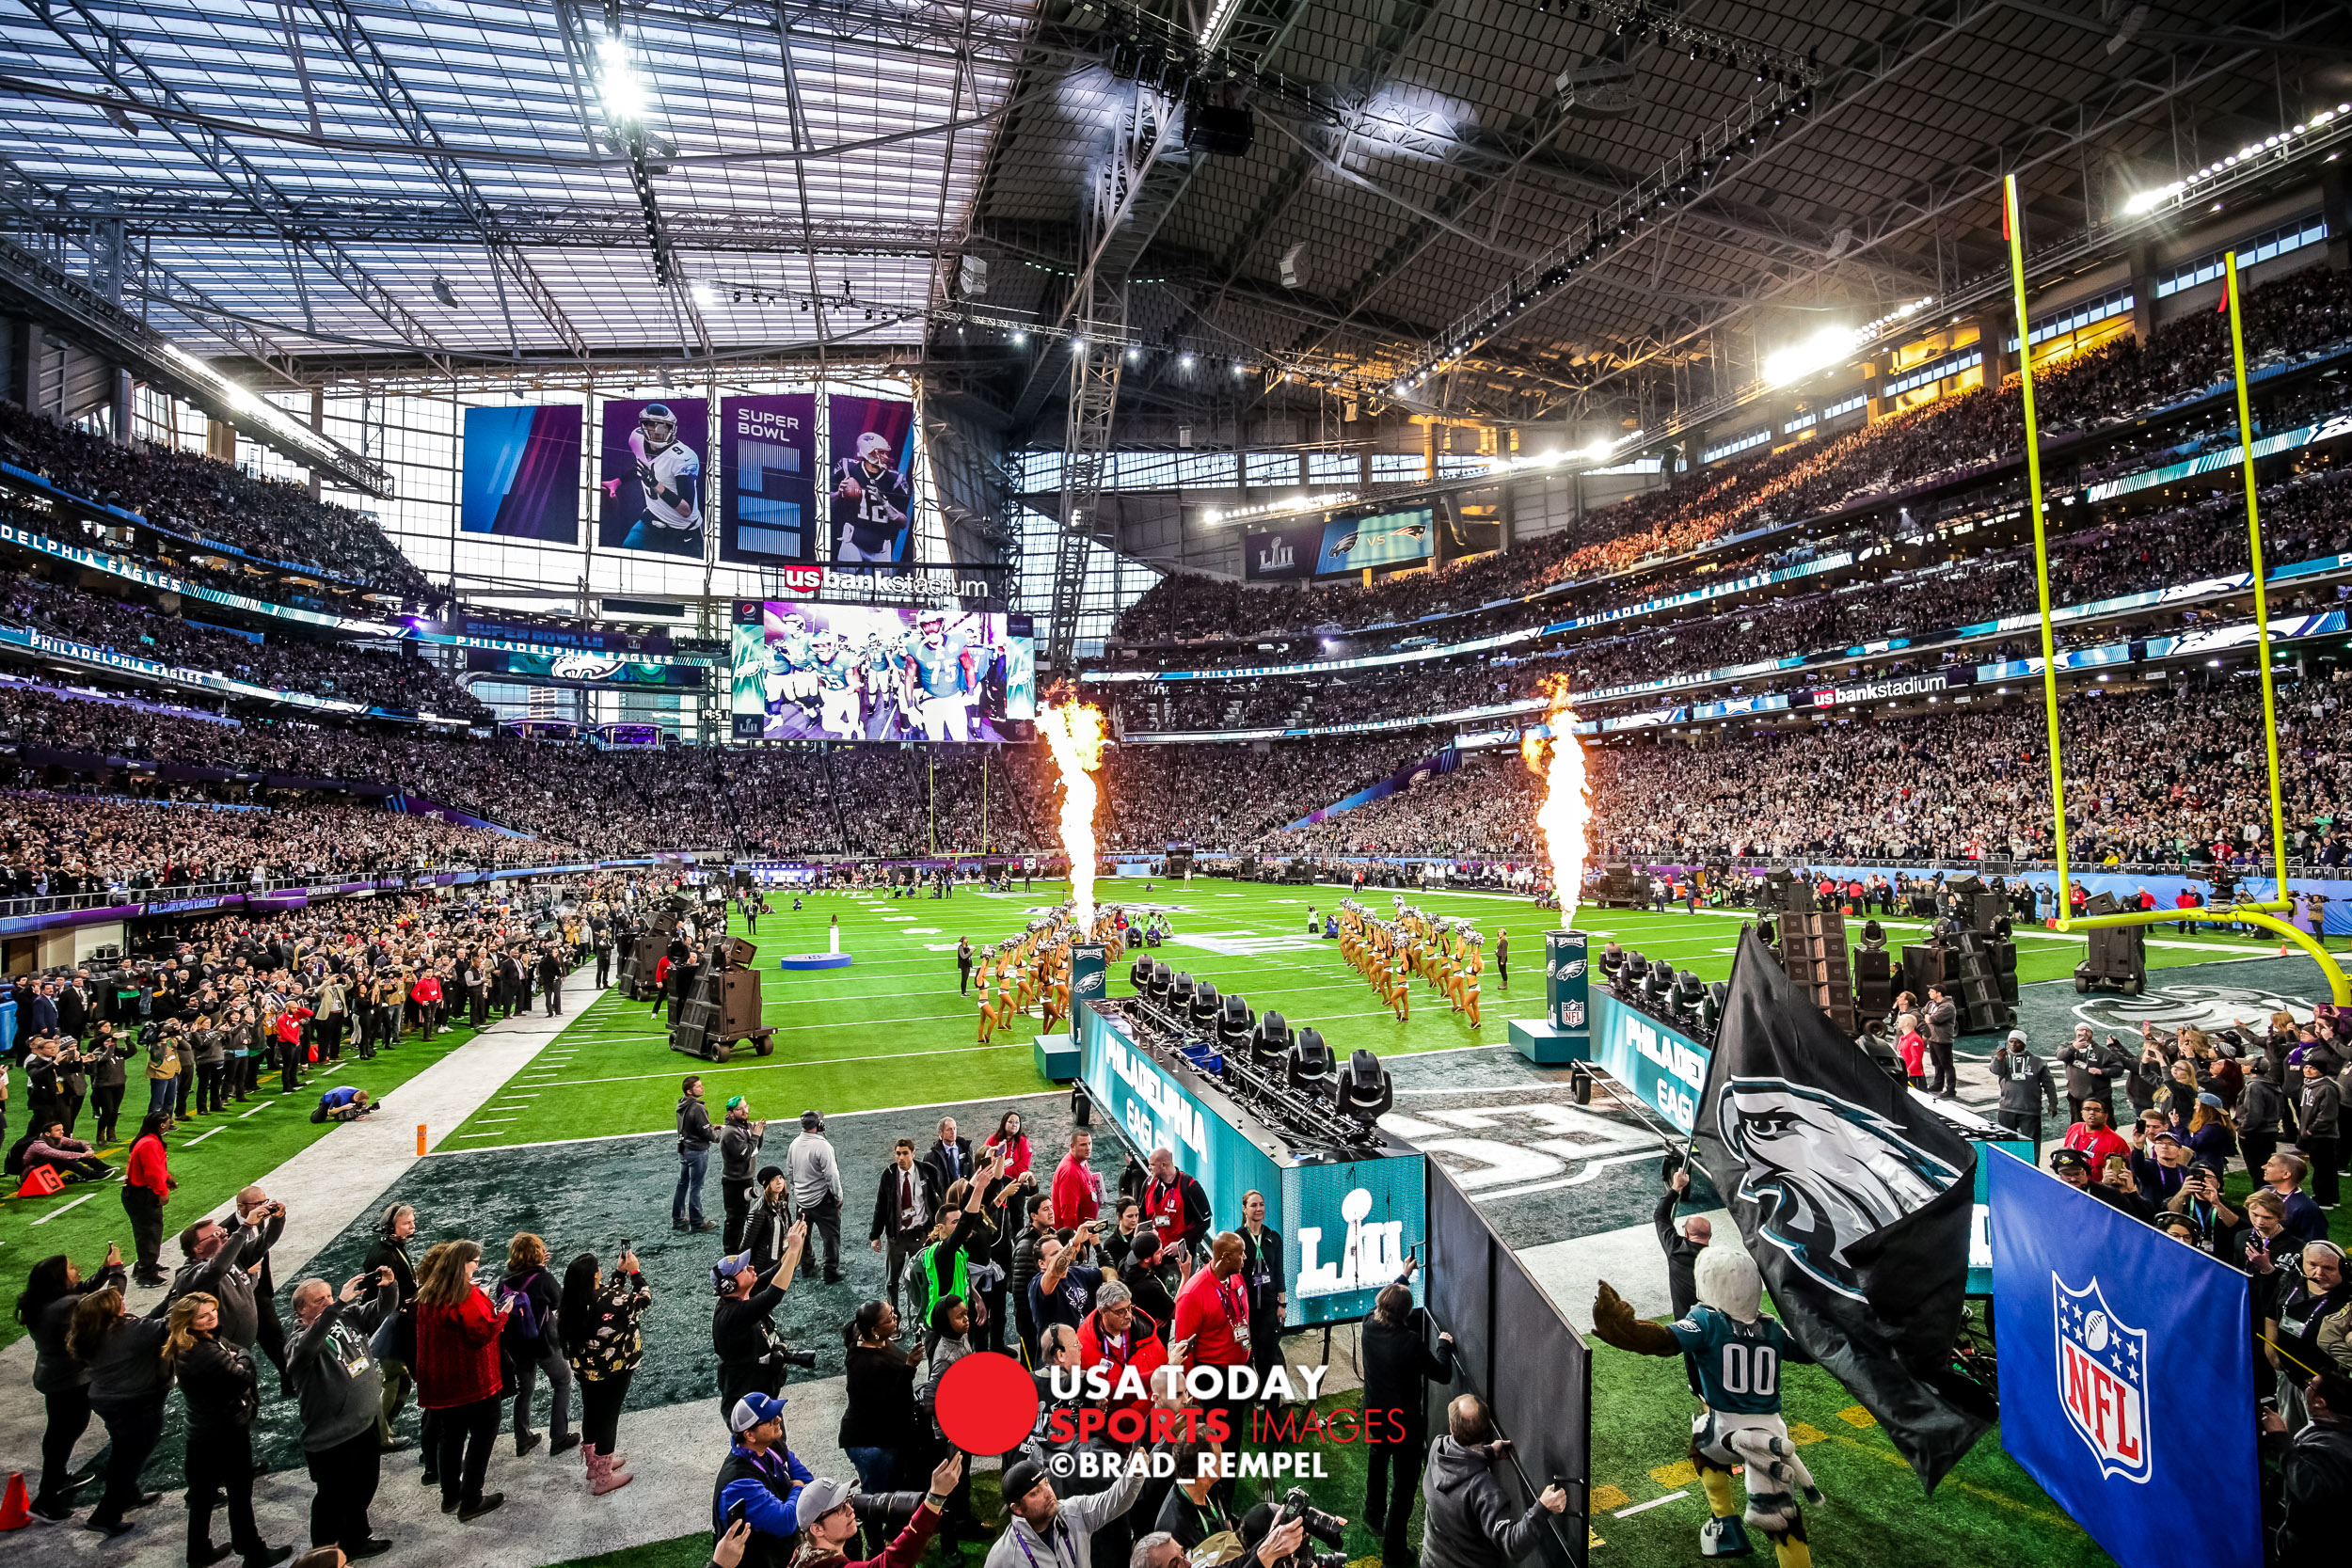
612.616.3296brad@rempeldesign.com
Super Bowl LII

I was really excited when I heard I got to cover my first Super Bowl. I knew I was covering it for awhile but I didn’t want to get too excited or tell anyone in case things changed and I was pulled off the assignment. USA Today sent 12 photographers to cover the game, as well as a few tech people, card runners and 3-4 editors. I found out my shooting position was going to be in a first row seat USA Today purchased for the event. They had seats in each corner of the stadium that would be hard wired into our cameras and images sent directly to the editors in real time as we photographed the game. They also had two stationary people on the field, two field roamers, two people shooting elevated, two stadium roamers getting scenic shots, as well as a number of remote cameras from the rafters. Even though I was shooting from my home town stadium and I covered every game this season, everything about today was different including my shooting position, entry into the stadium, shooting tethered and our workroom. All of this was unfamiliar.

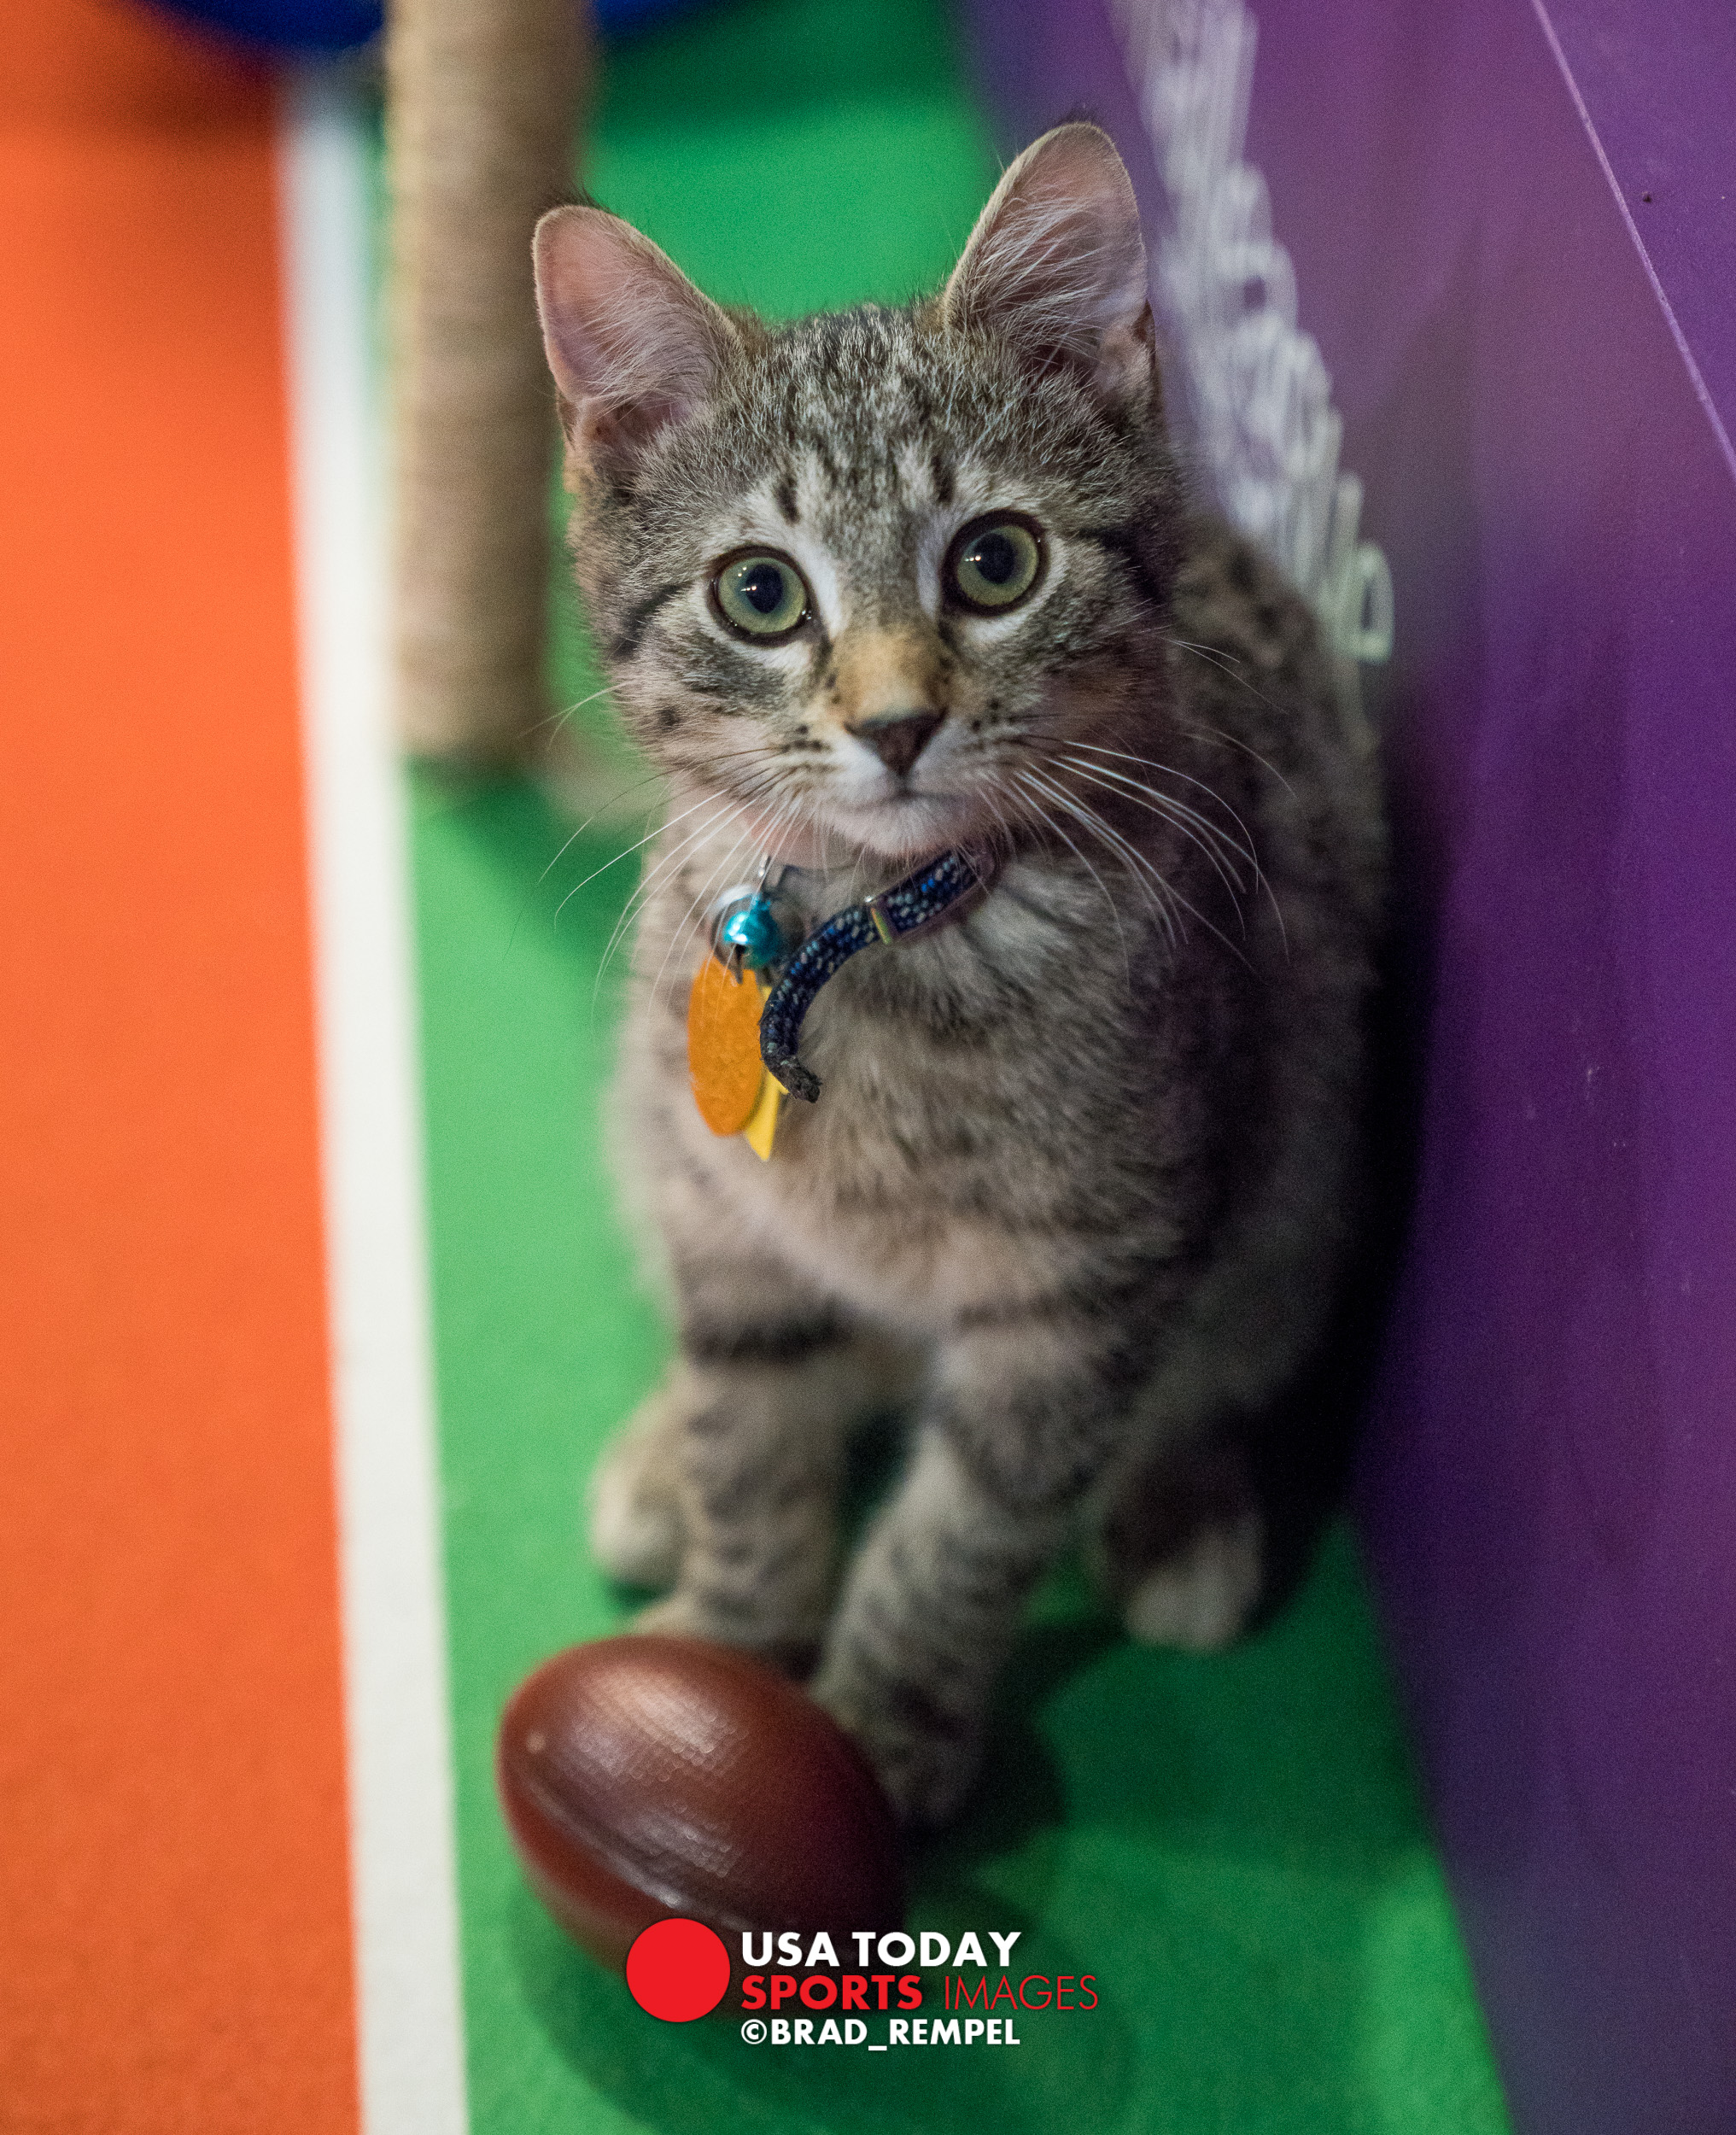
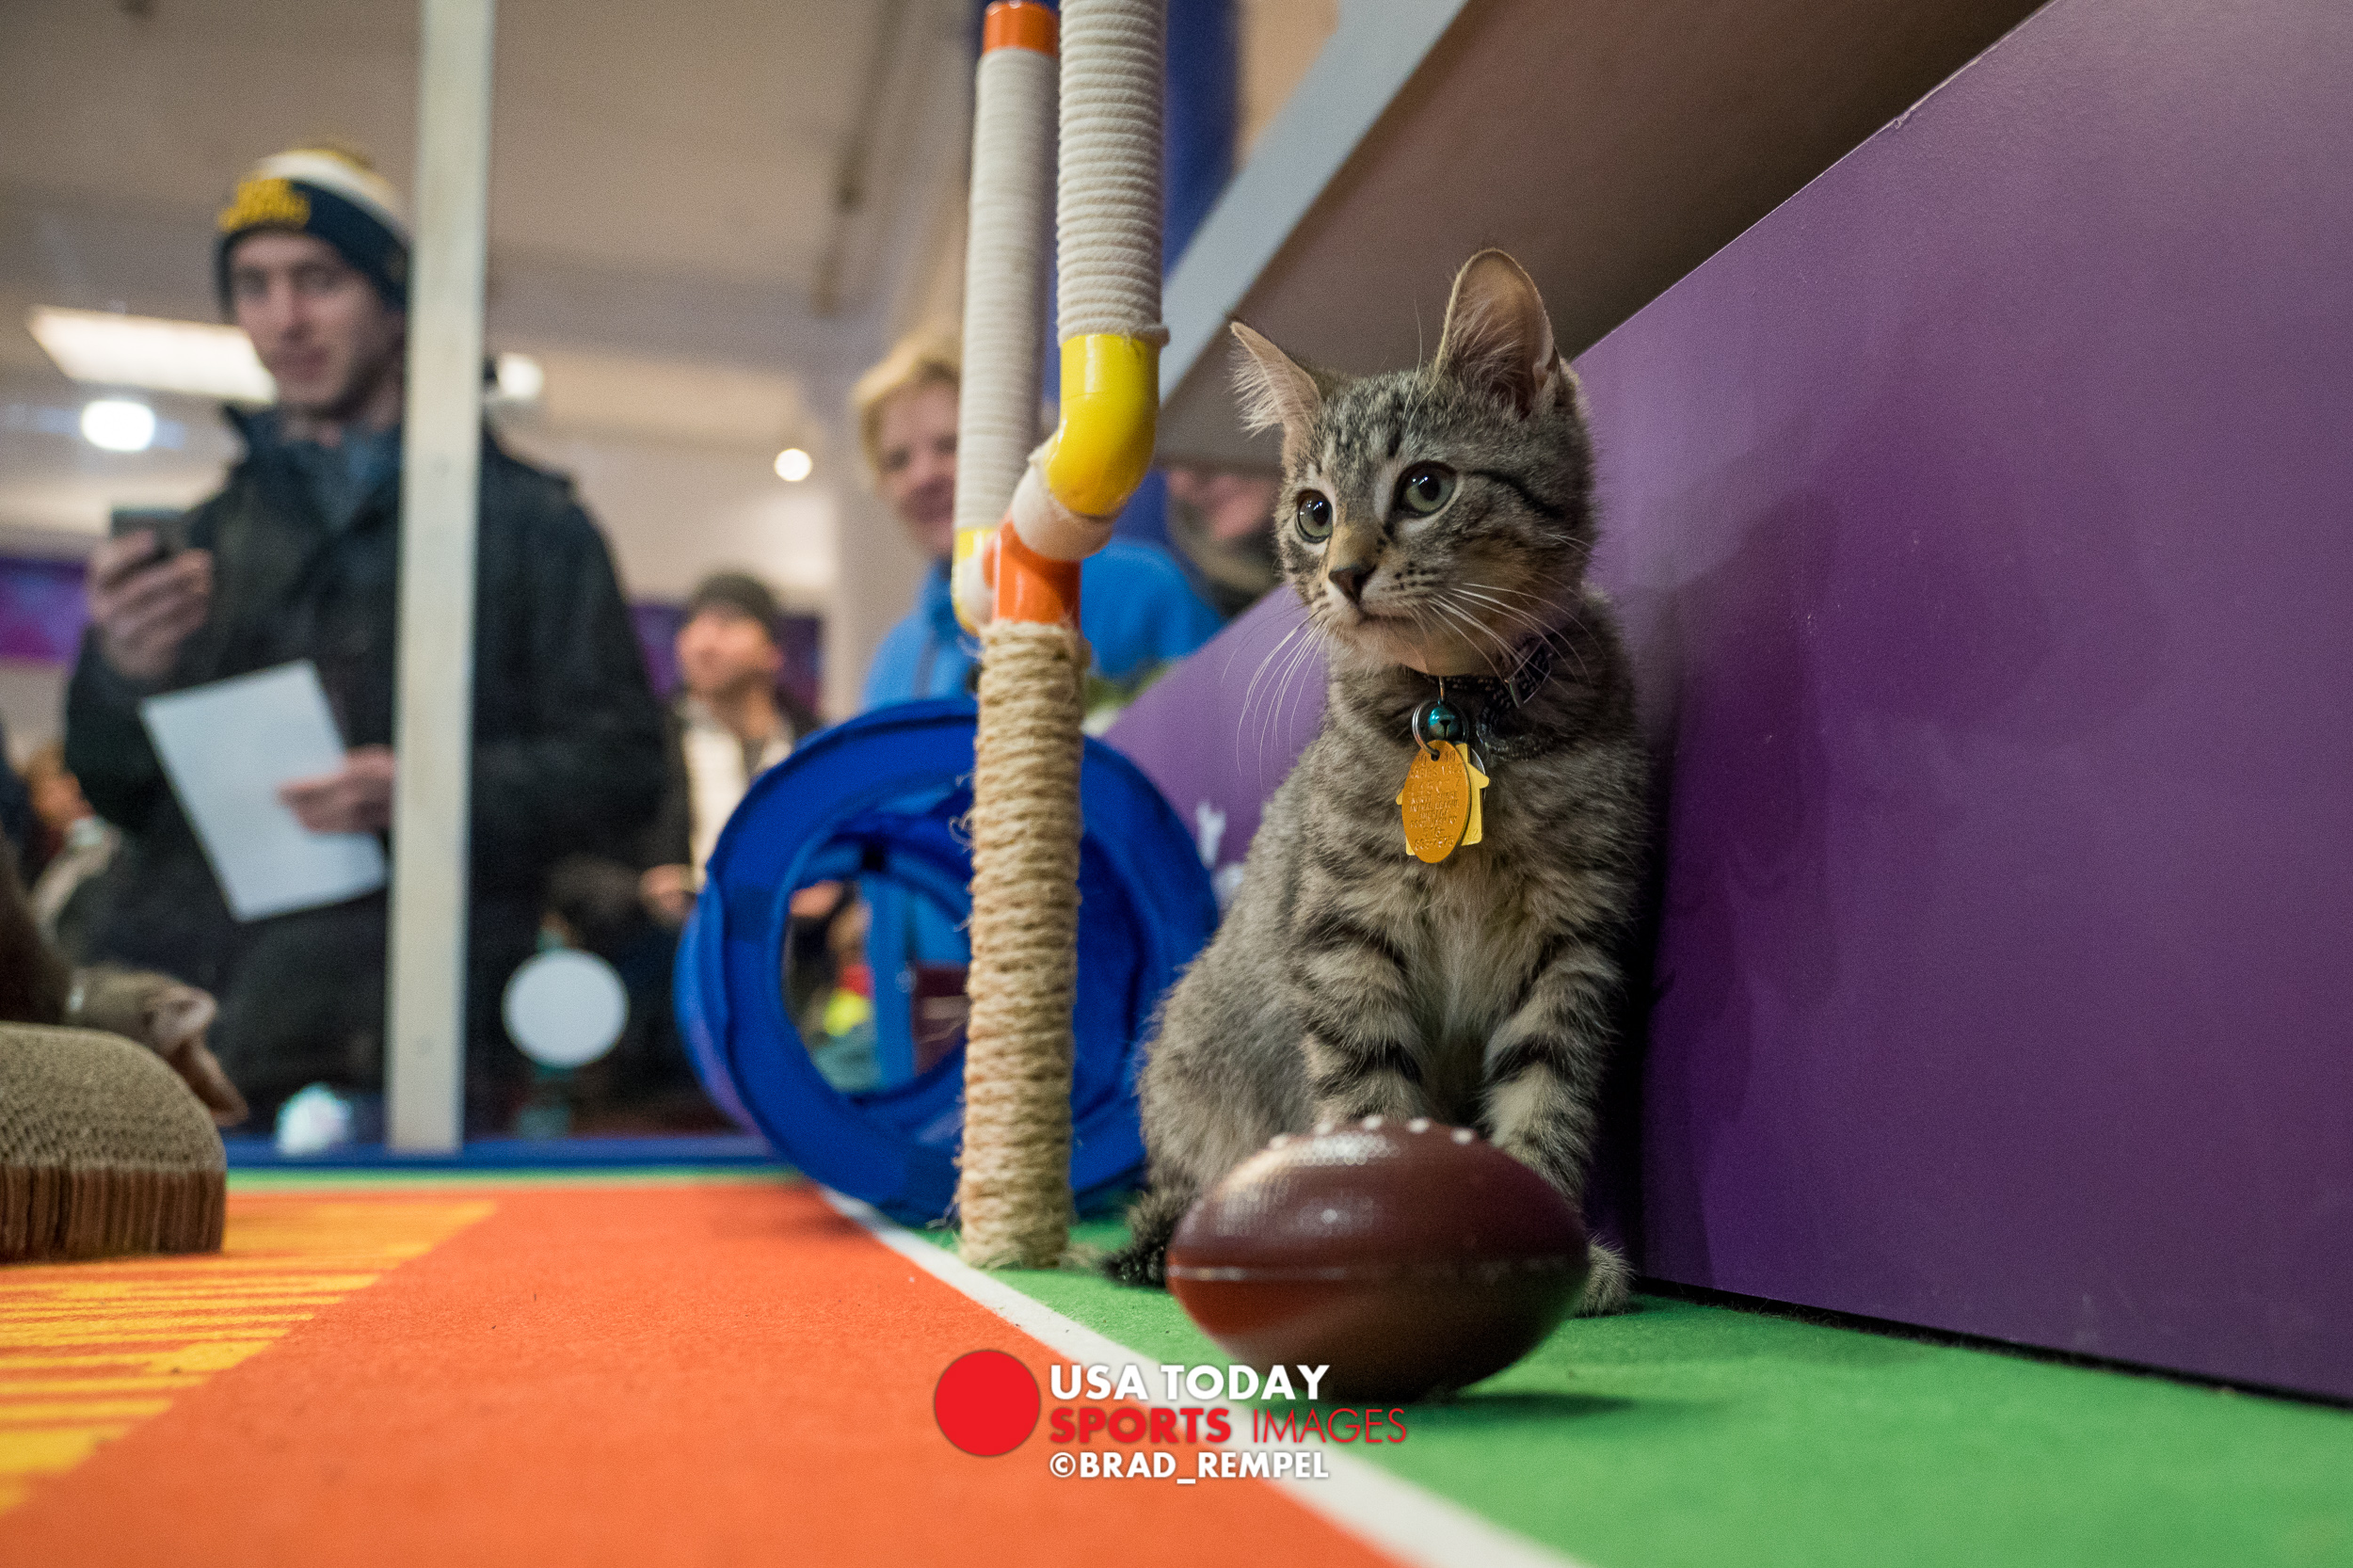
I wasn’t sure what to expect the week leading up to the Super Bowl so I left my calendar pretty wide open just in case. It turned out I was only assigned a handful of things including team arrivals, opening day media event, the Kitten Bowl, and the Super Bowl. I was actually glad I didn’t have too much so I didn’t feel overwhelmed the entire week and I wasn’t stressed at all.

Here is the rundown of Super Bowl Sunday:

  • 8-9am: Team meeting. Covering logistics, assignments, what to shoot, transportation, and security. Our COO covered it extremely well and really got you prepared for the long day ahead. It was very helpful being a first timer.
  • 10am: Arrive at the stadium and get through security which is never fun at US Bank Stadium.
  • 10:30am: Go to our shooting position and test out our hard lines.
  • 11-1pm. Sync cameras, eat, kill time.
  • 1pm: Go outside and photograph the cold (3°F), people arriving, and anything else.
  • 3pm: Go to our seats and photograph warm ups. It was actually a little tough because I was surrounded by Eagles fans for 2 hours with cell phones trying to take pictures the entire time.
  • 5:30pm: Game time and start photographing the game. Once the game started it felt like every other game I did all year. You’re just photographing another game.
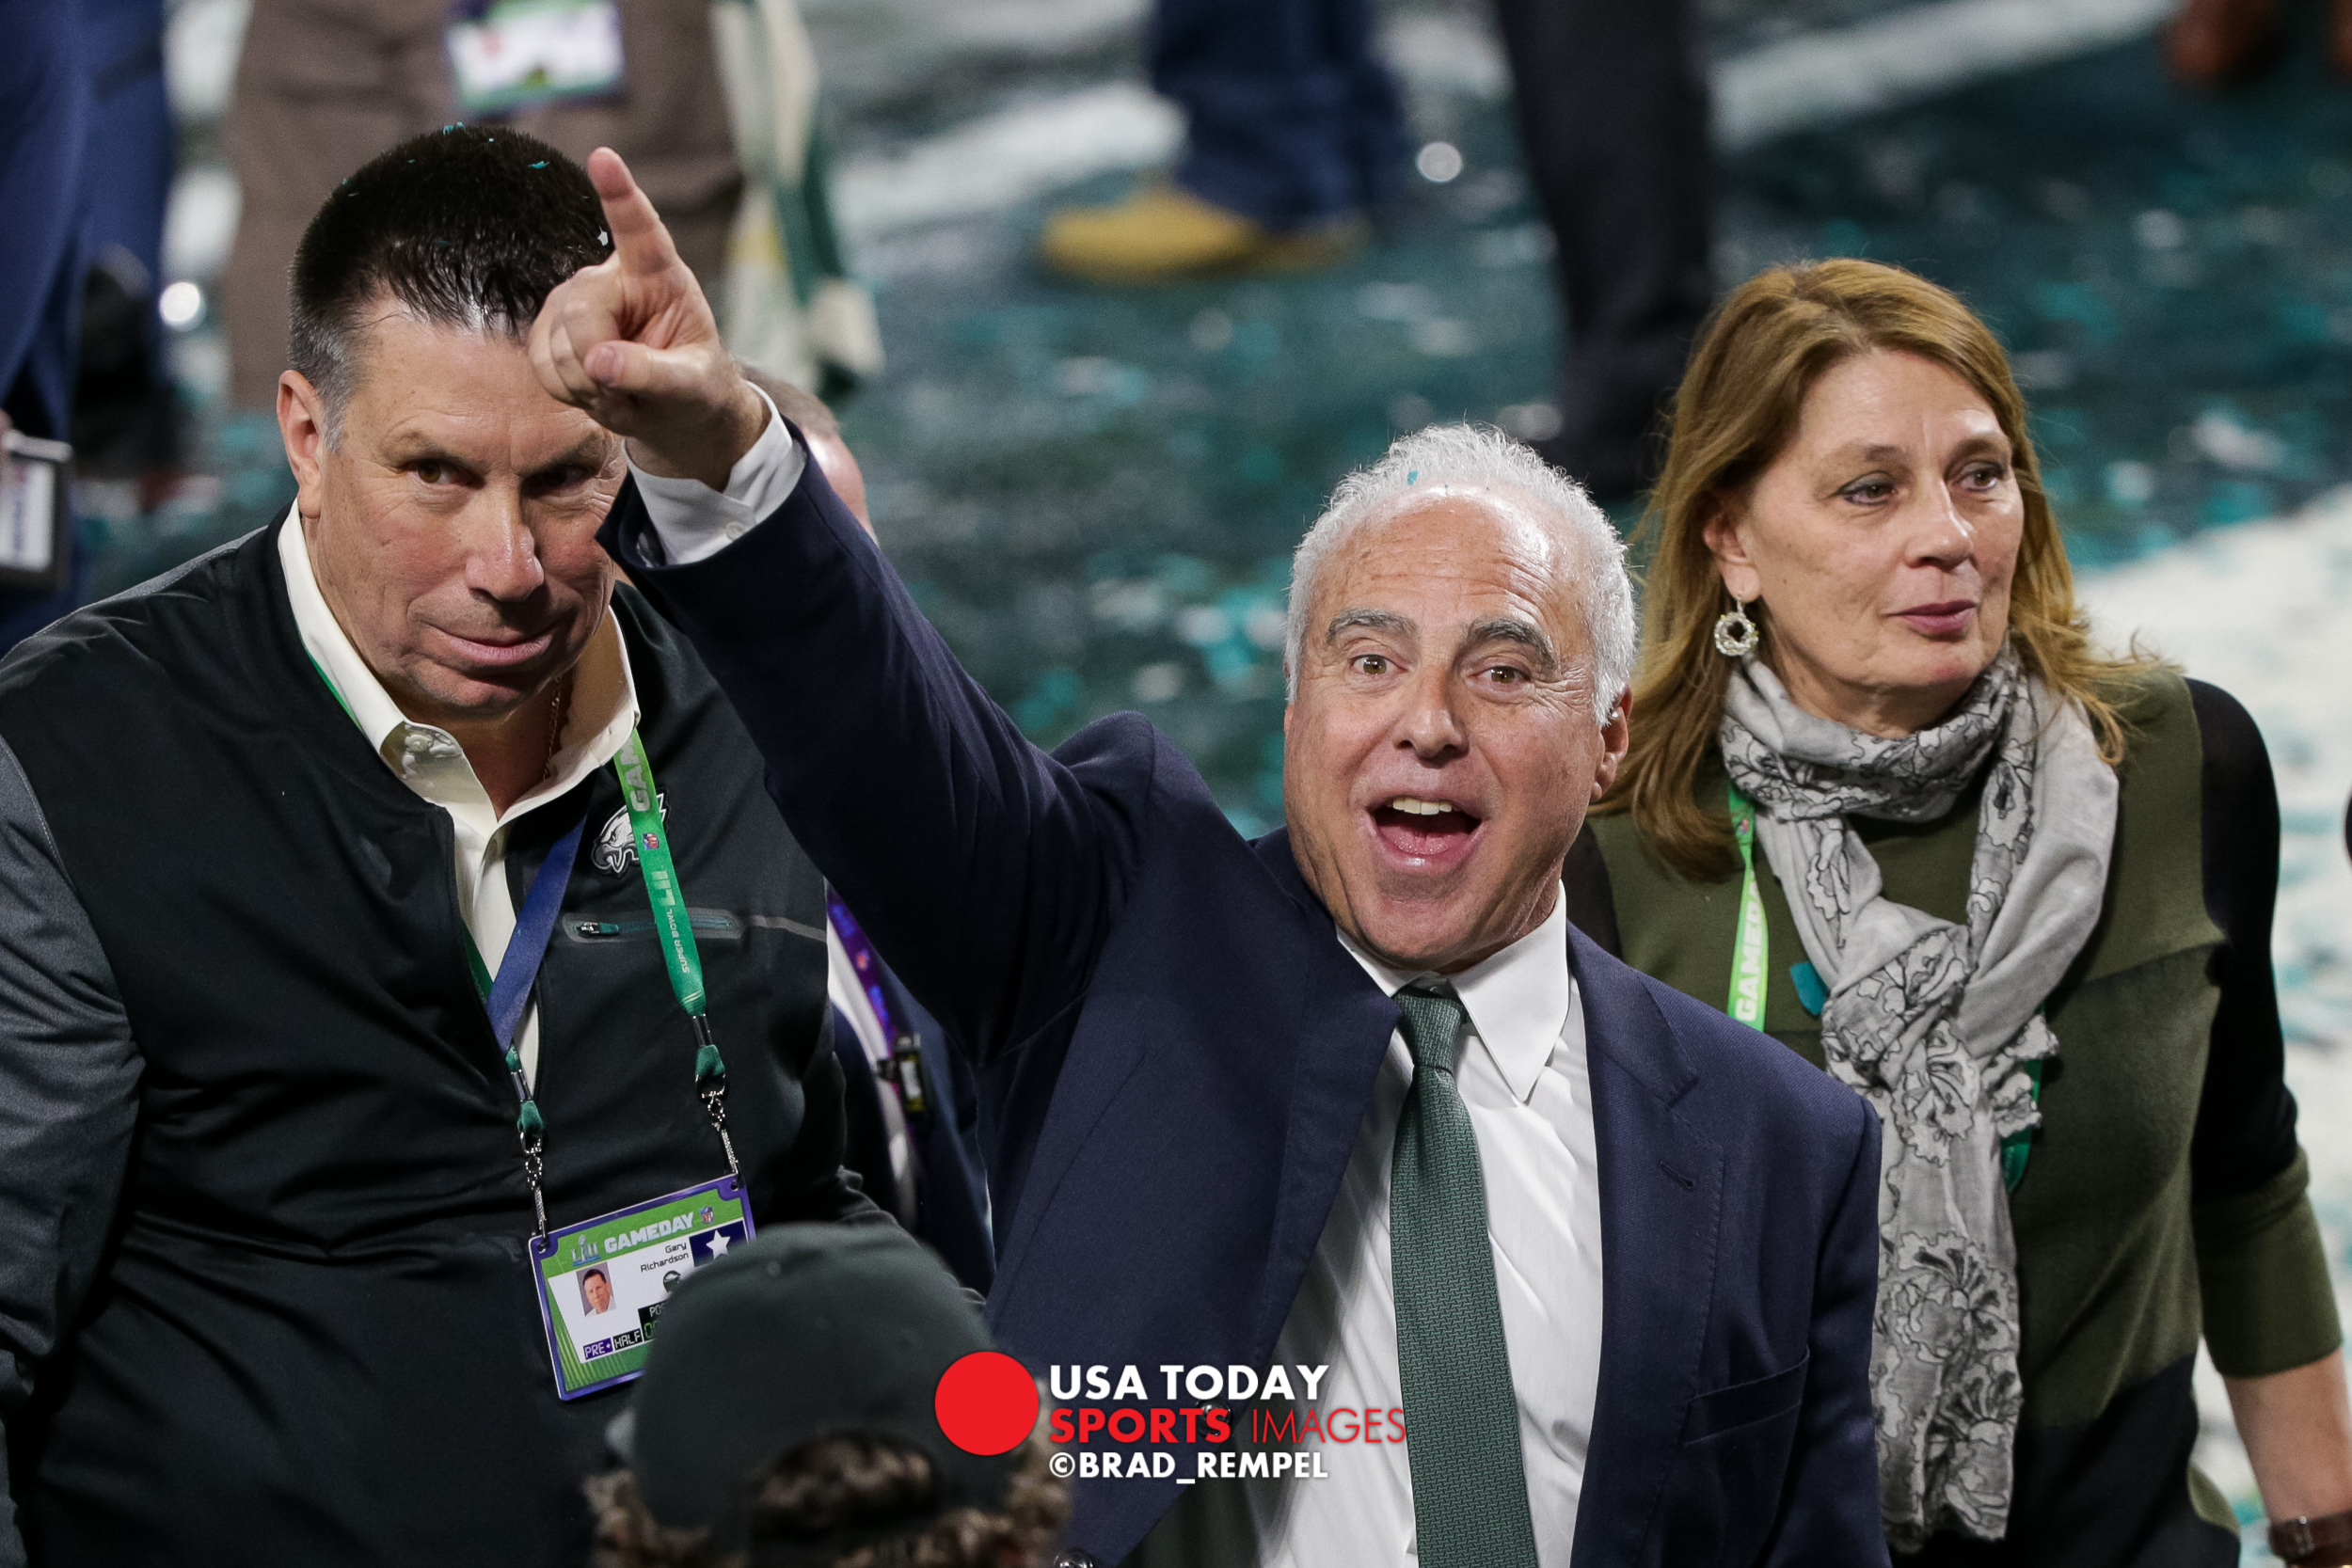
  • 9pm: Post game celebration. It turned out I had a terrible spot to get a lot of post game celebration. I was behind the stage and there wasn’t a lot to photograph but you work with what you got and shoot what you can.

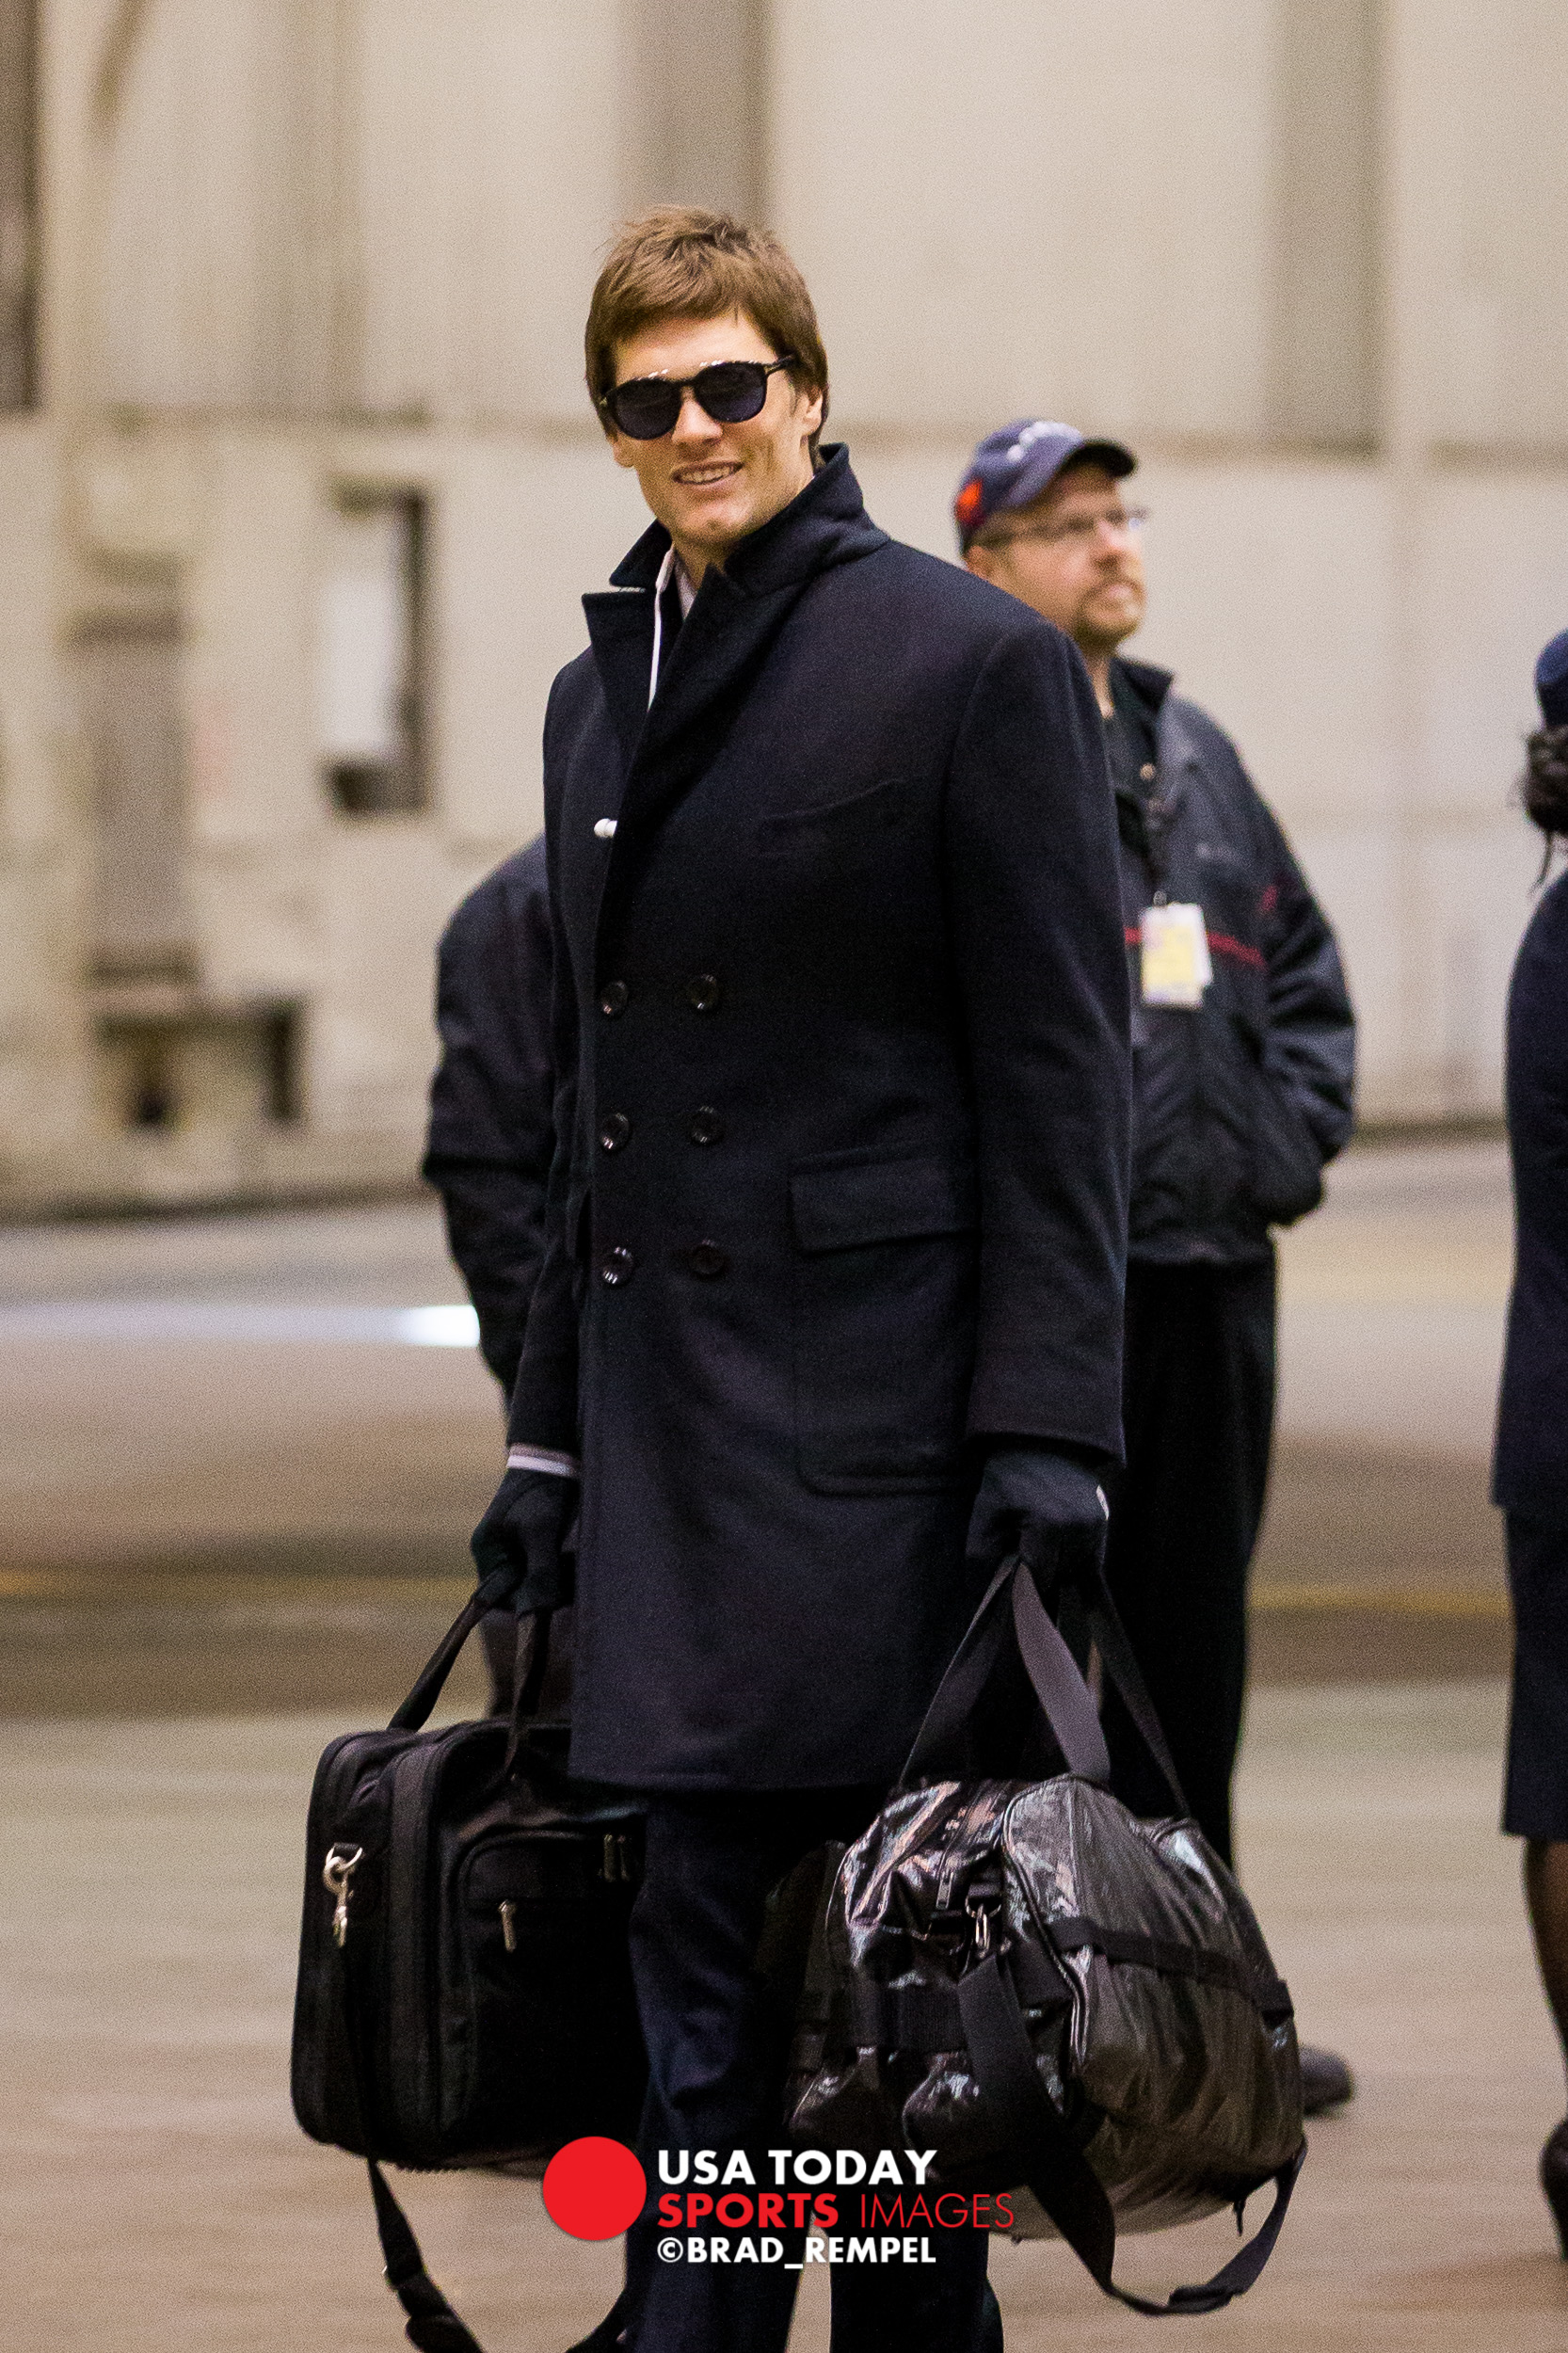
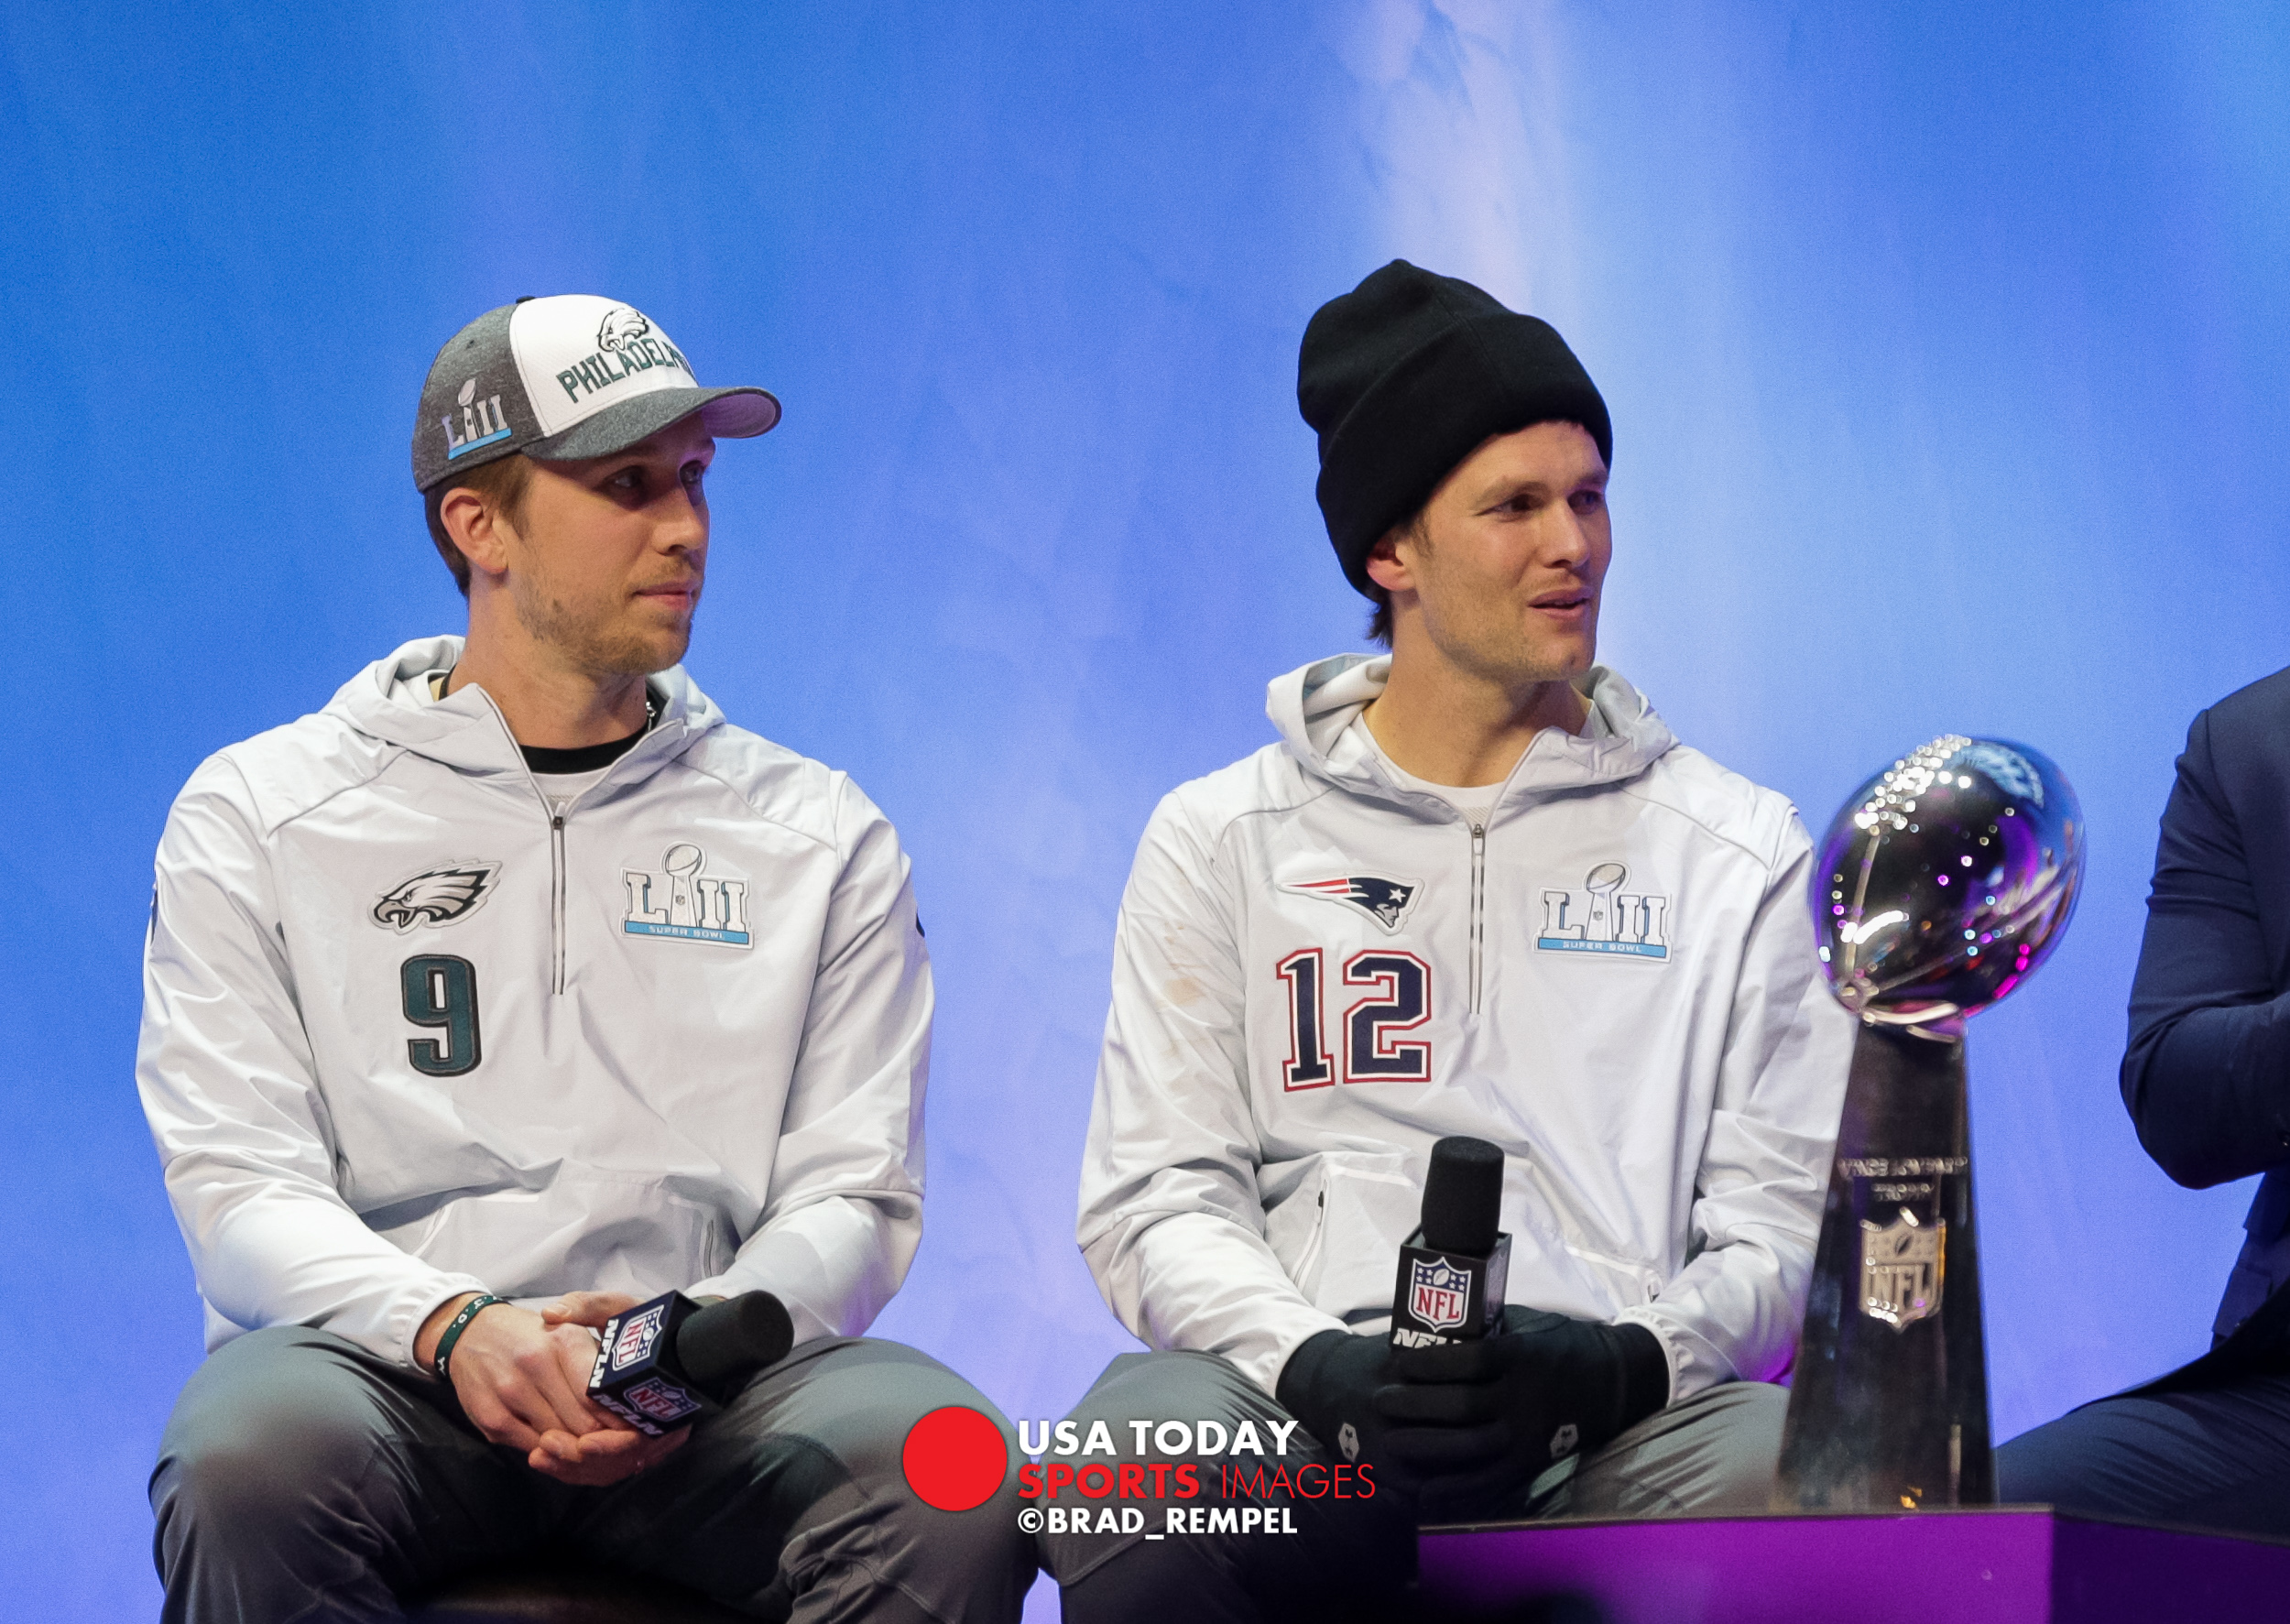
Arrivals, Opening Day, Kitten Bowl


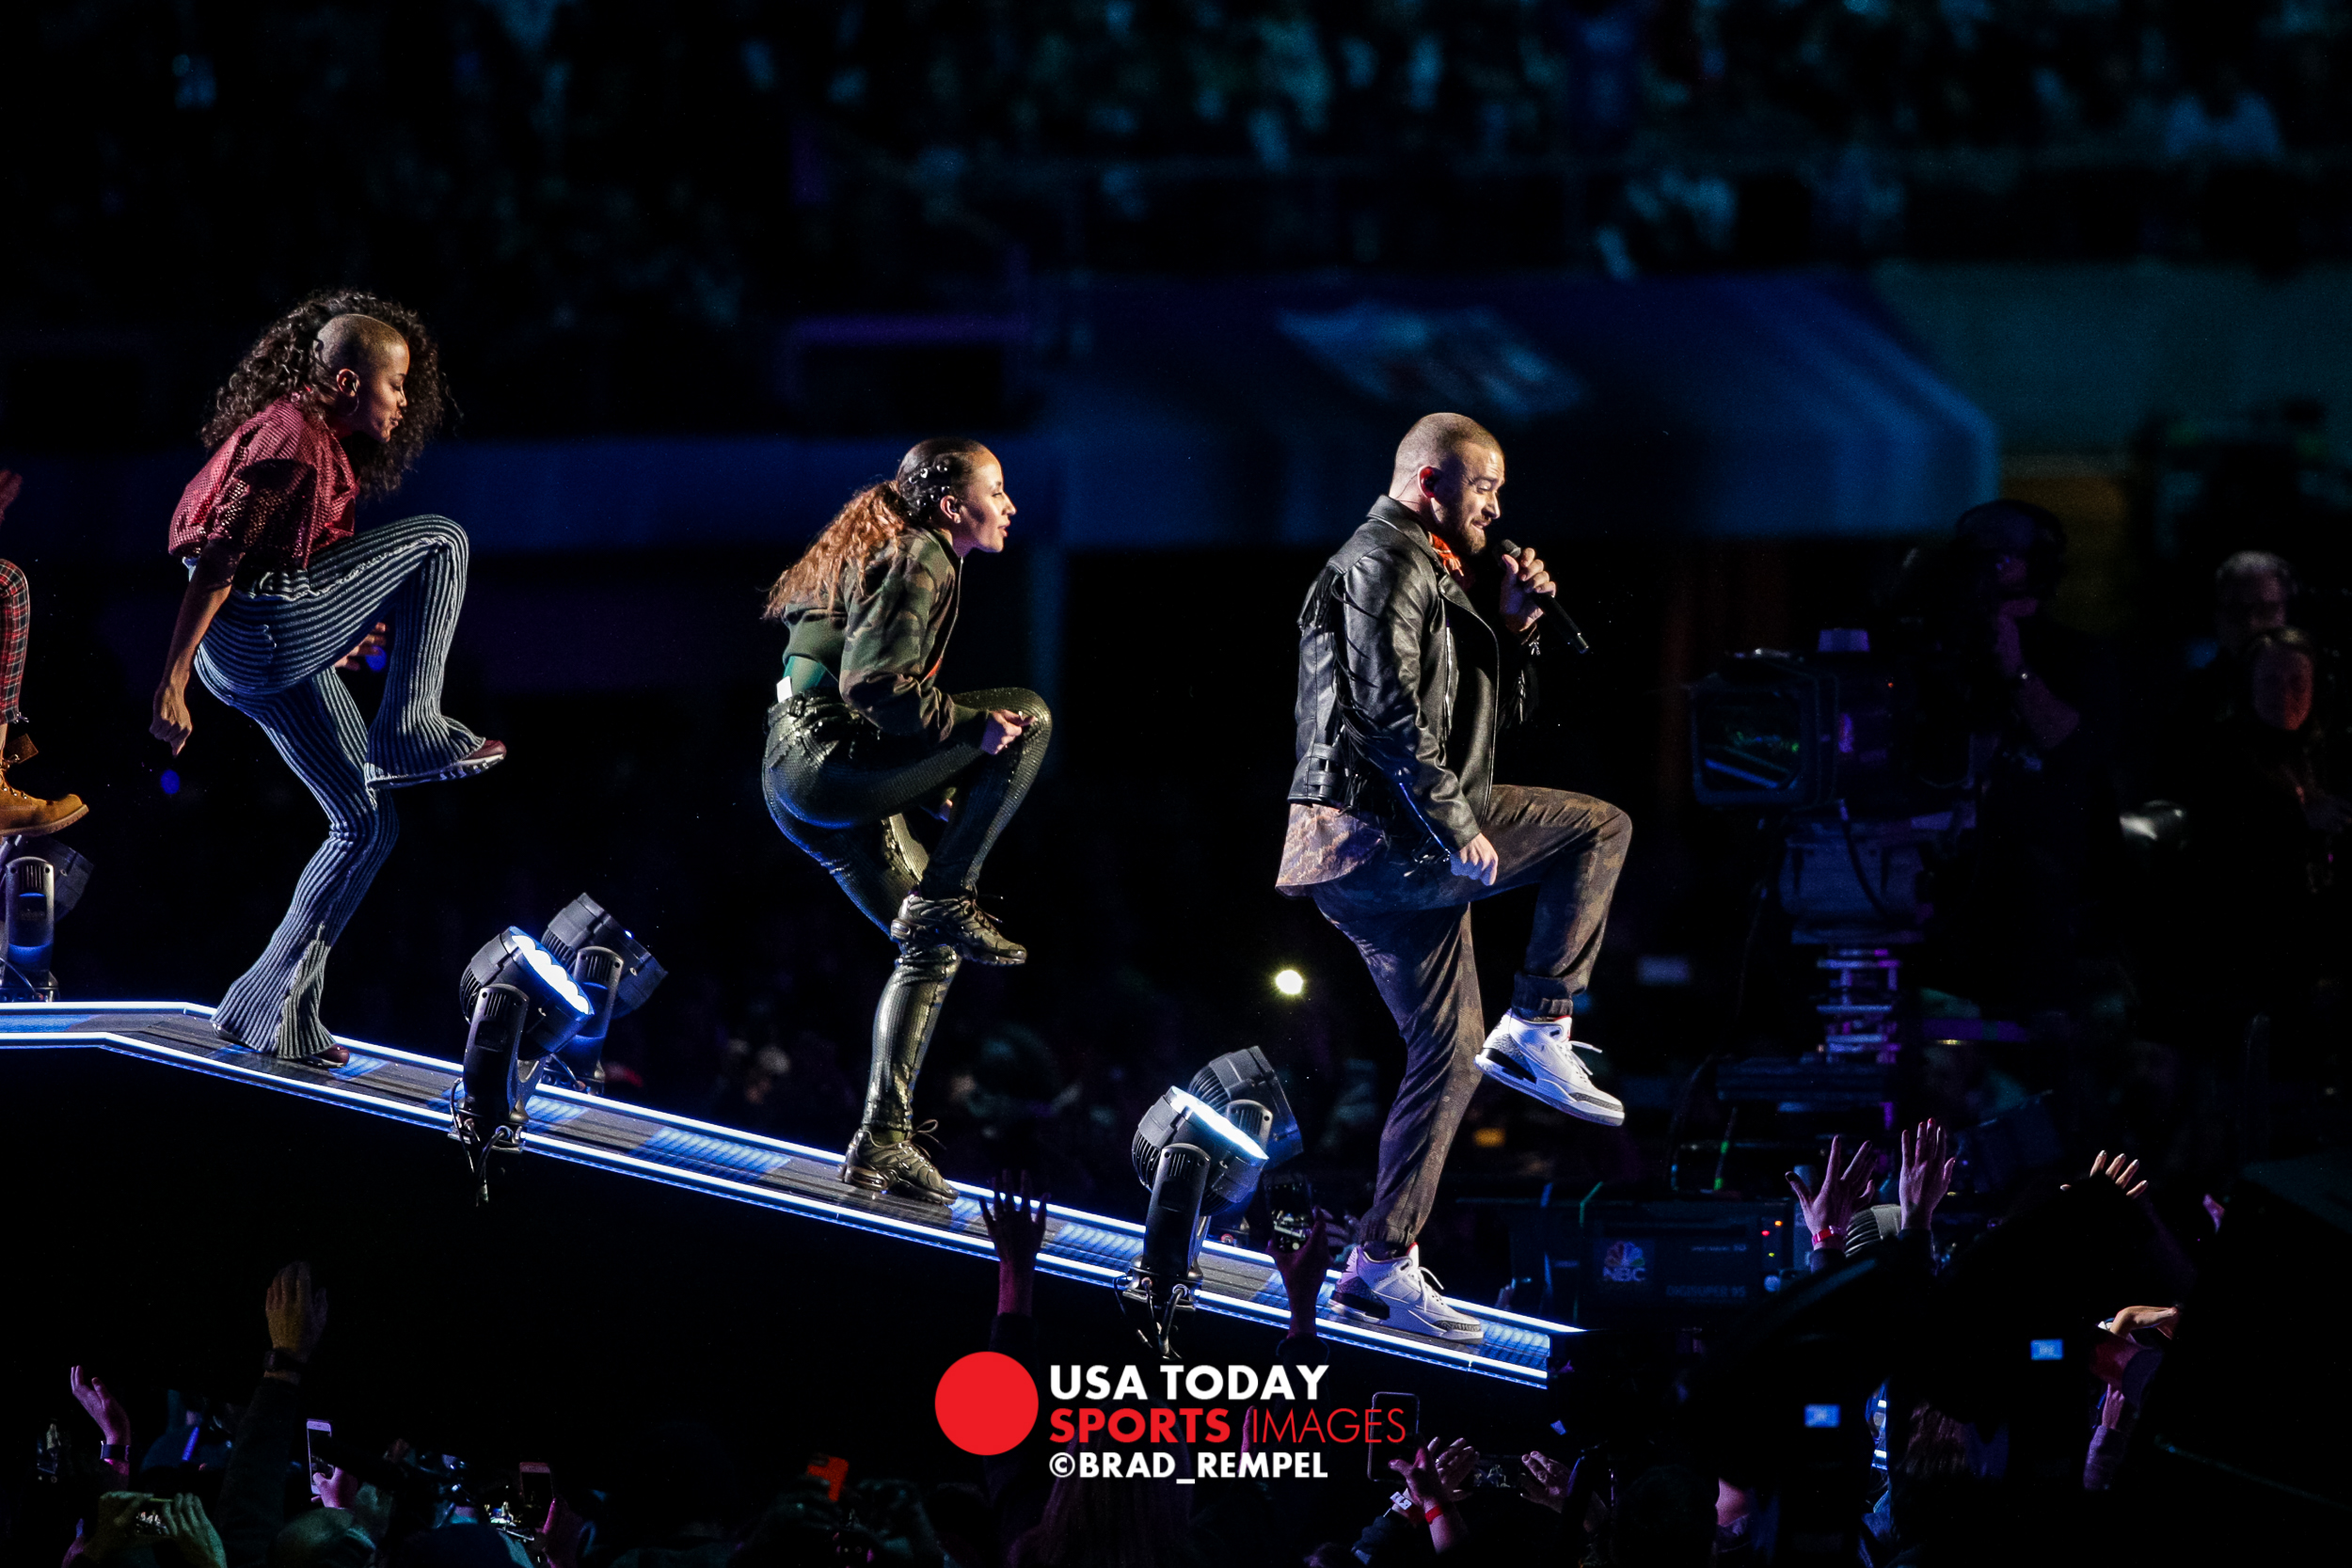
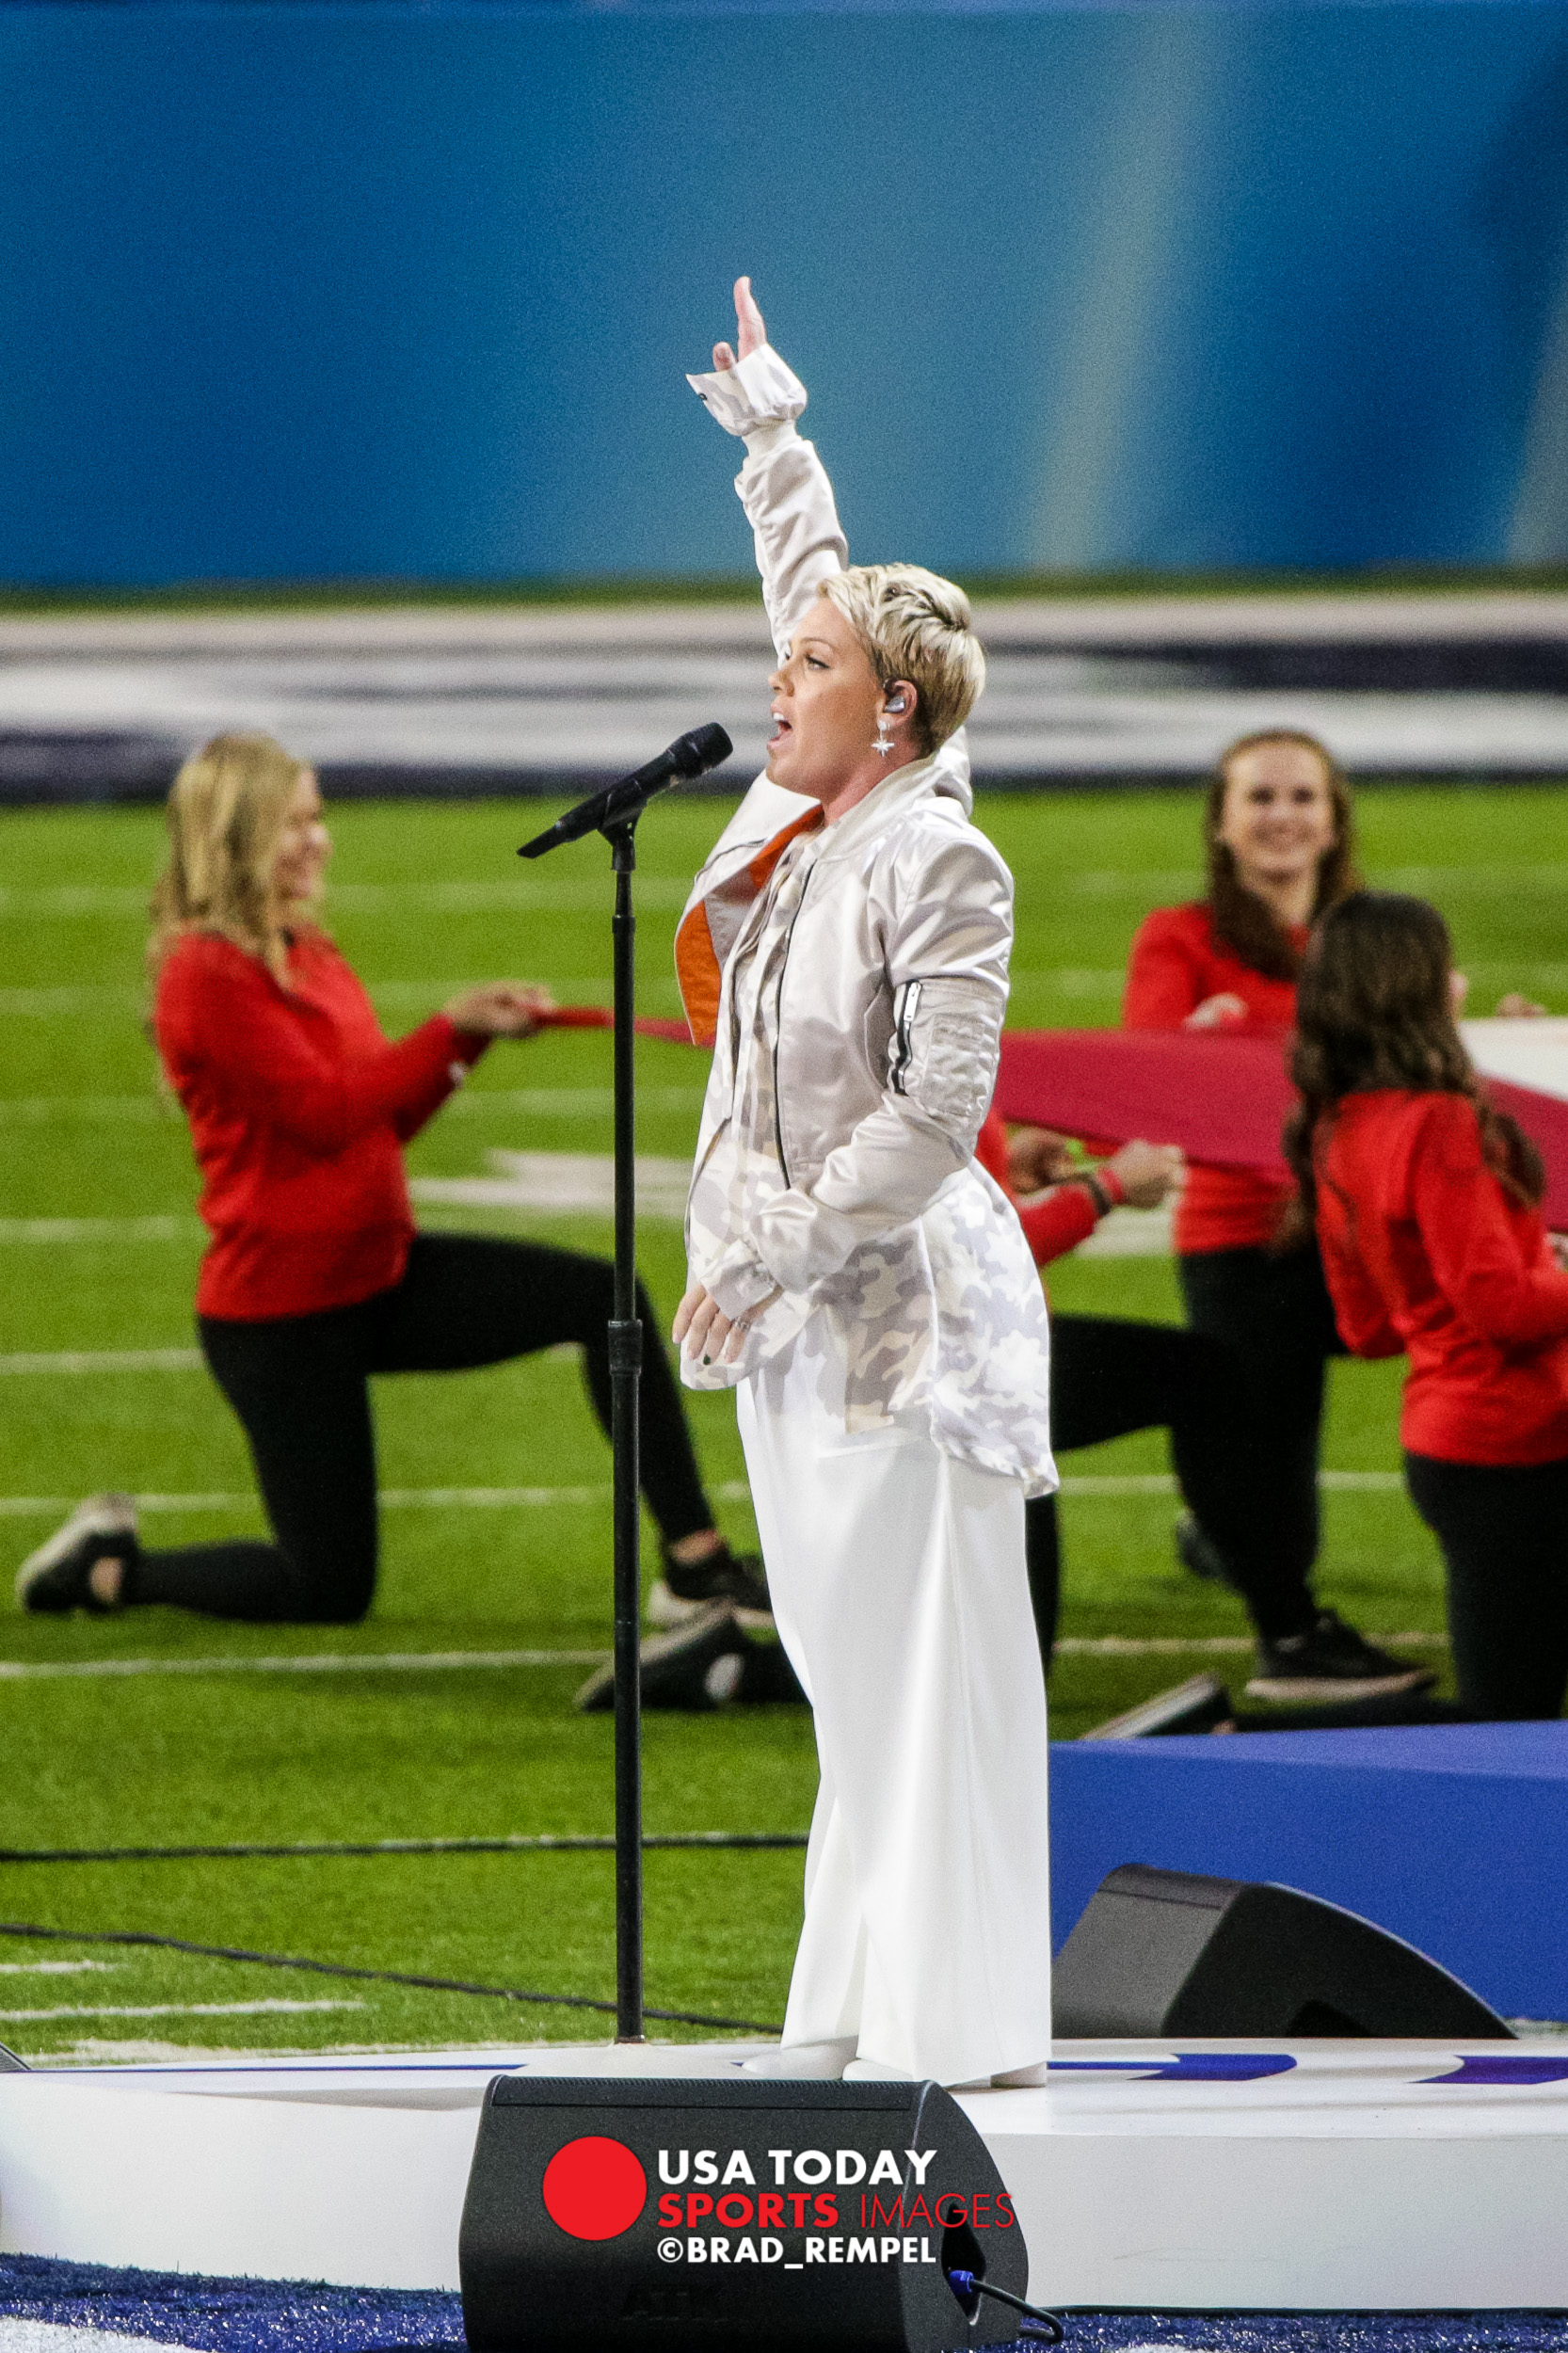
National Anthem by Pink and halftime with Justin Timberlake
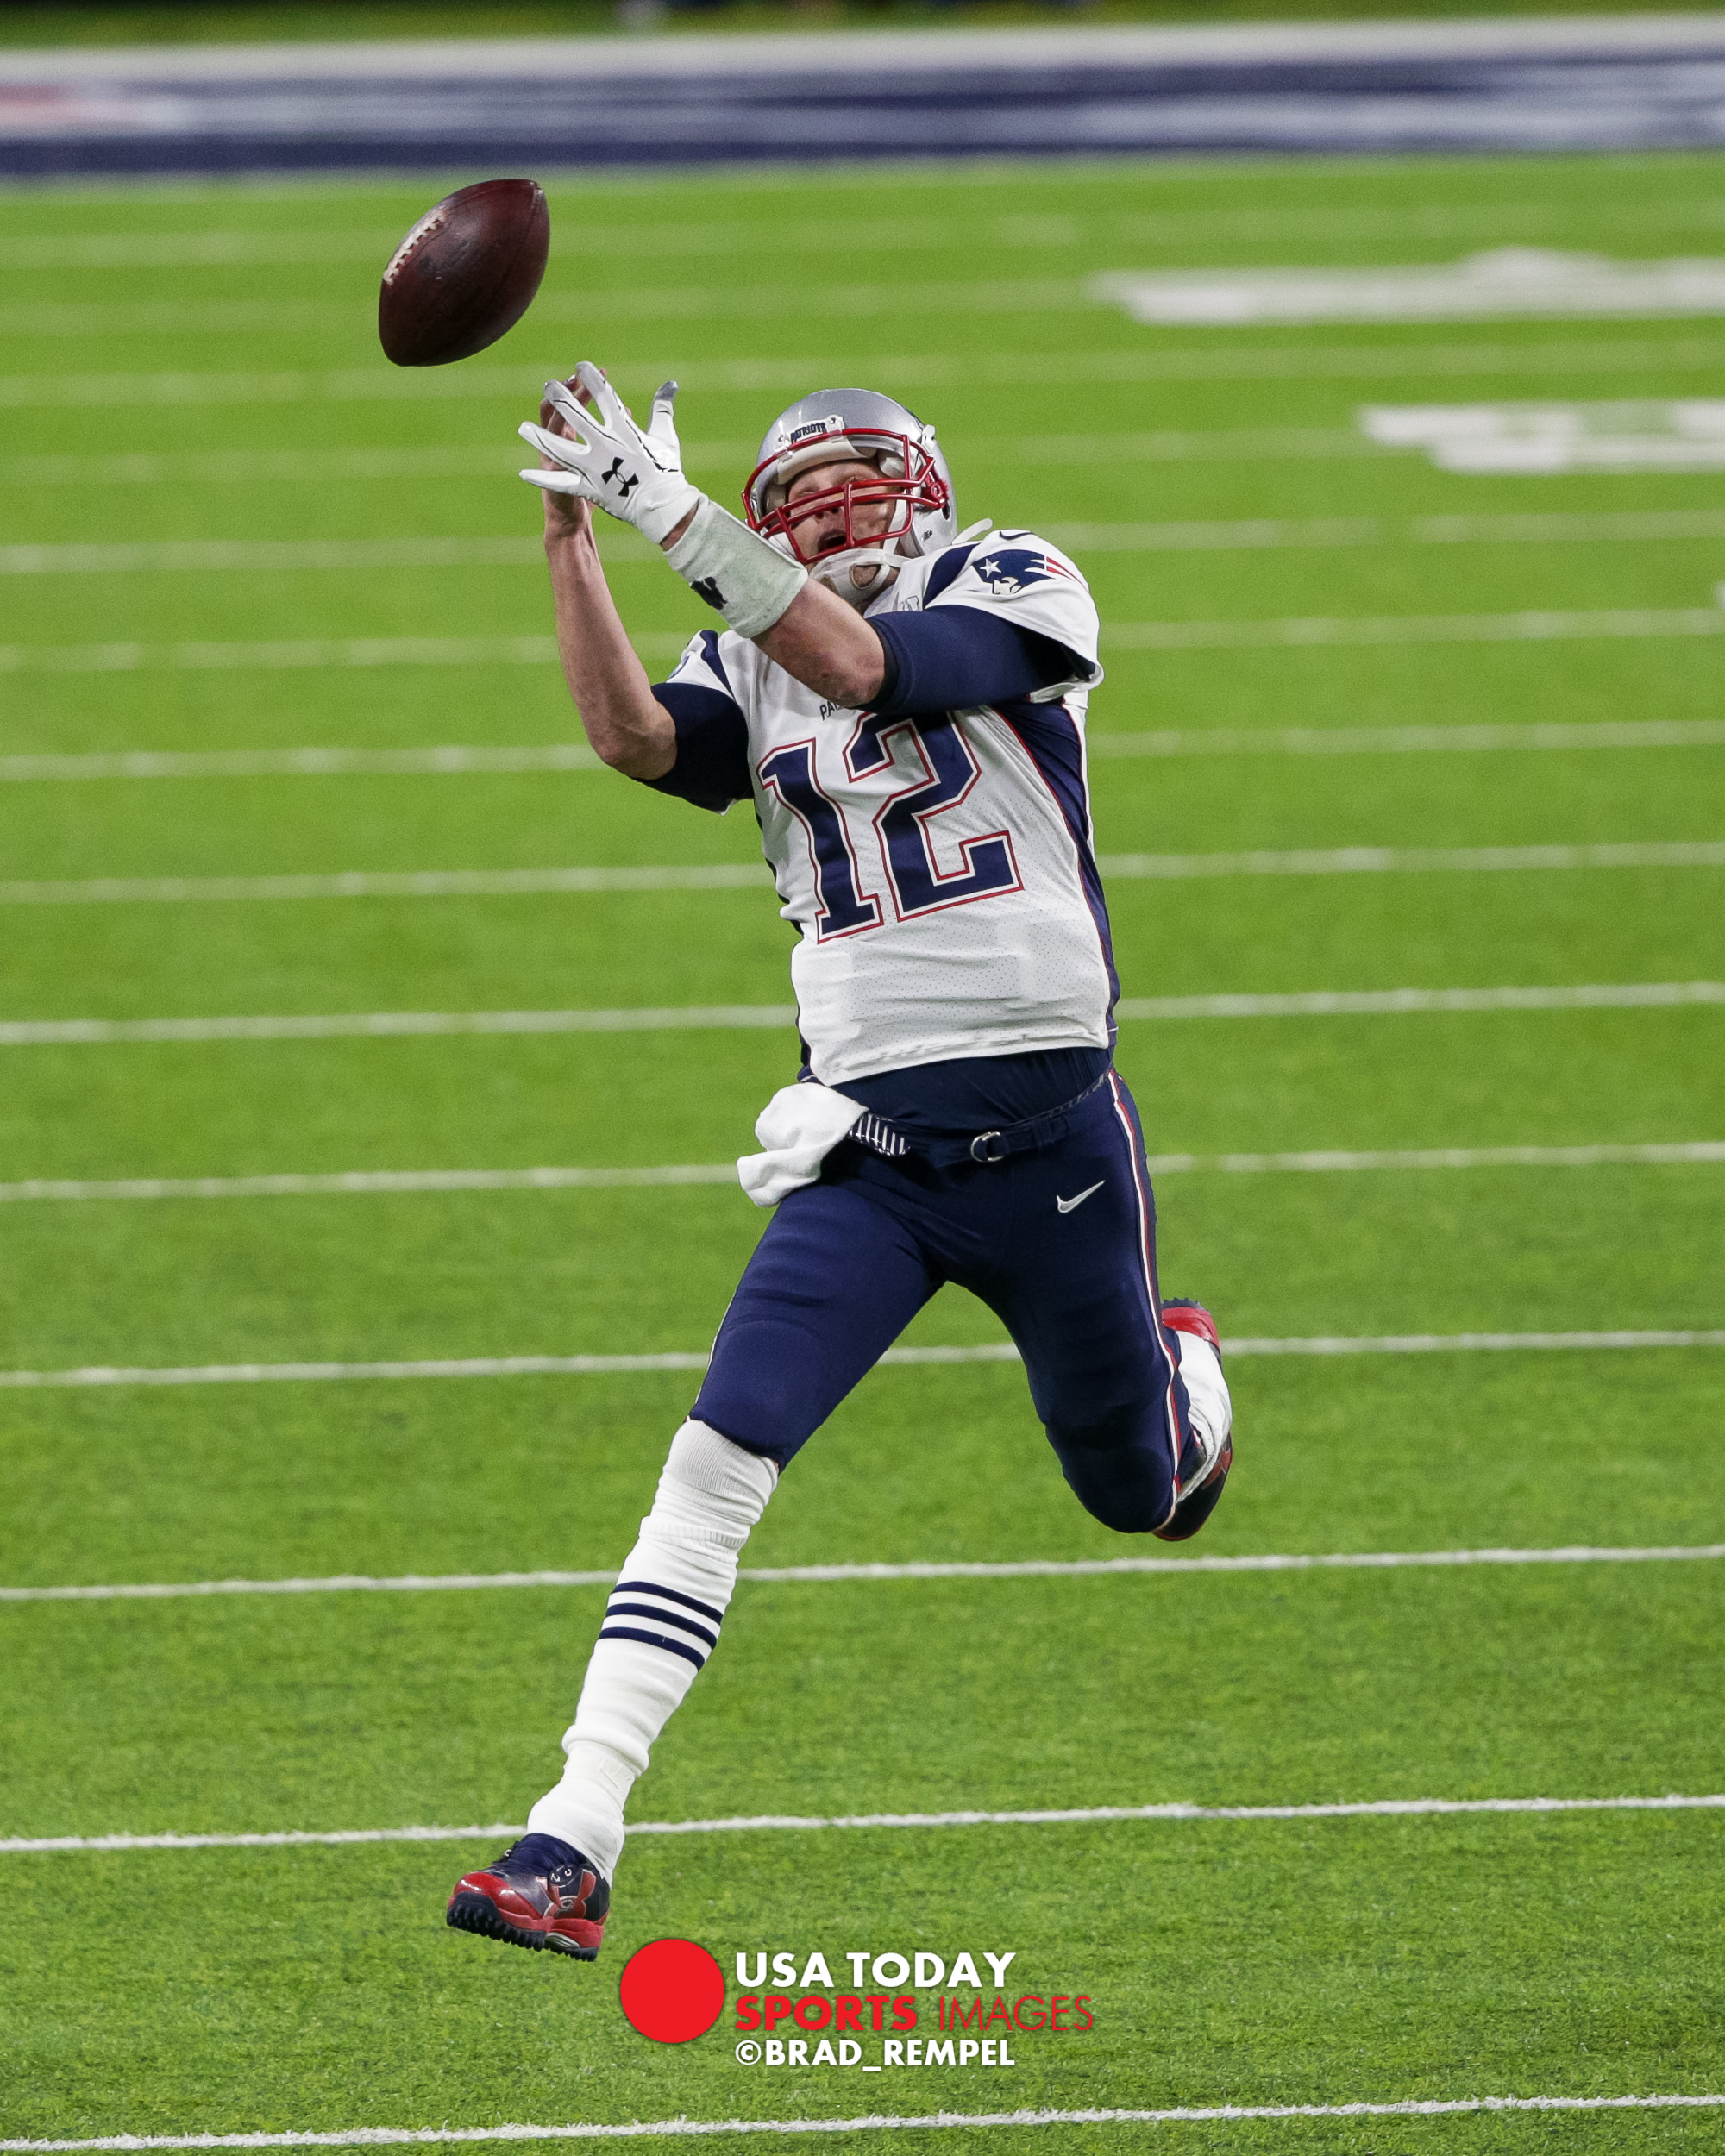
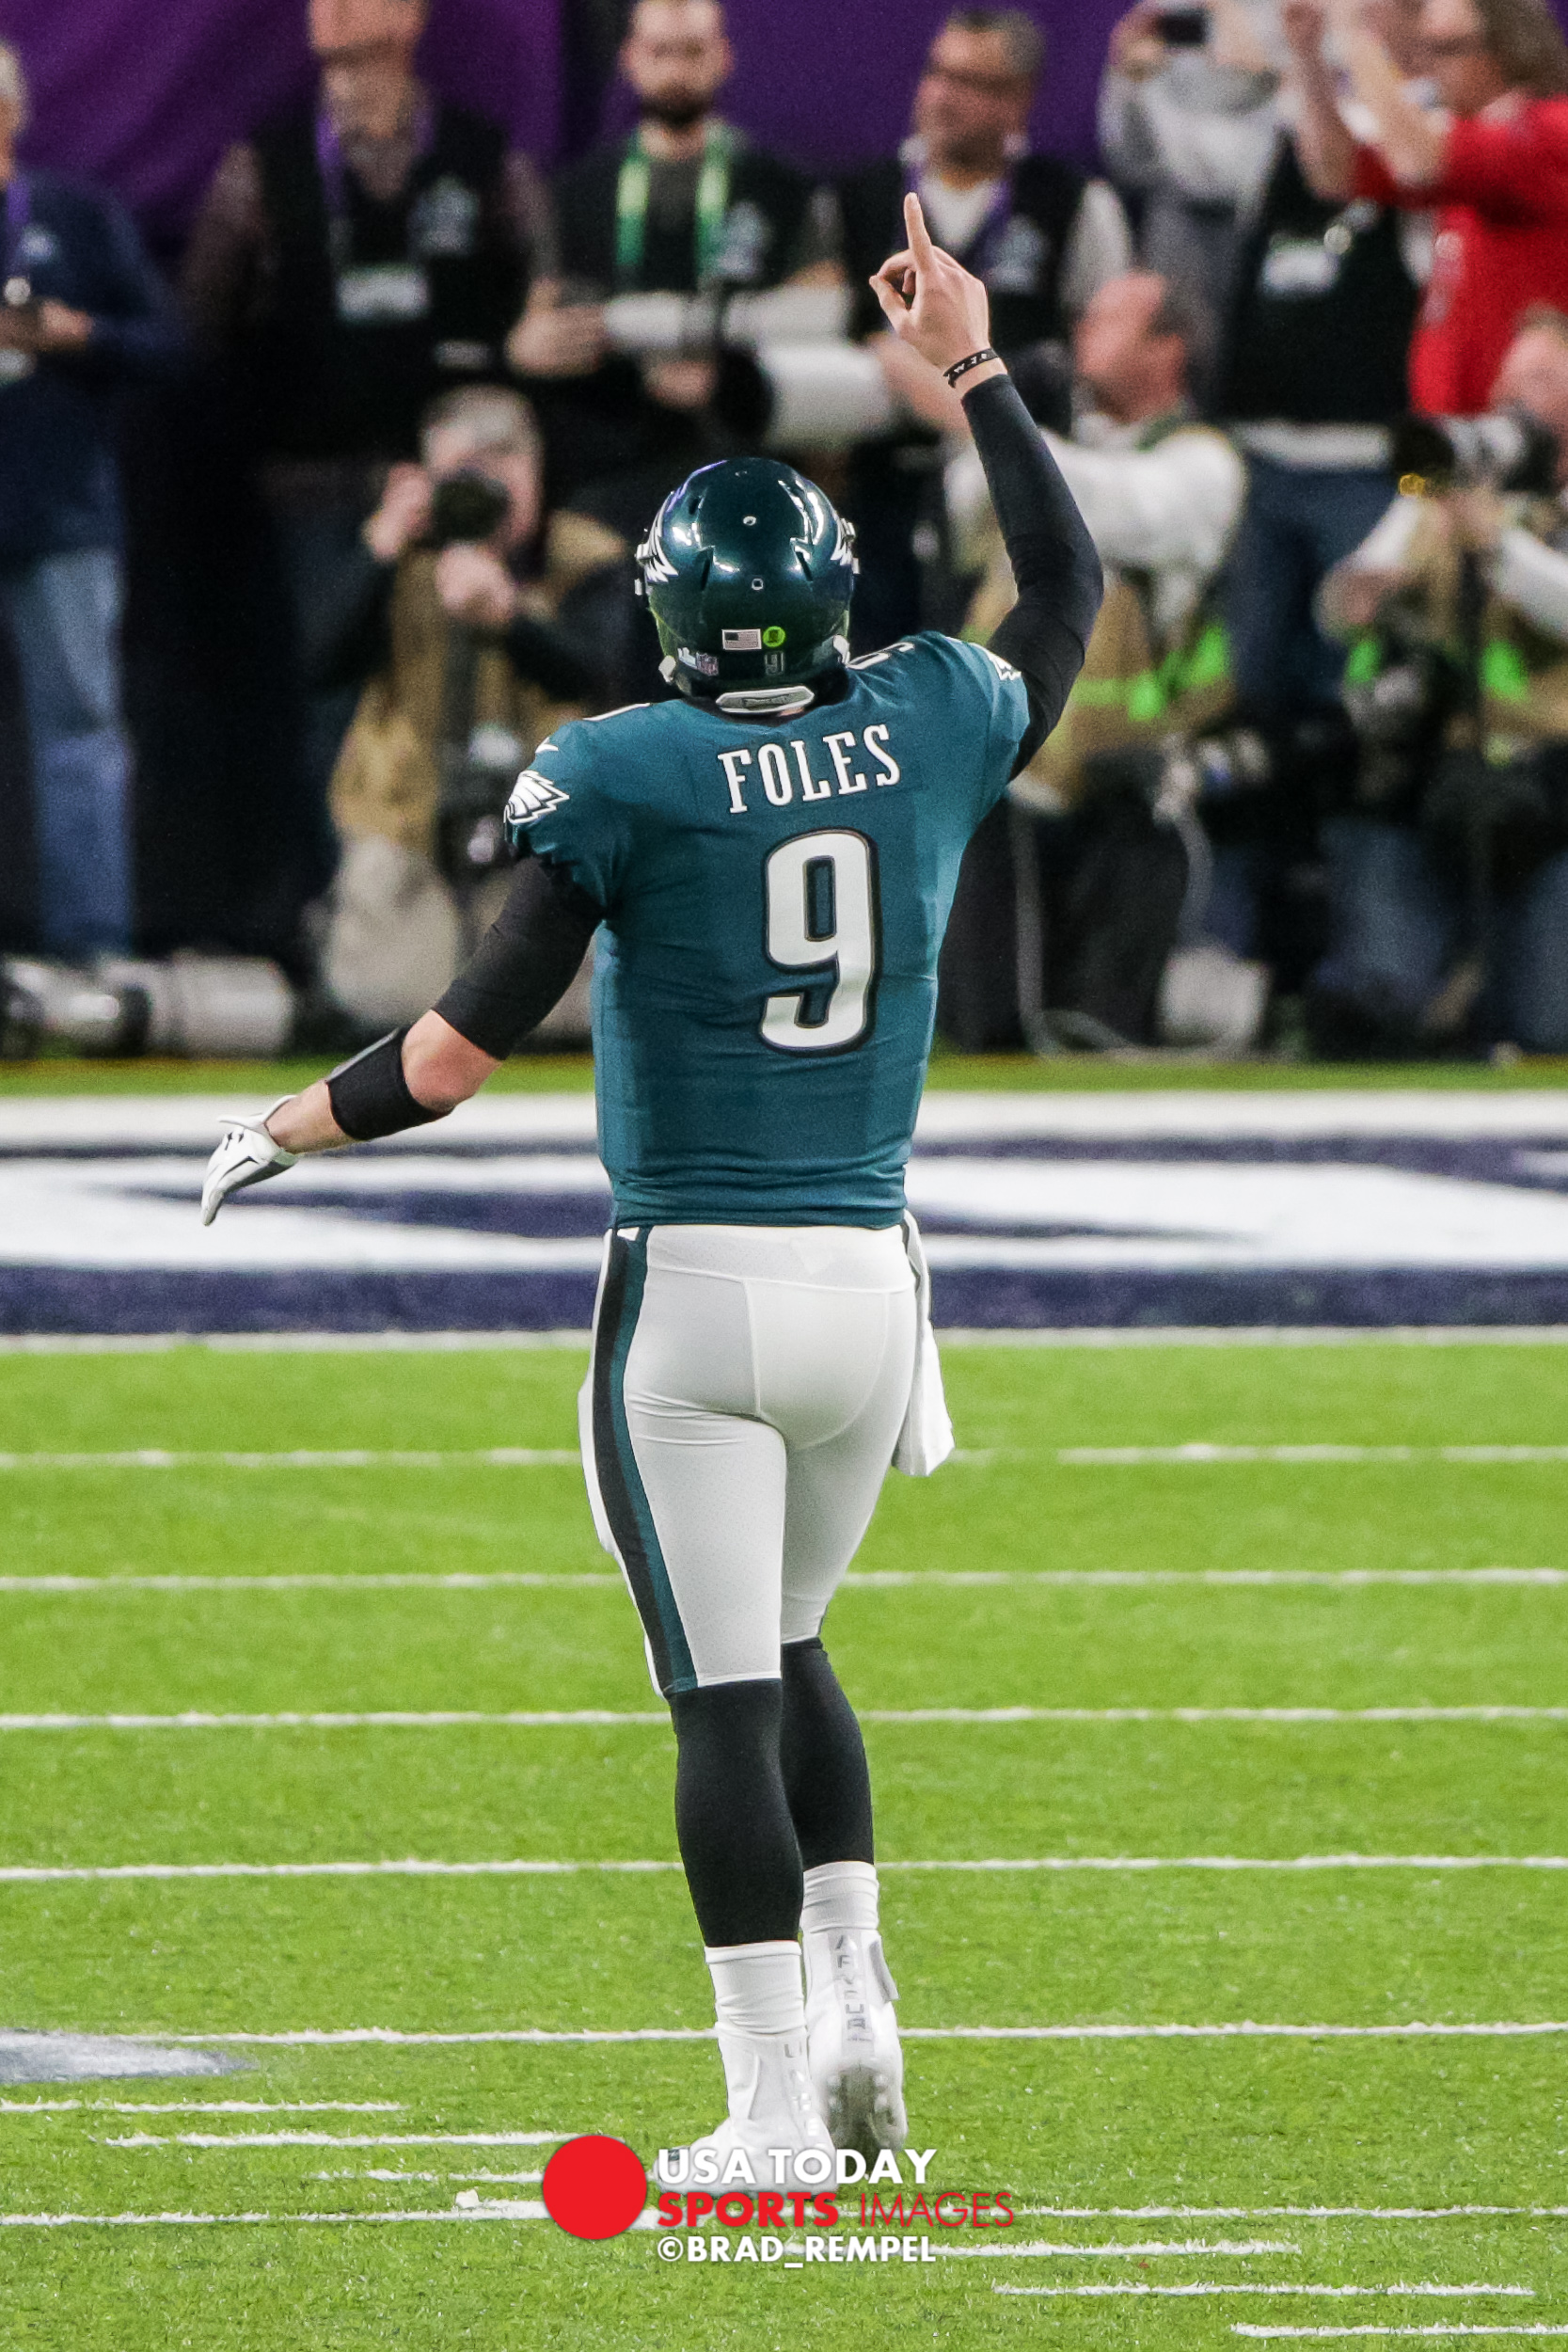
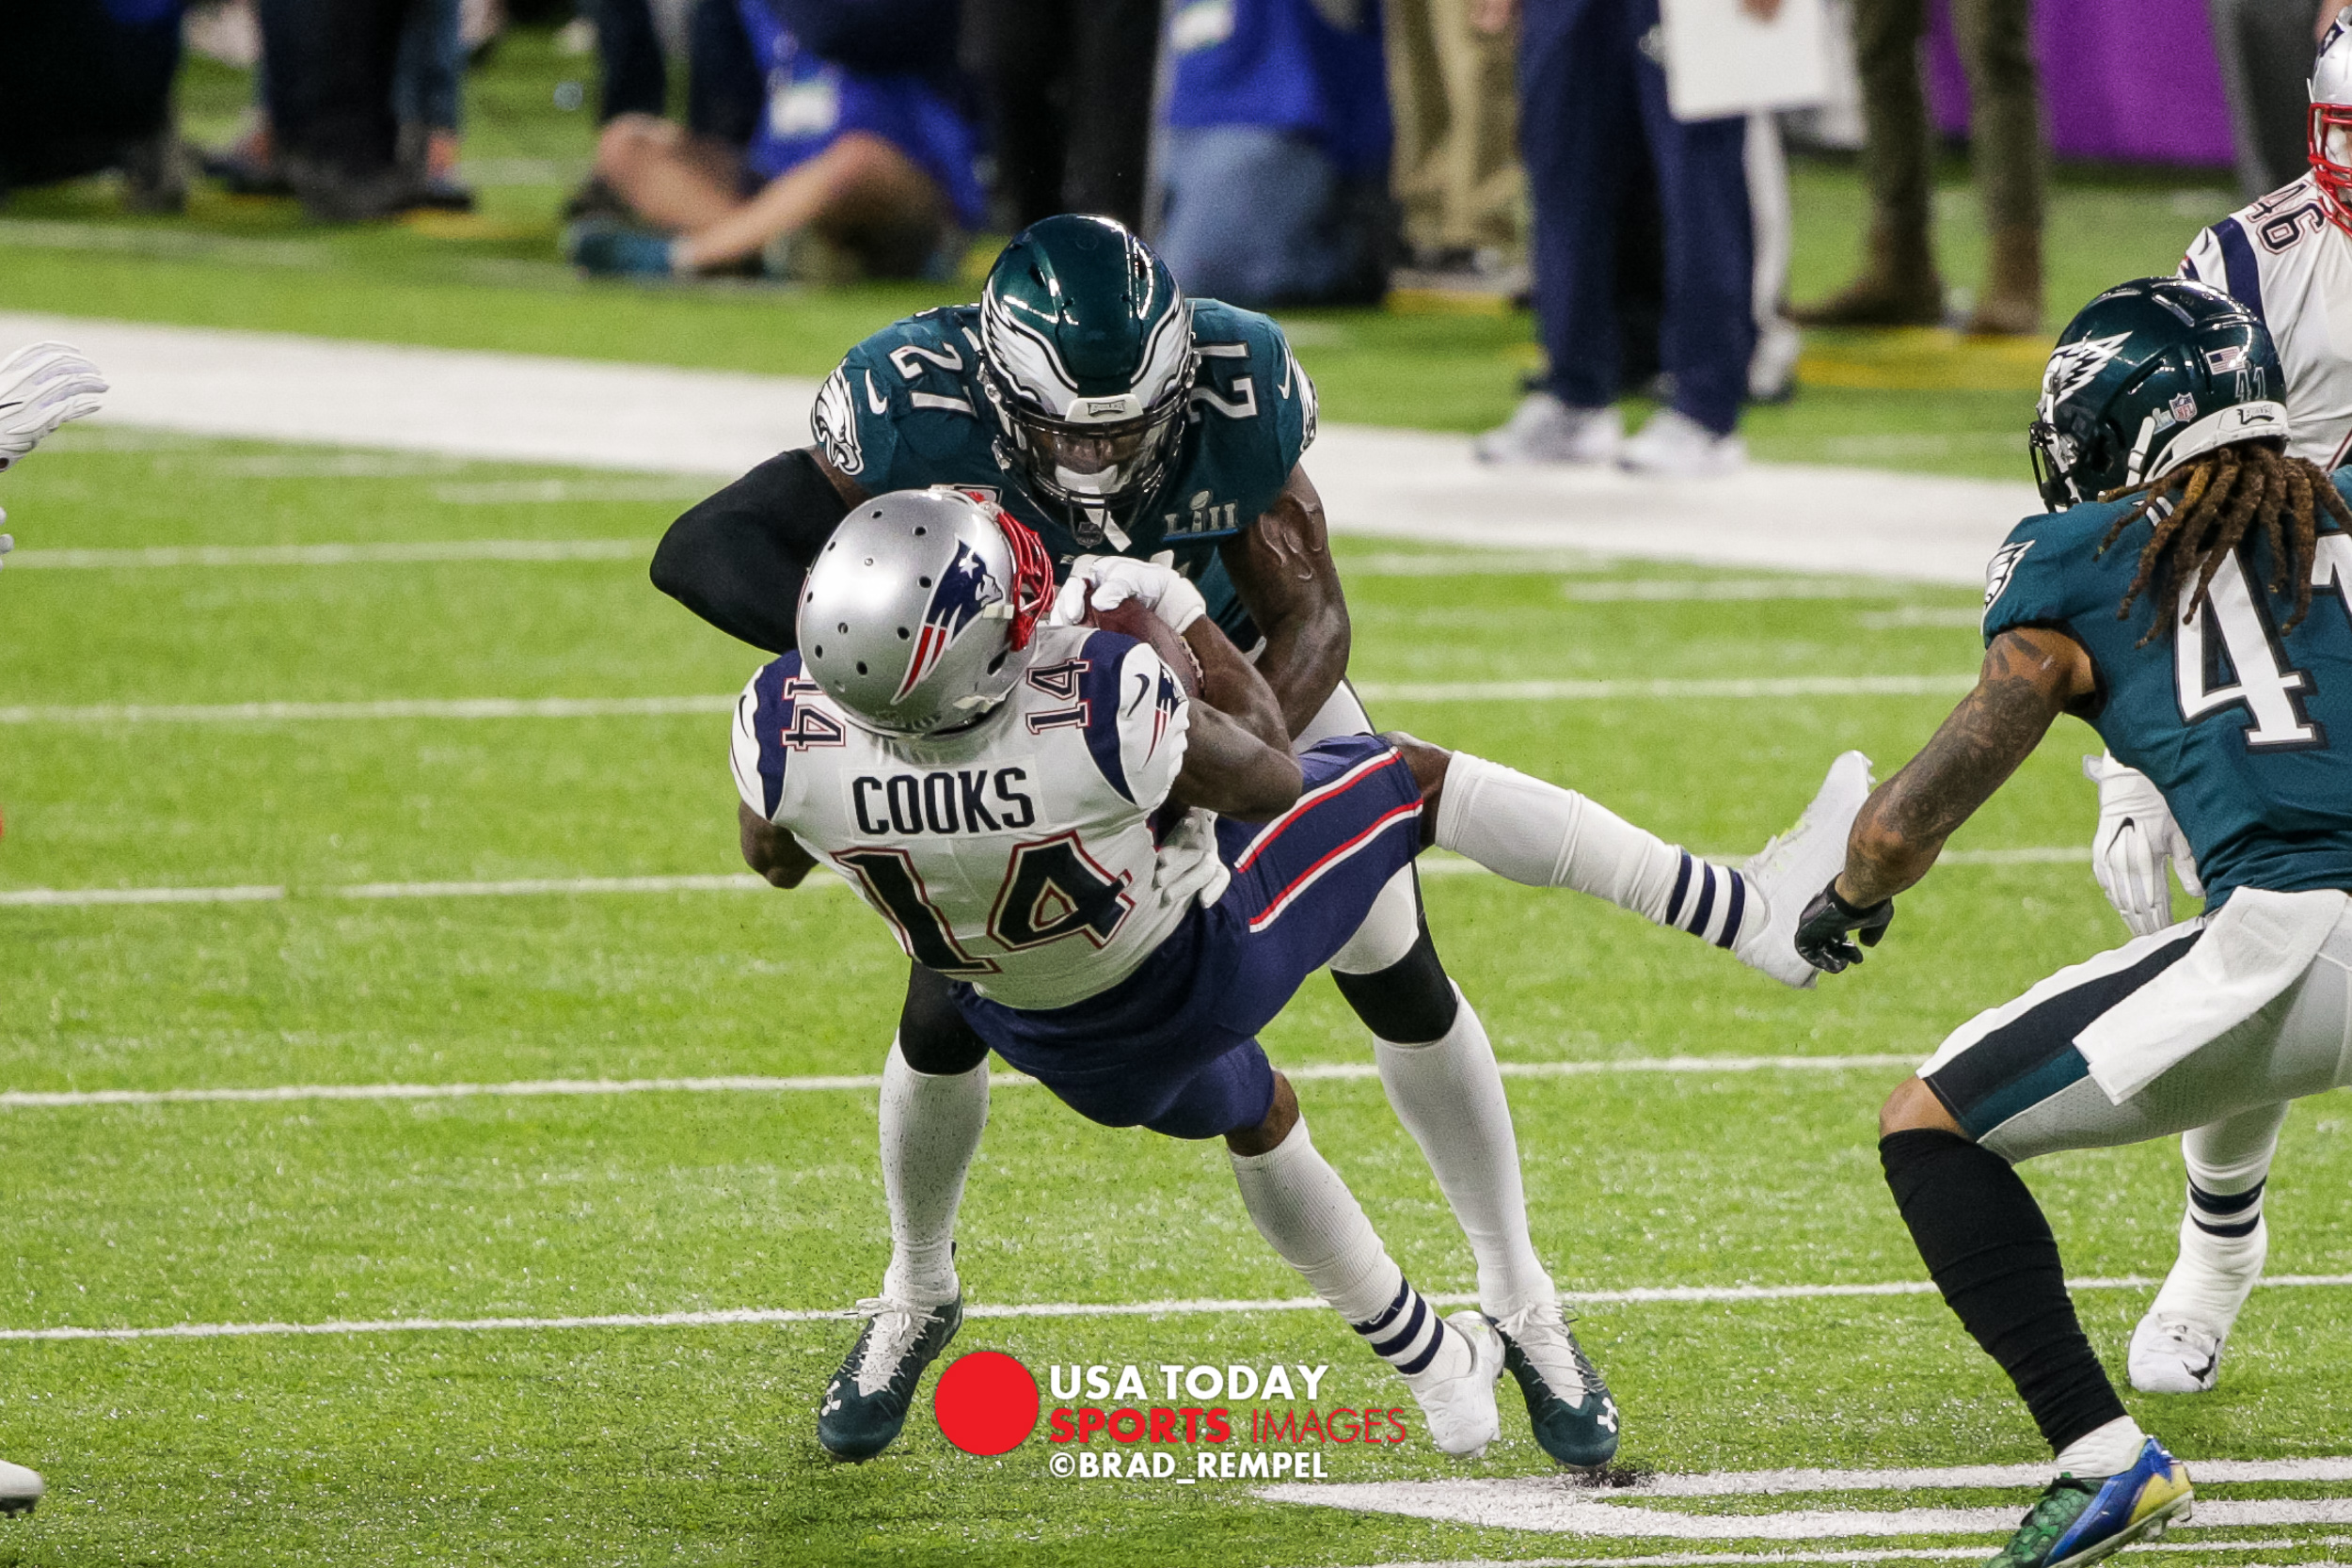
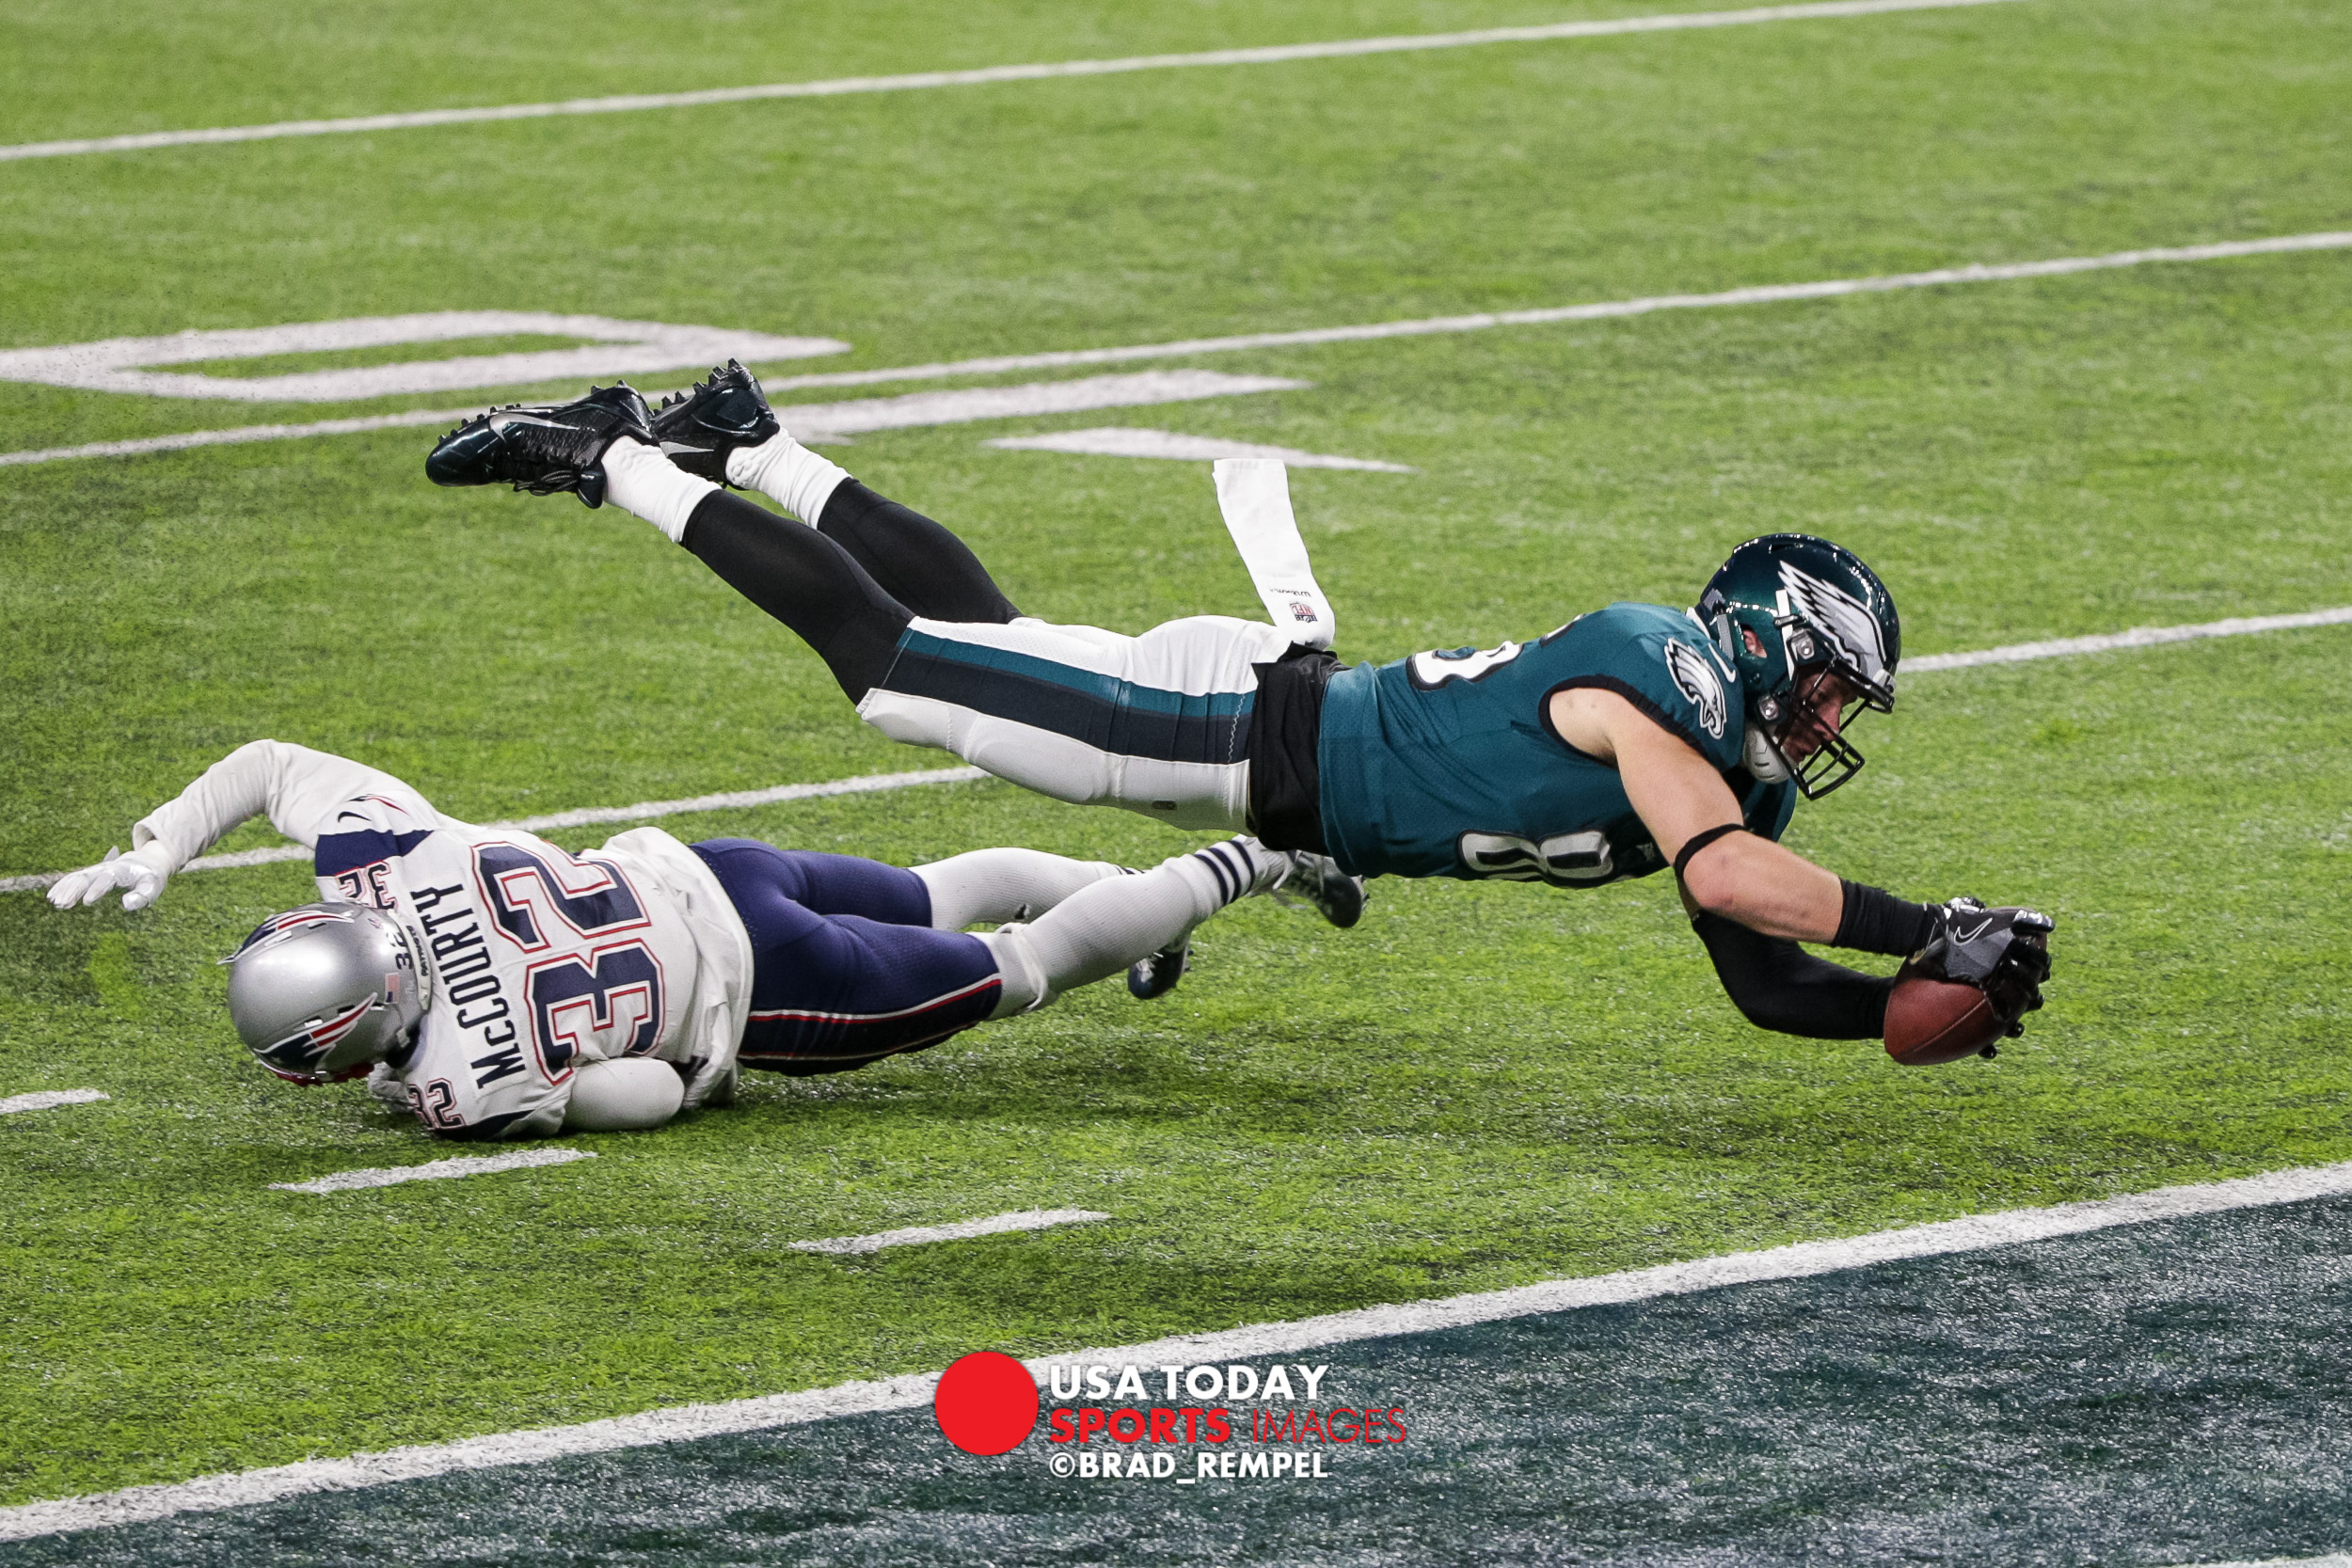
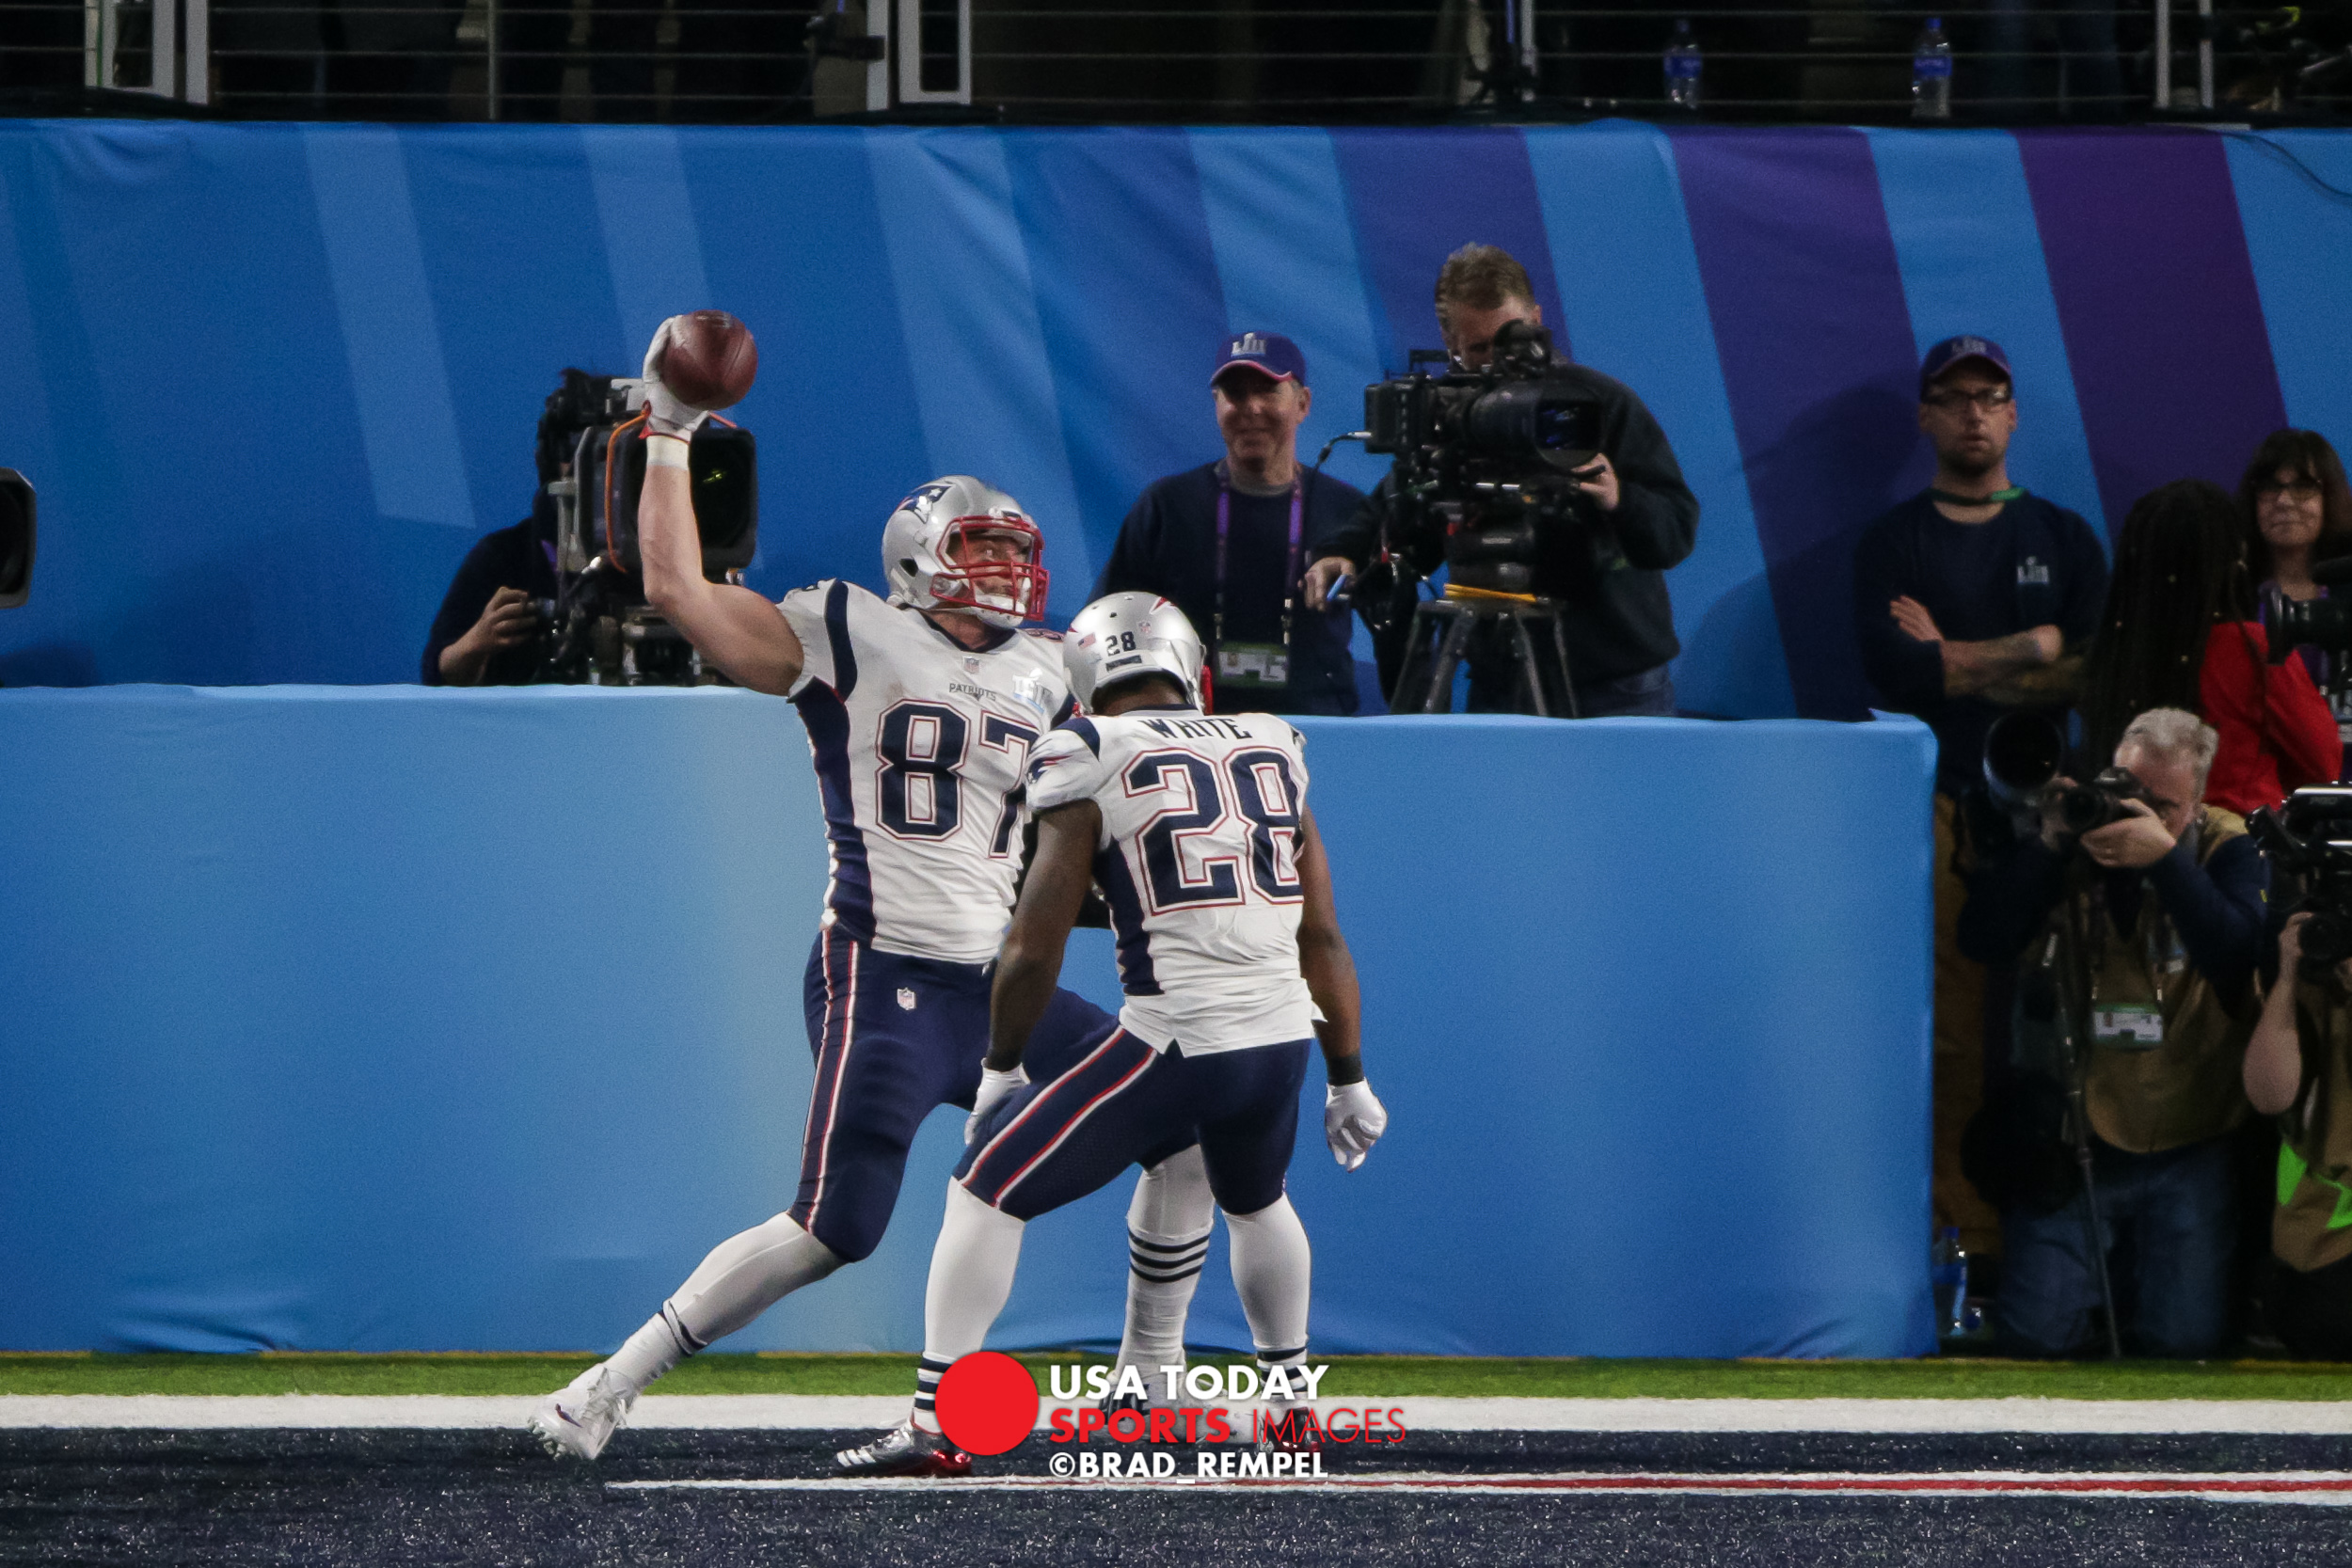
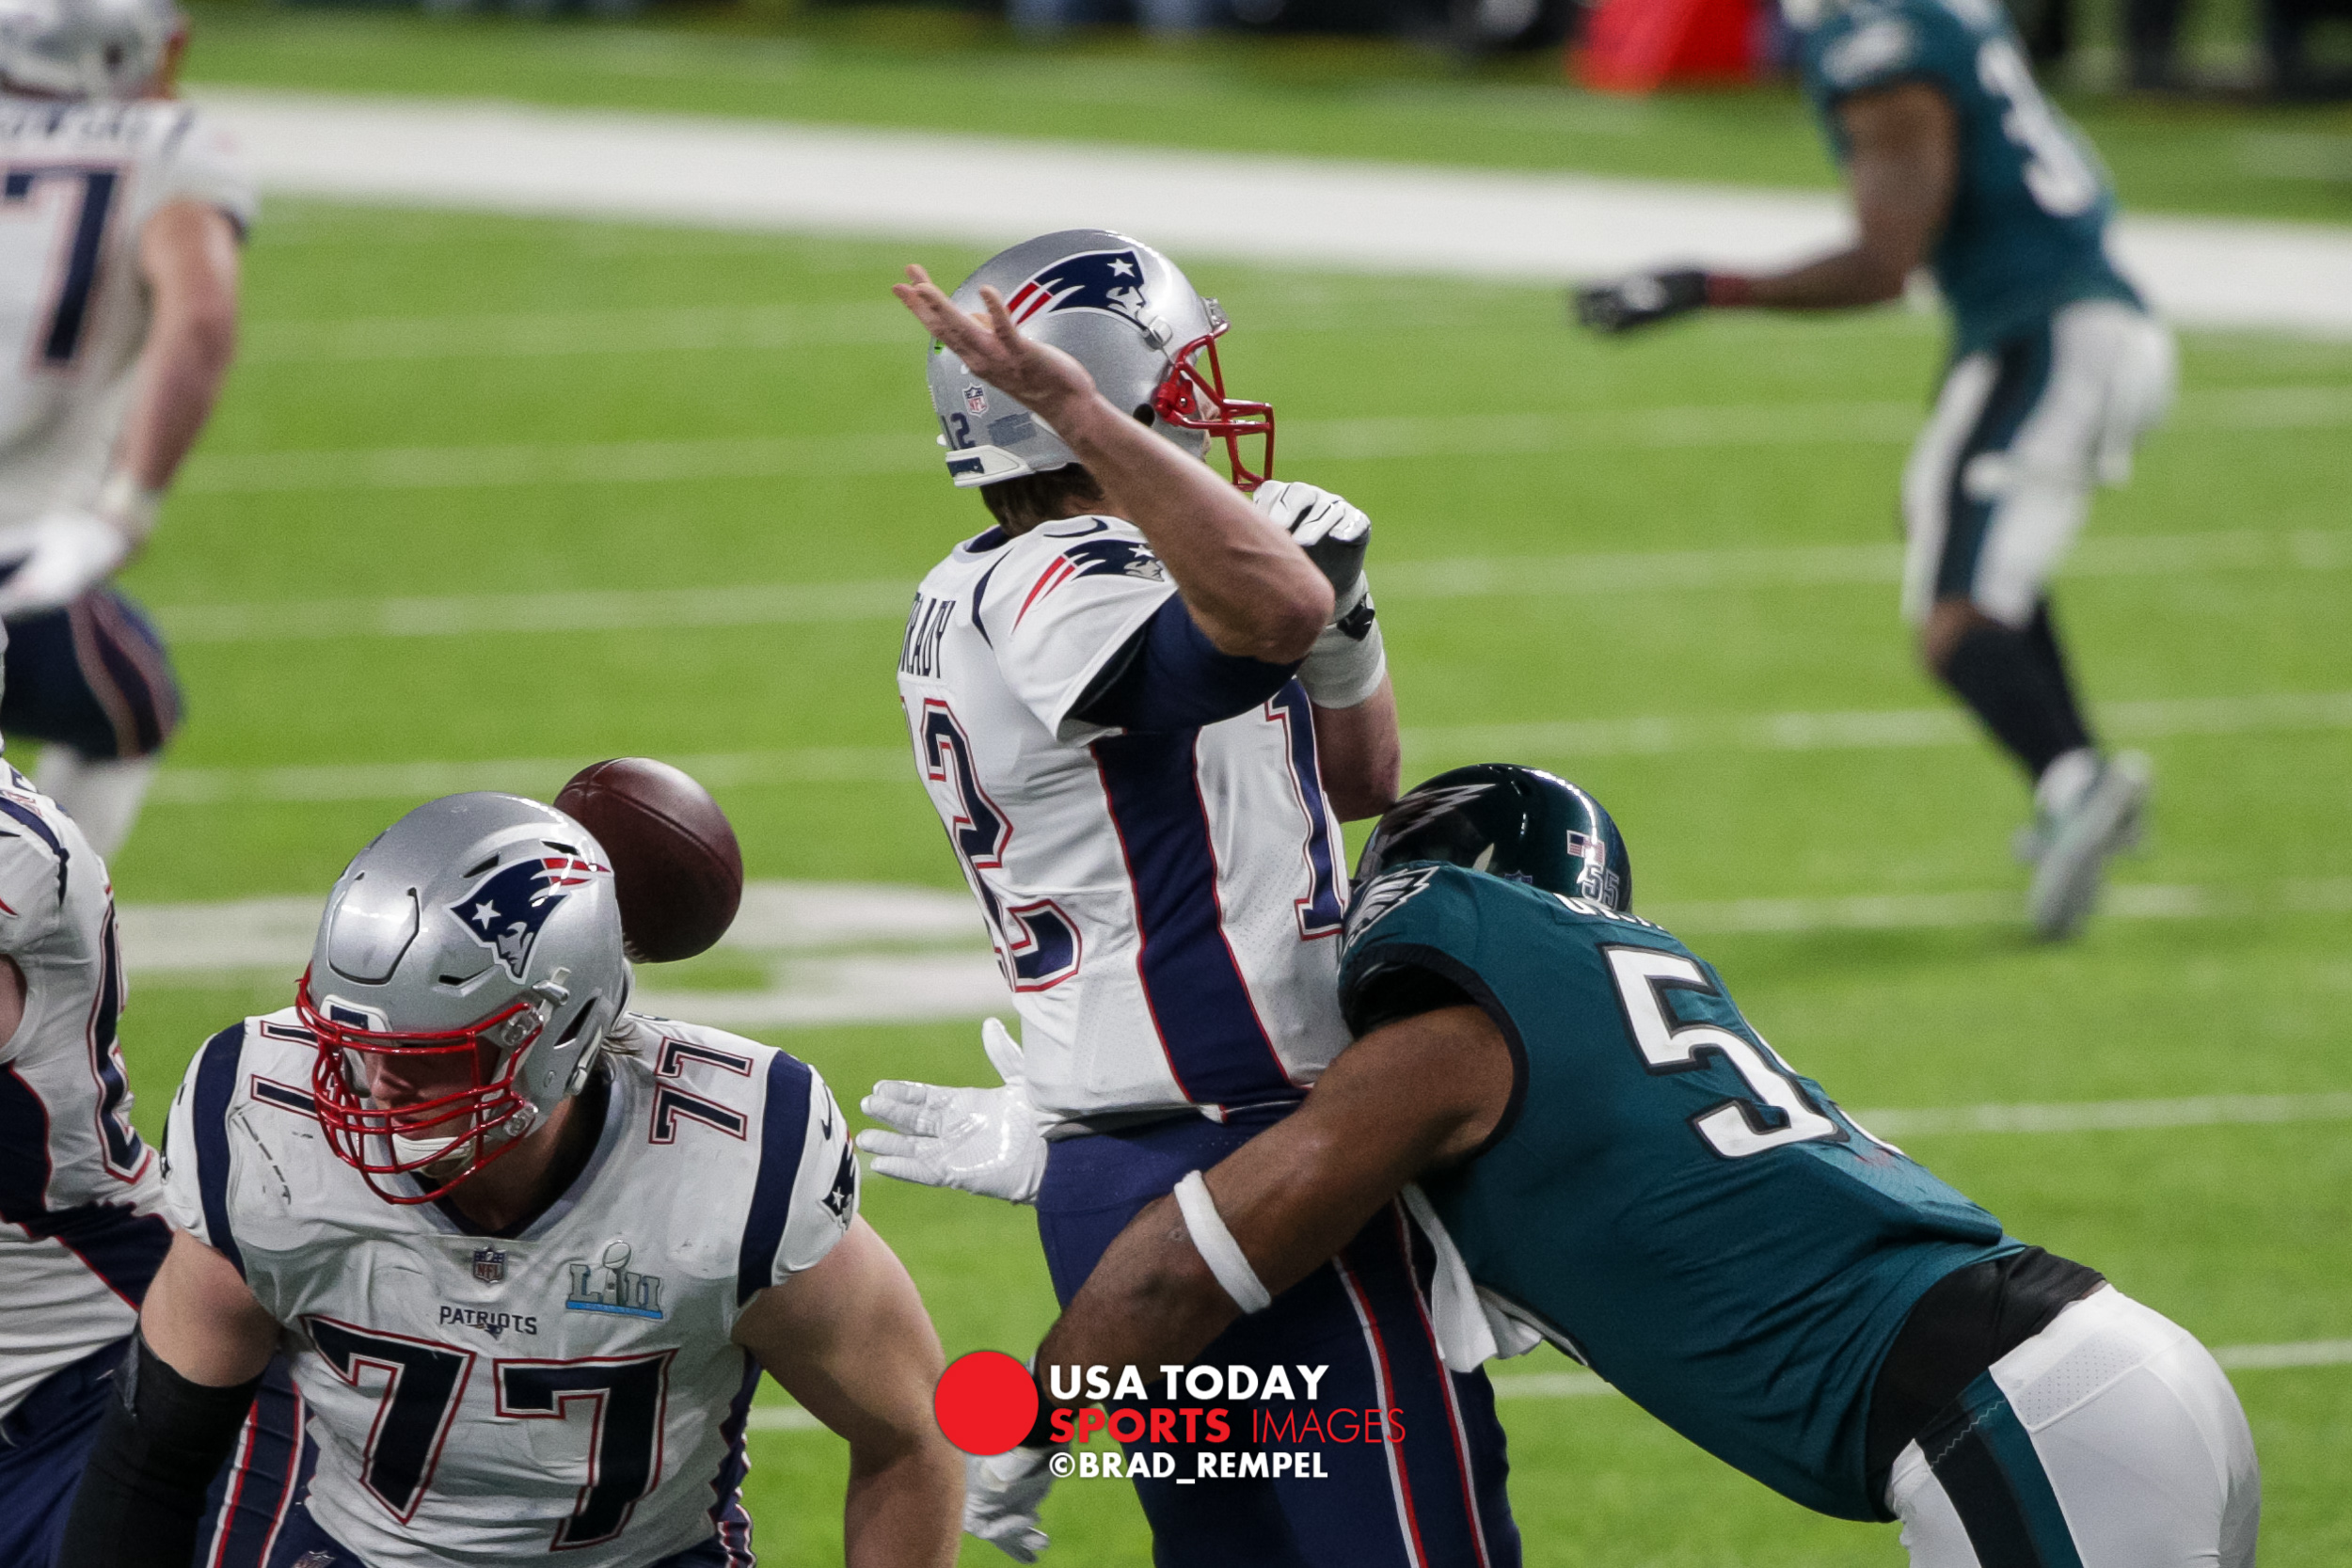
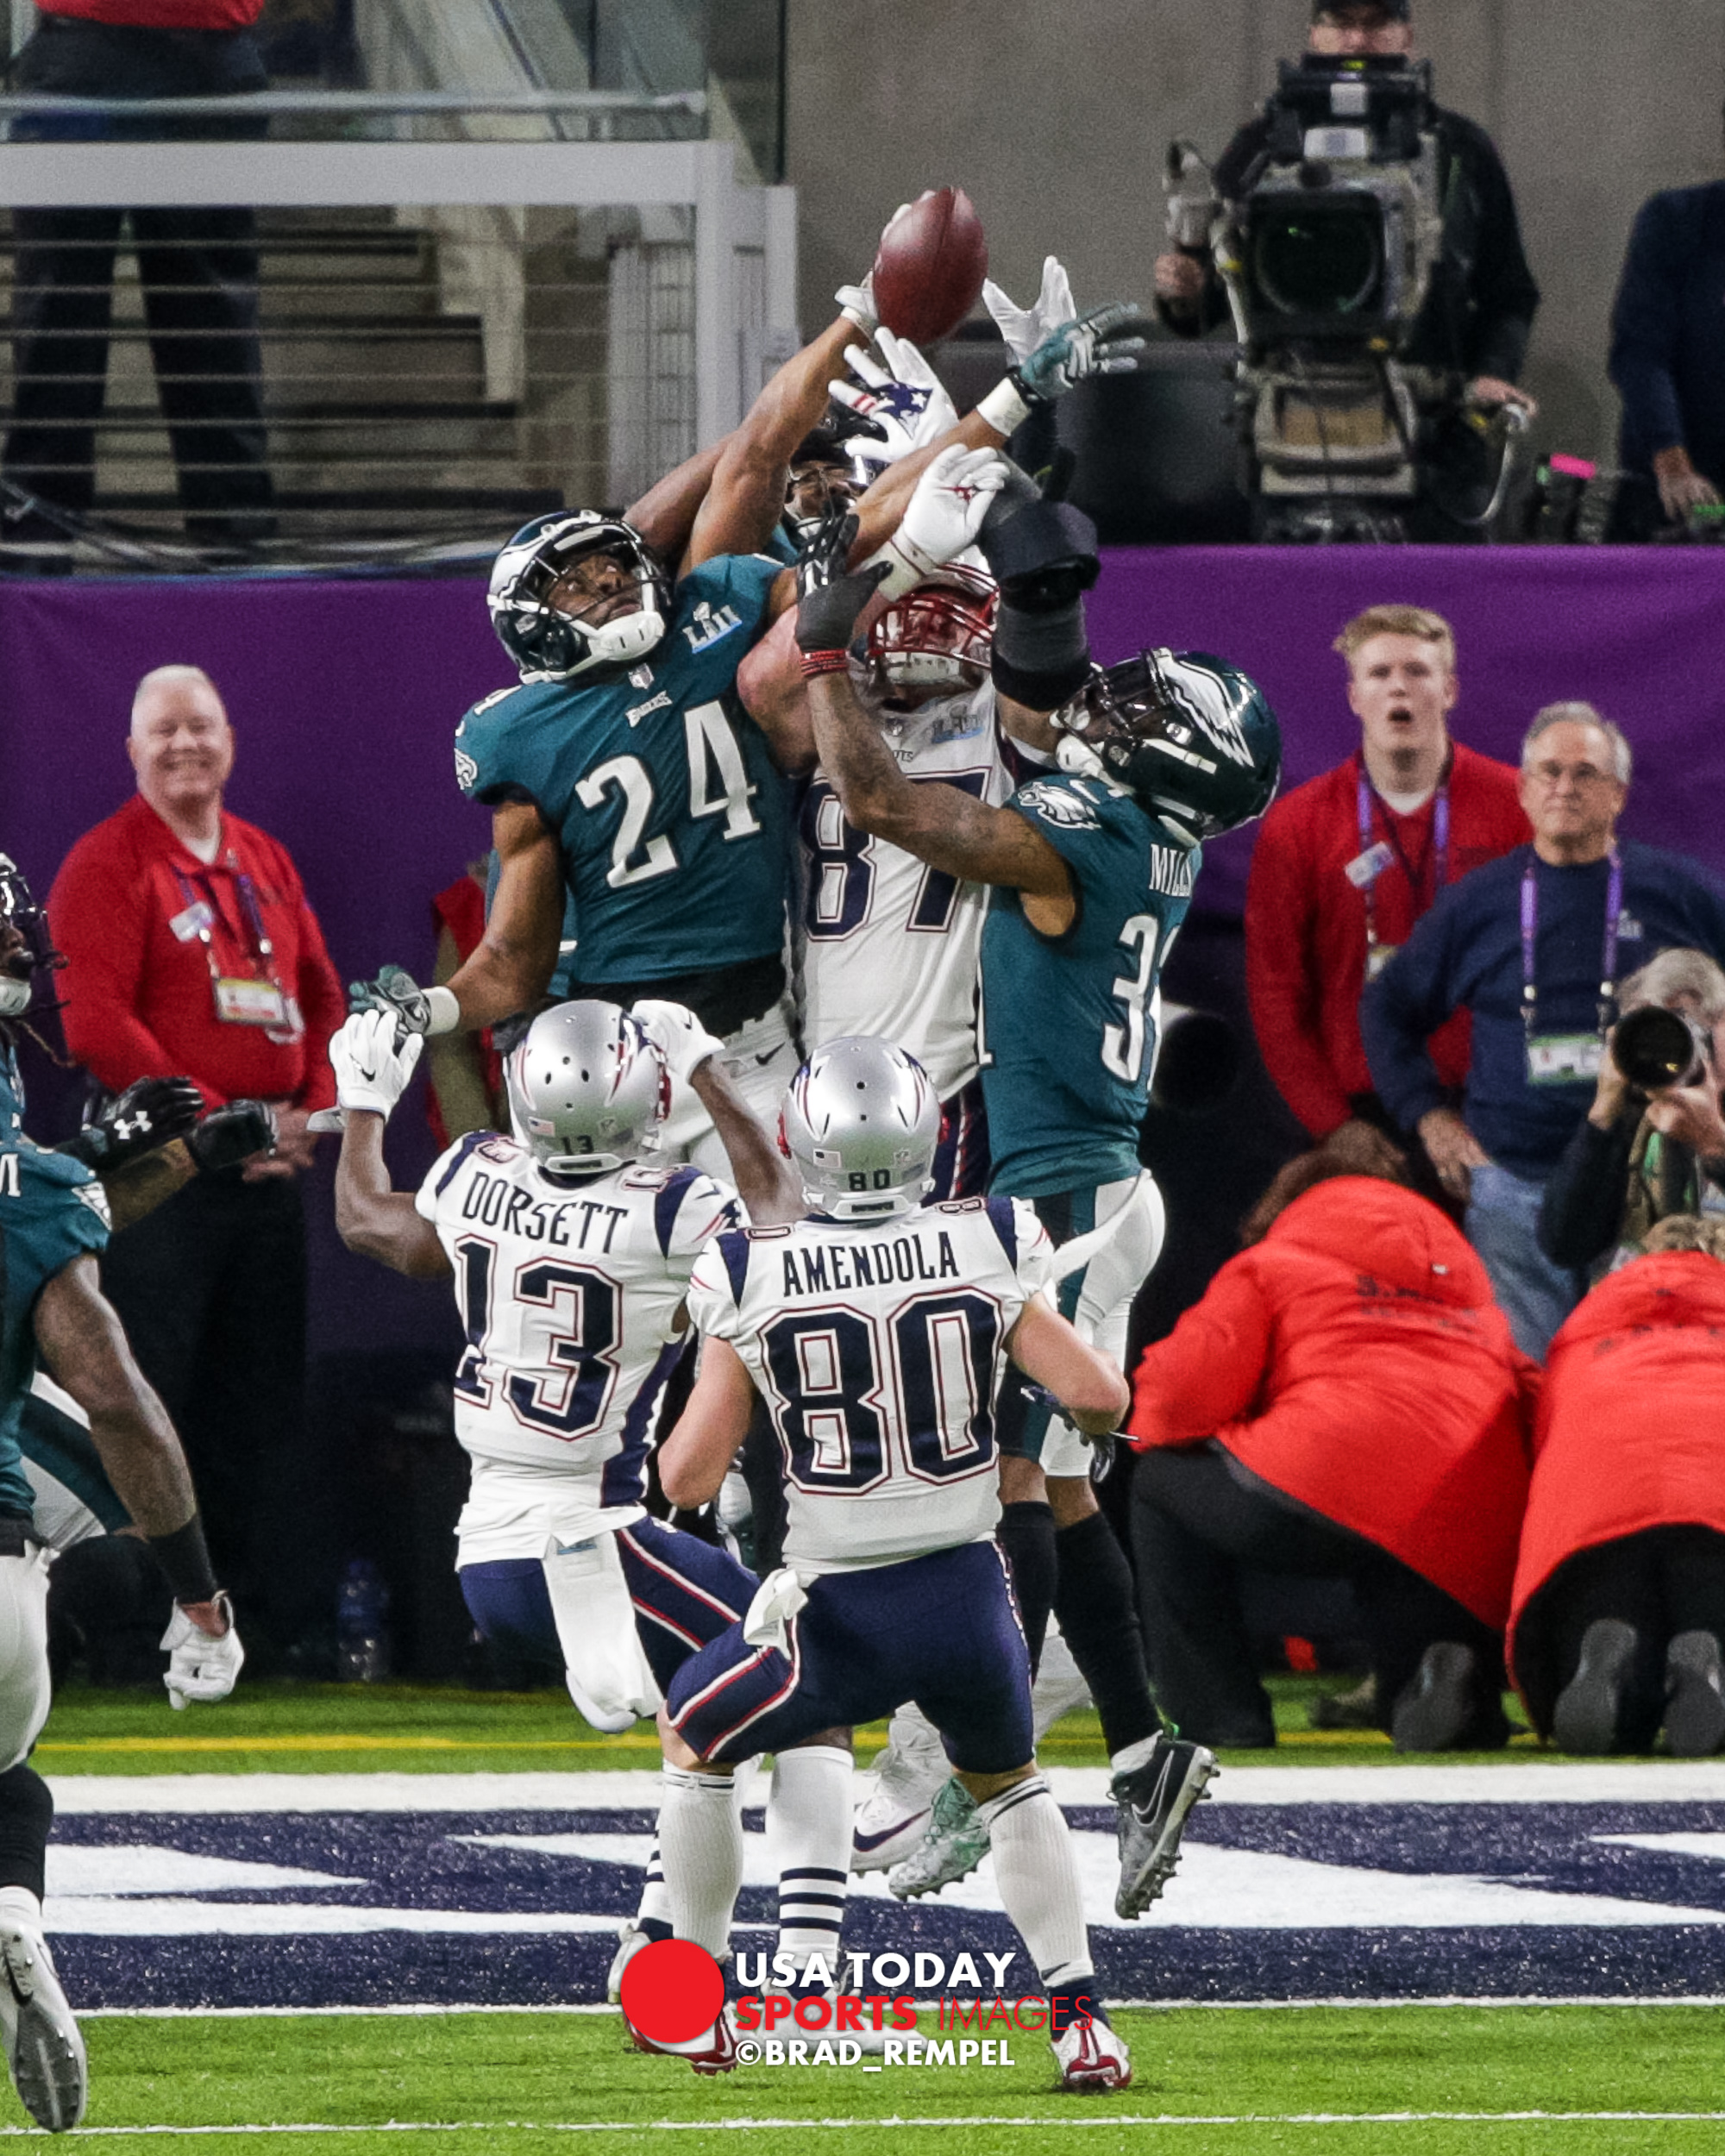
 

Game Action


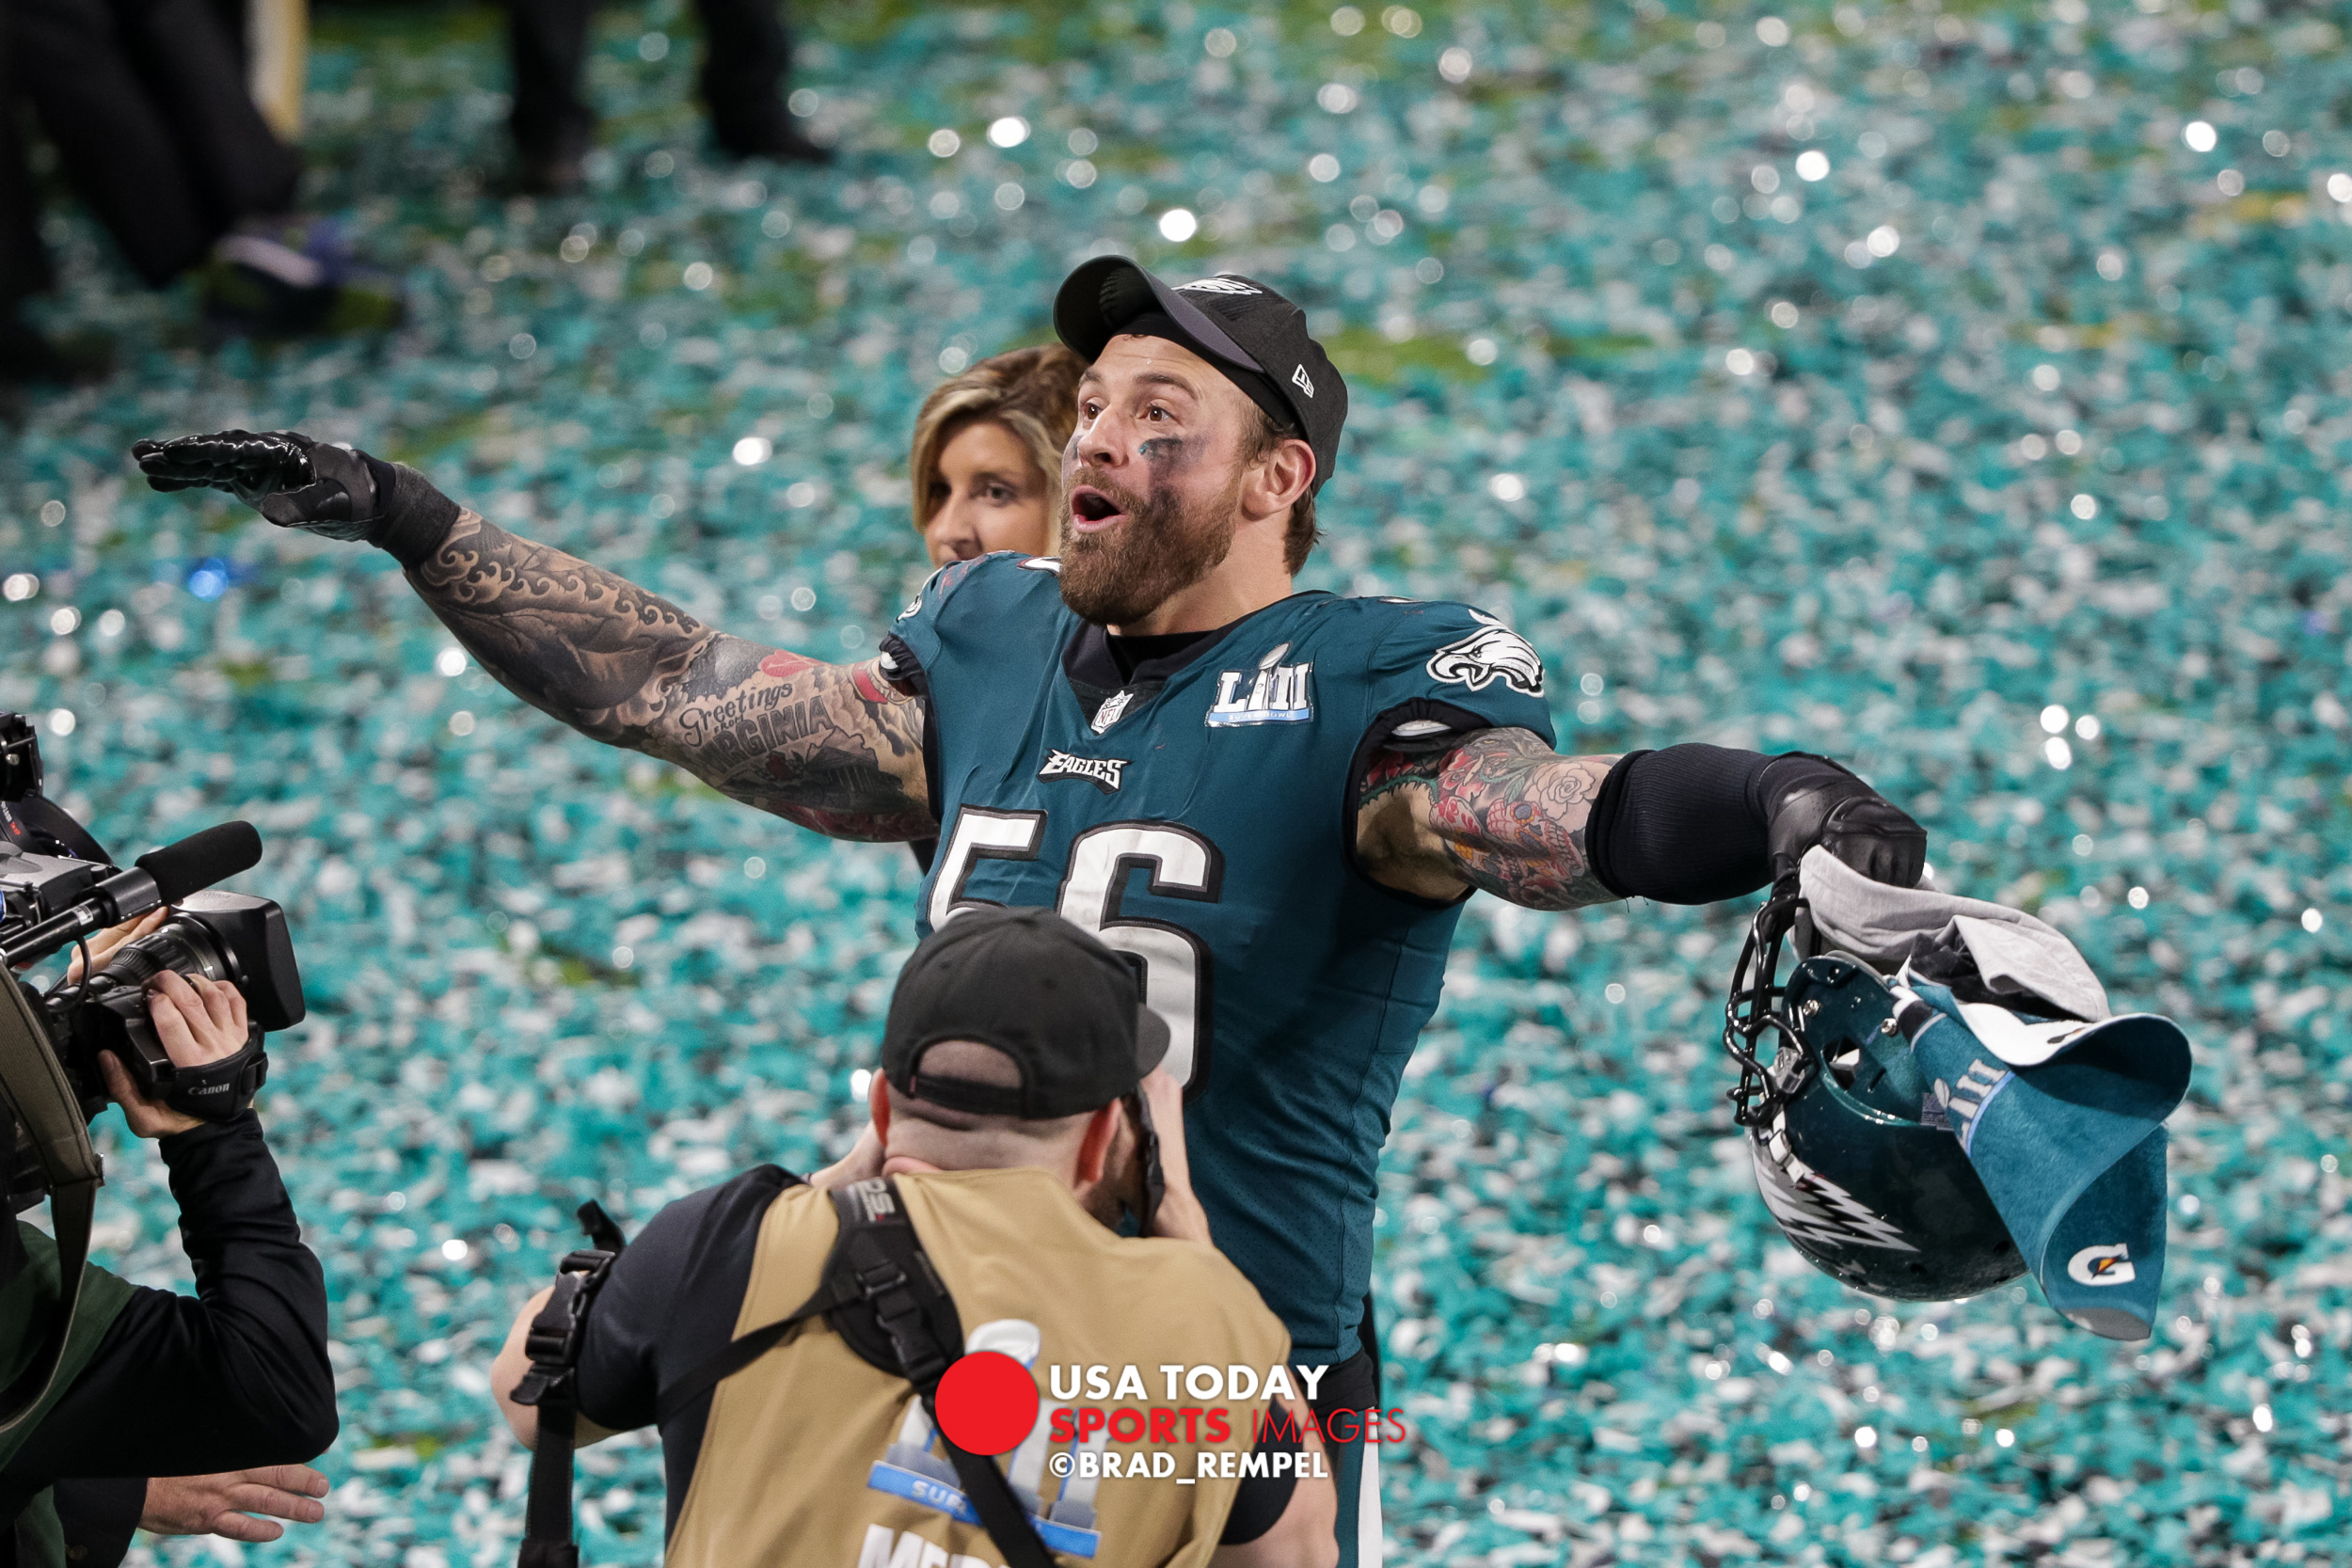
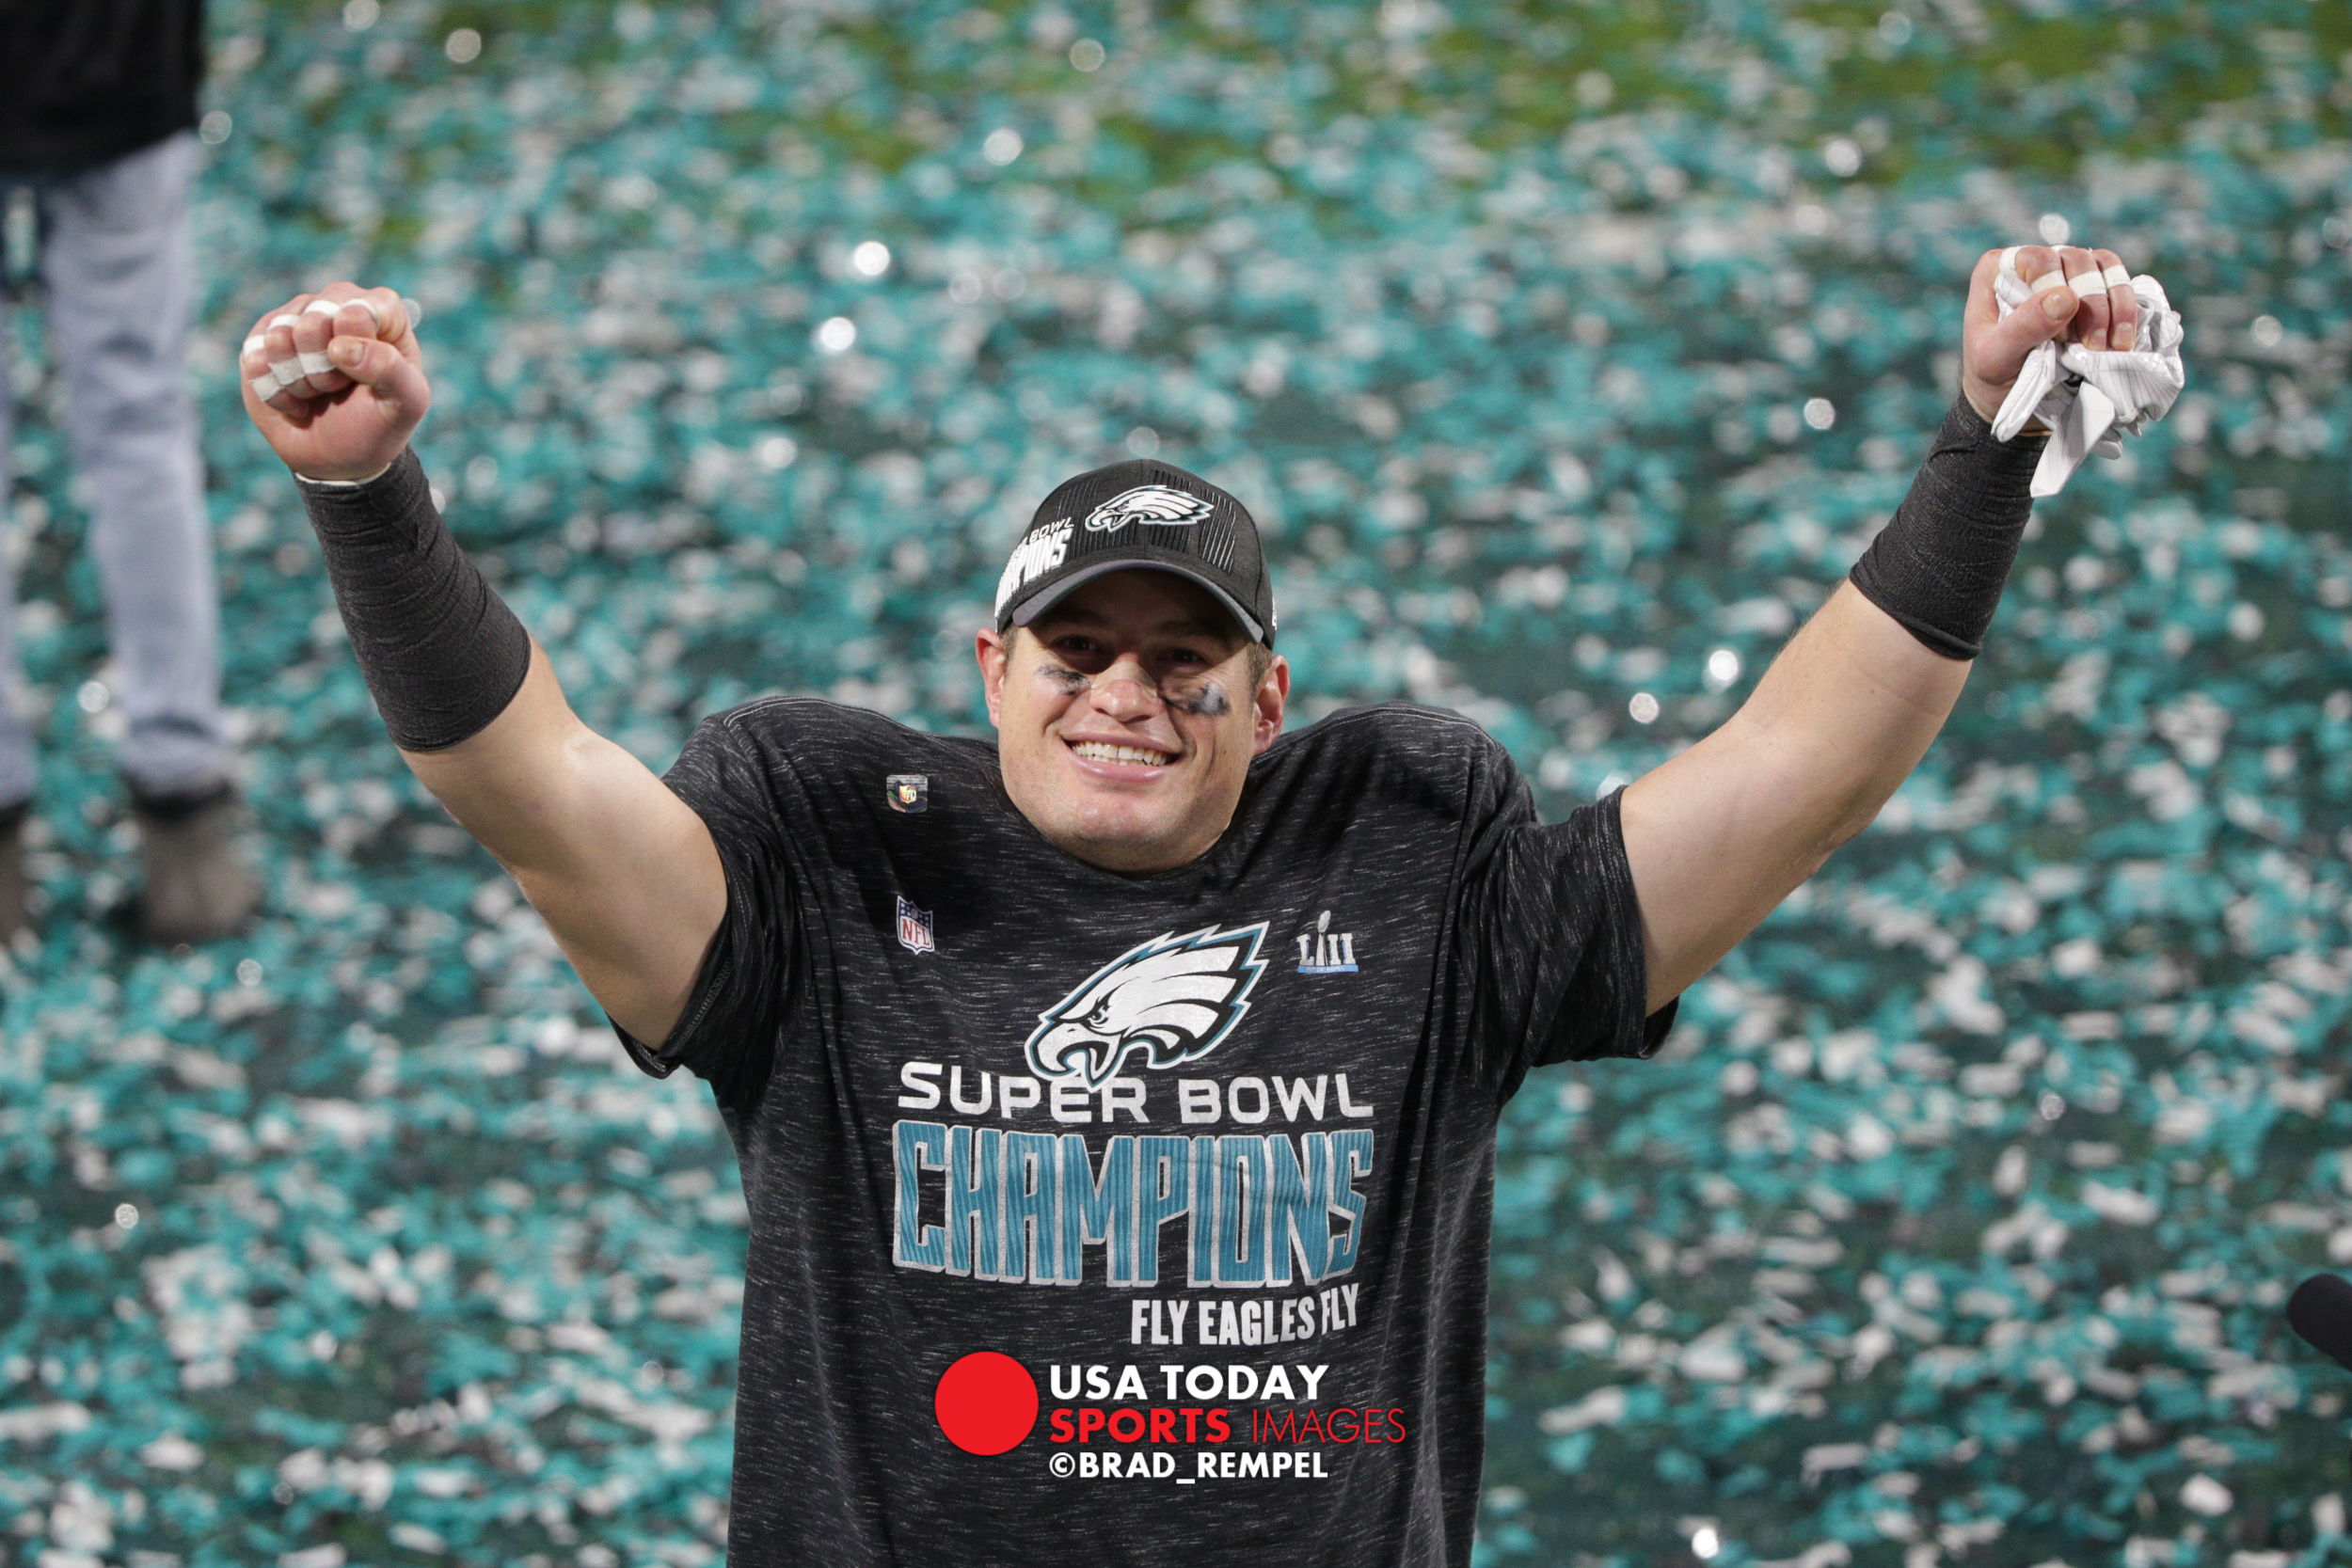
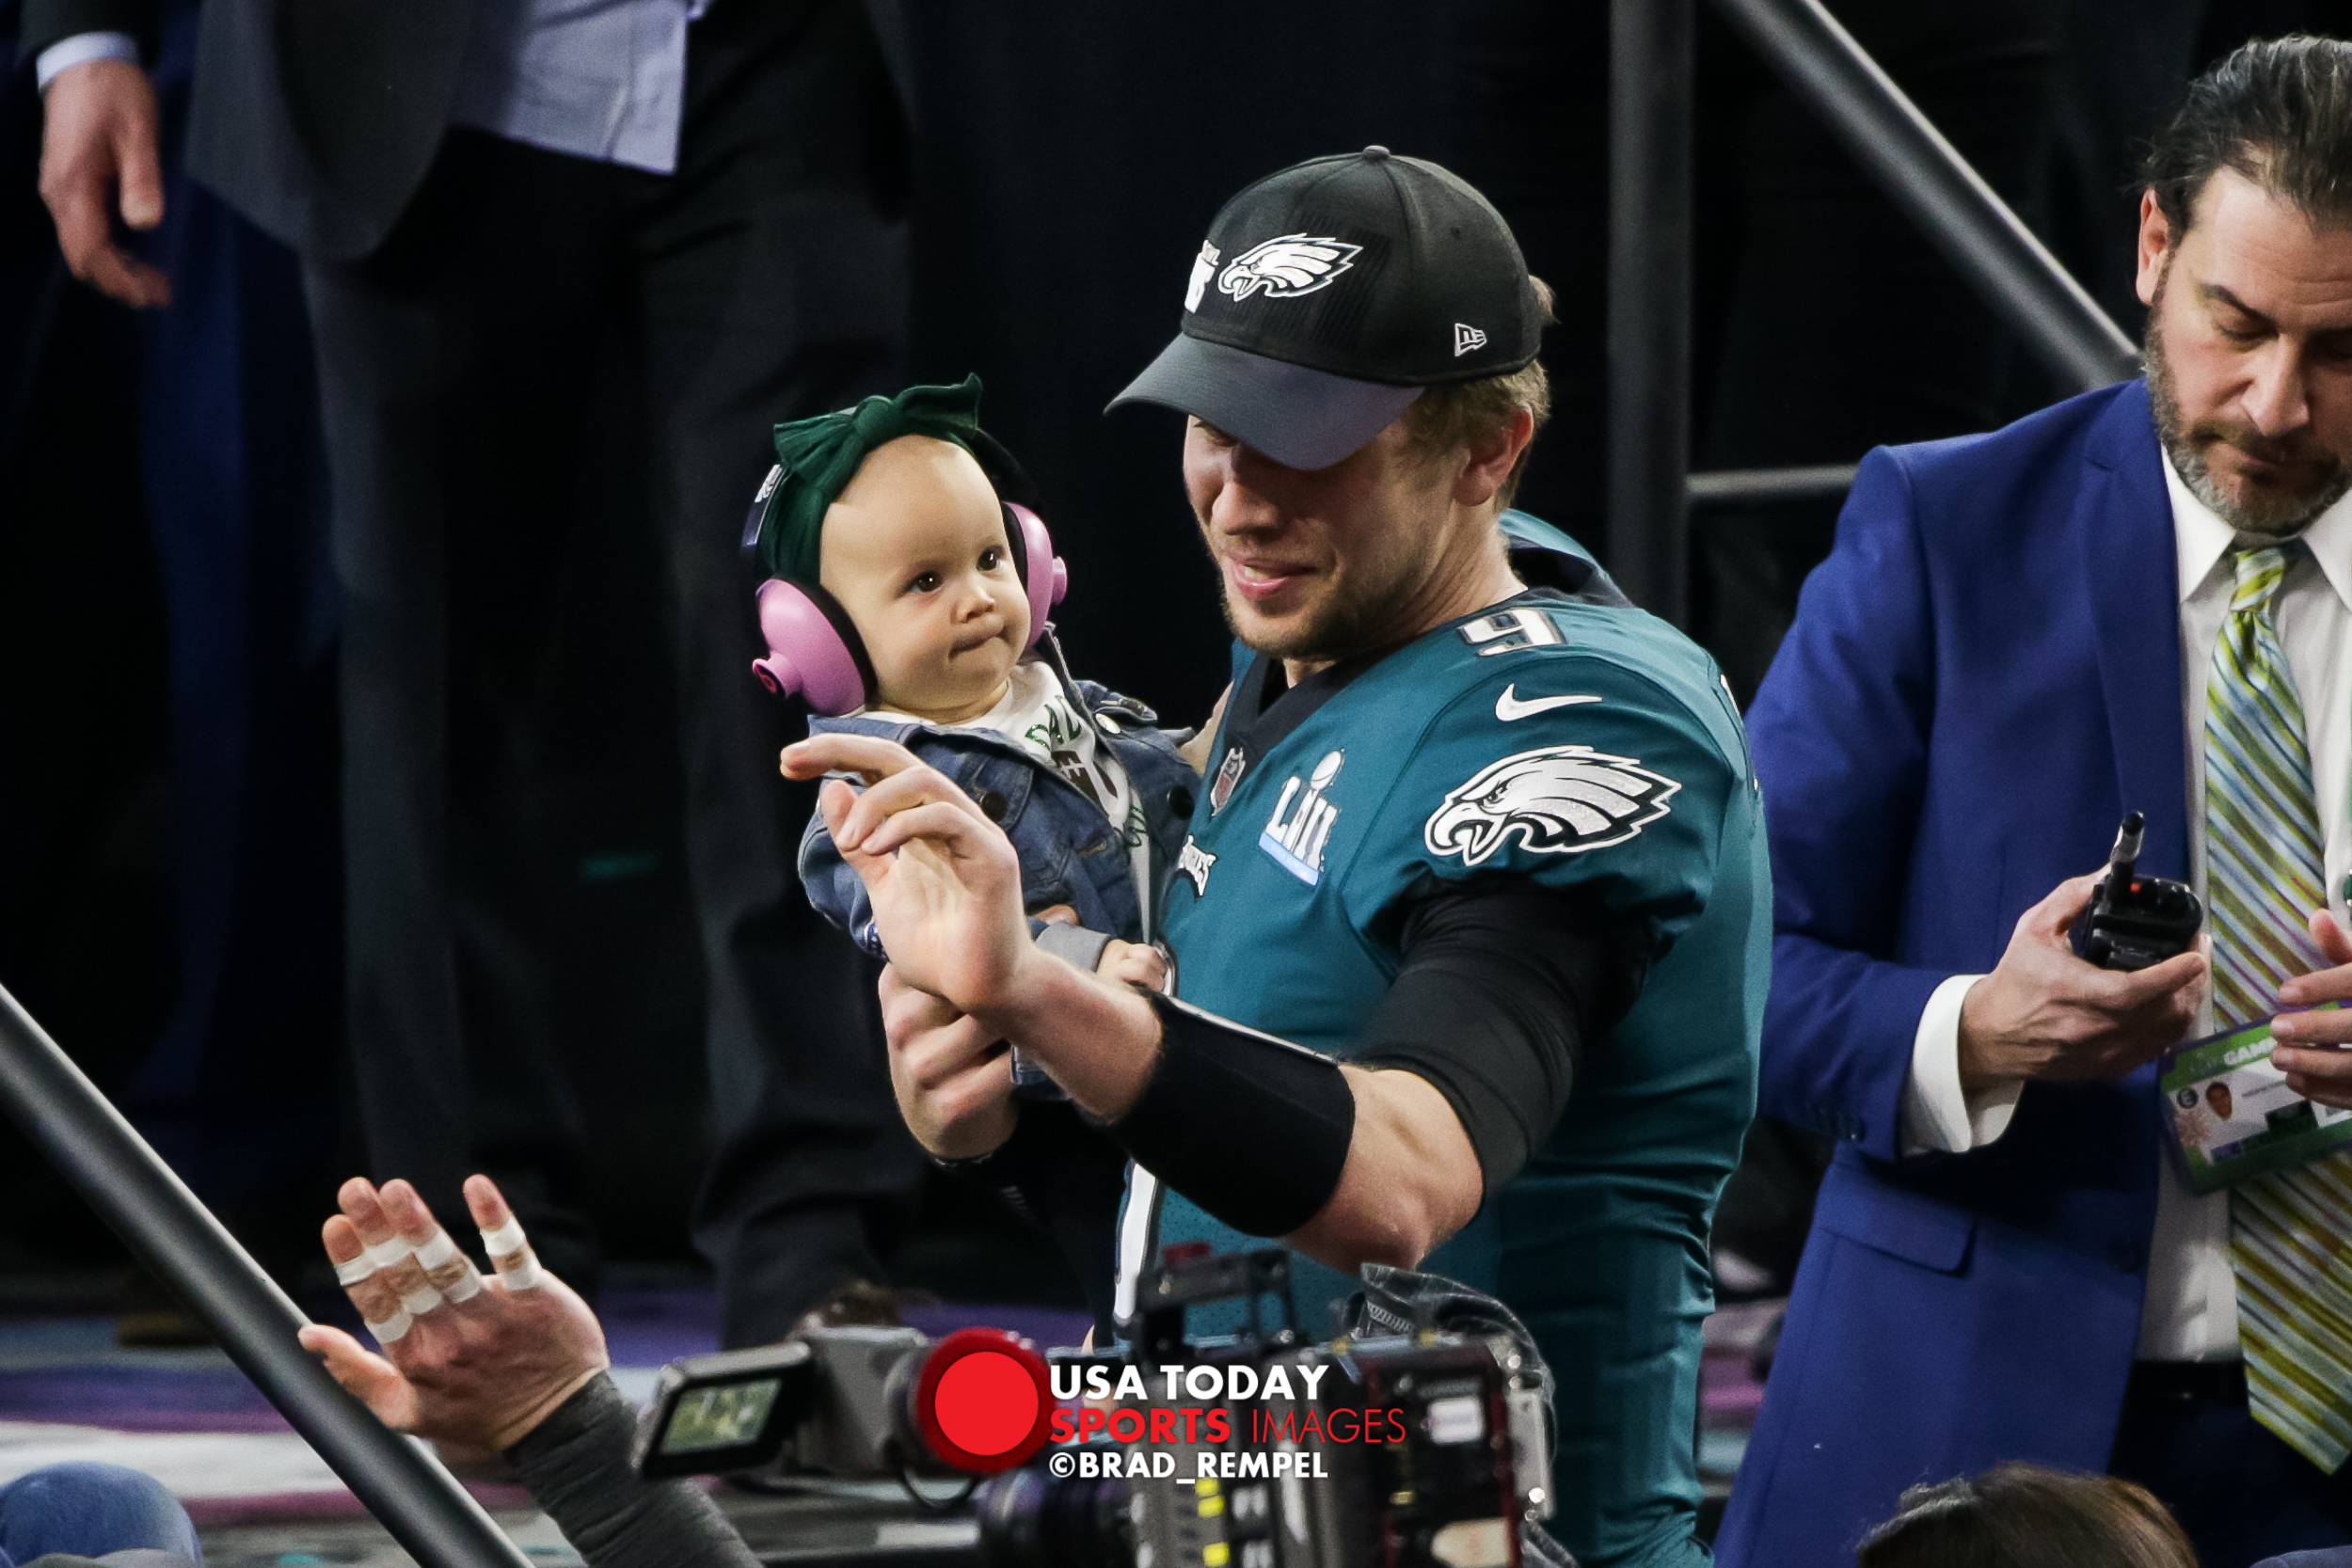
Post Game Celebration


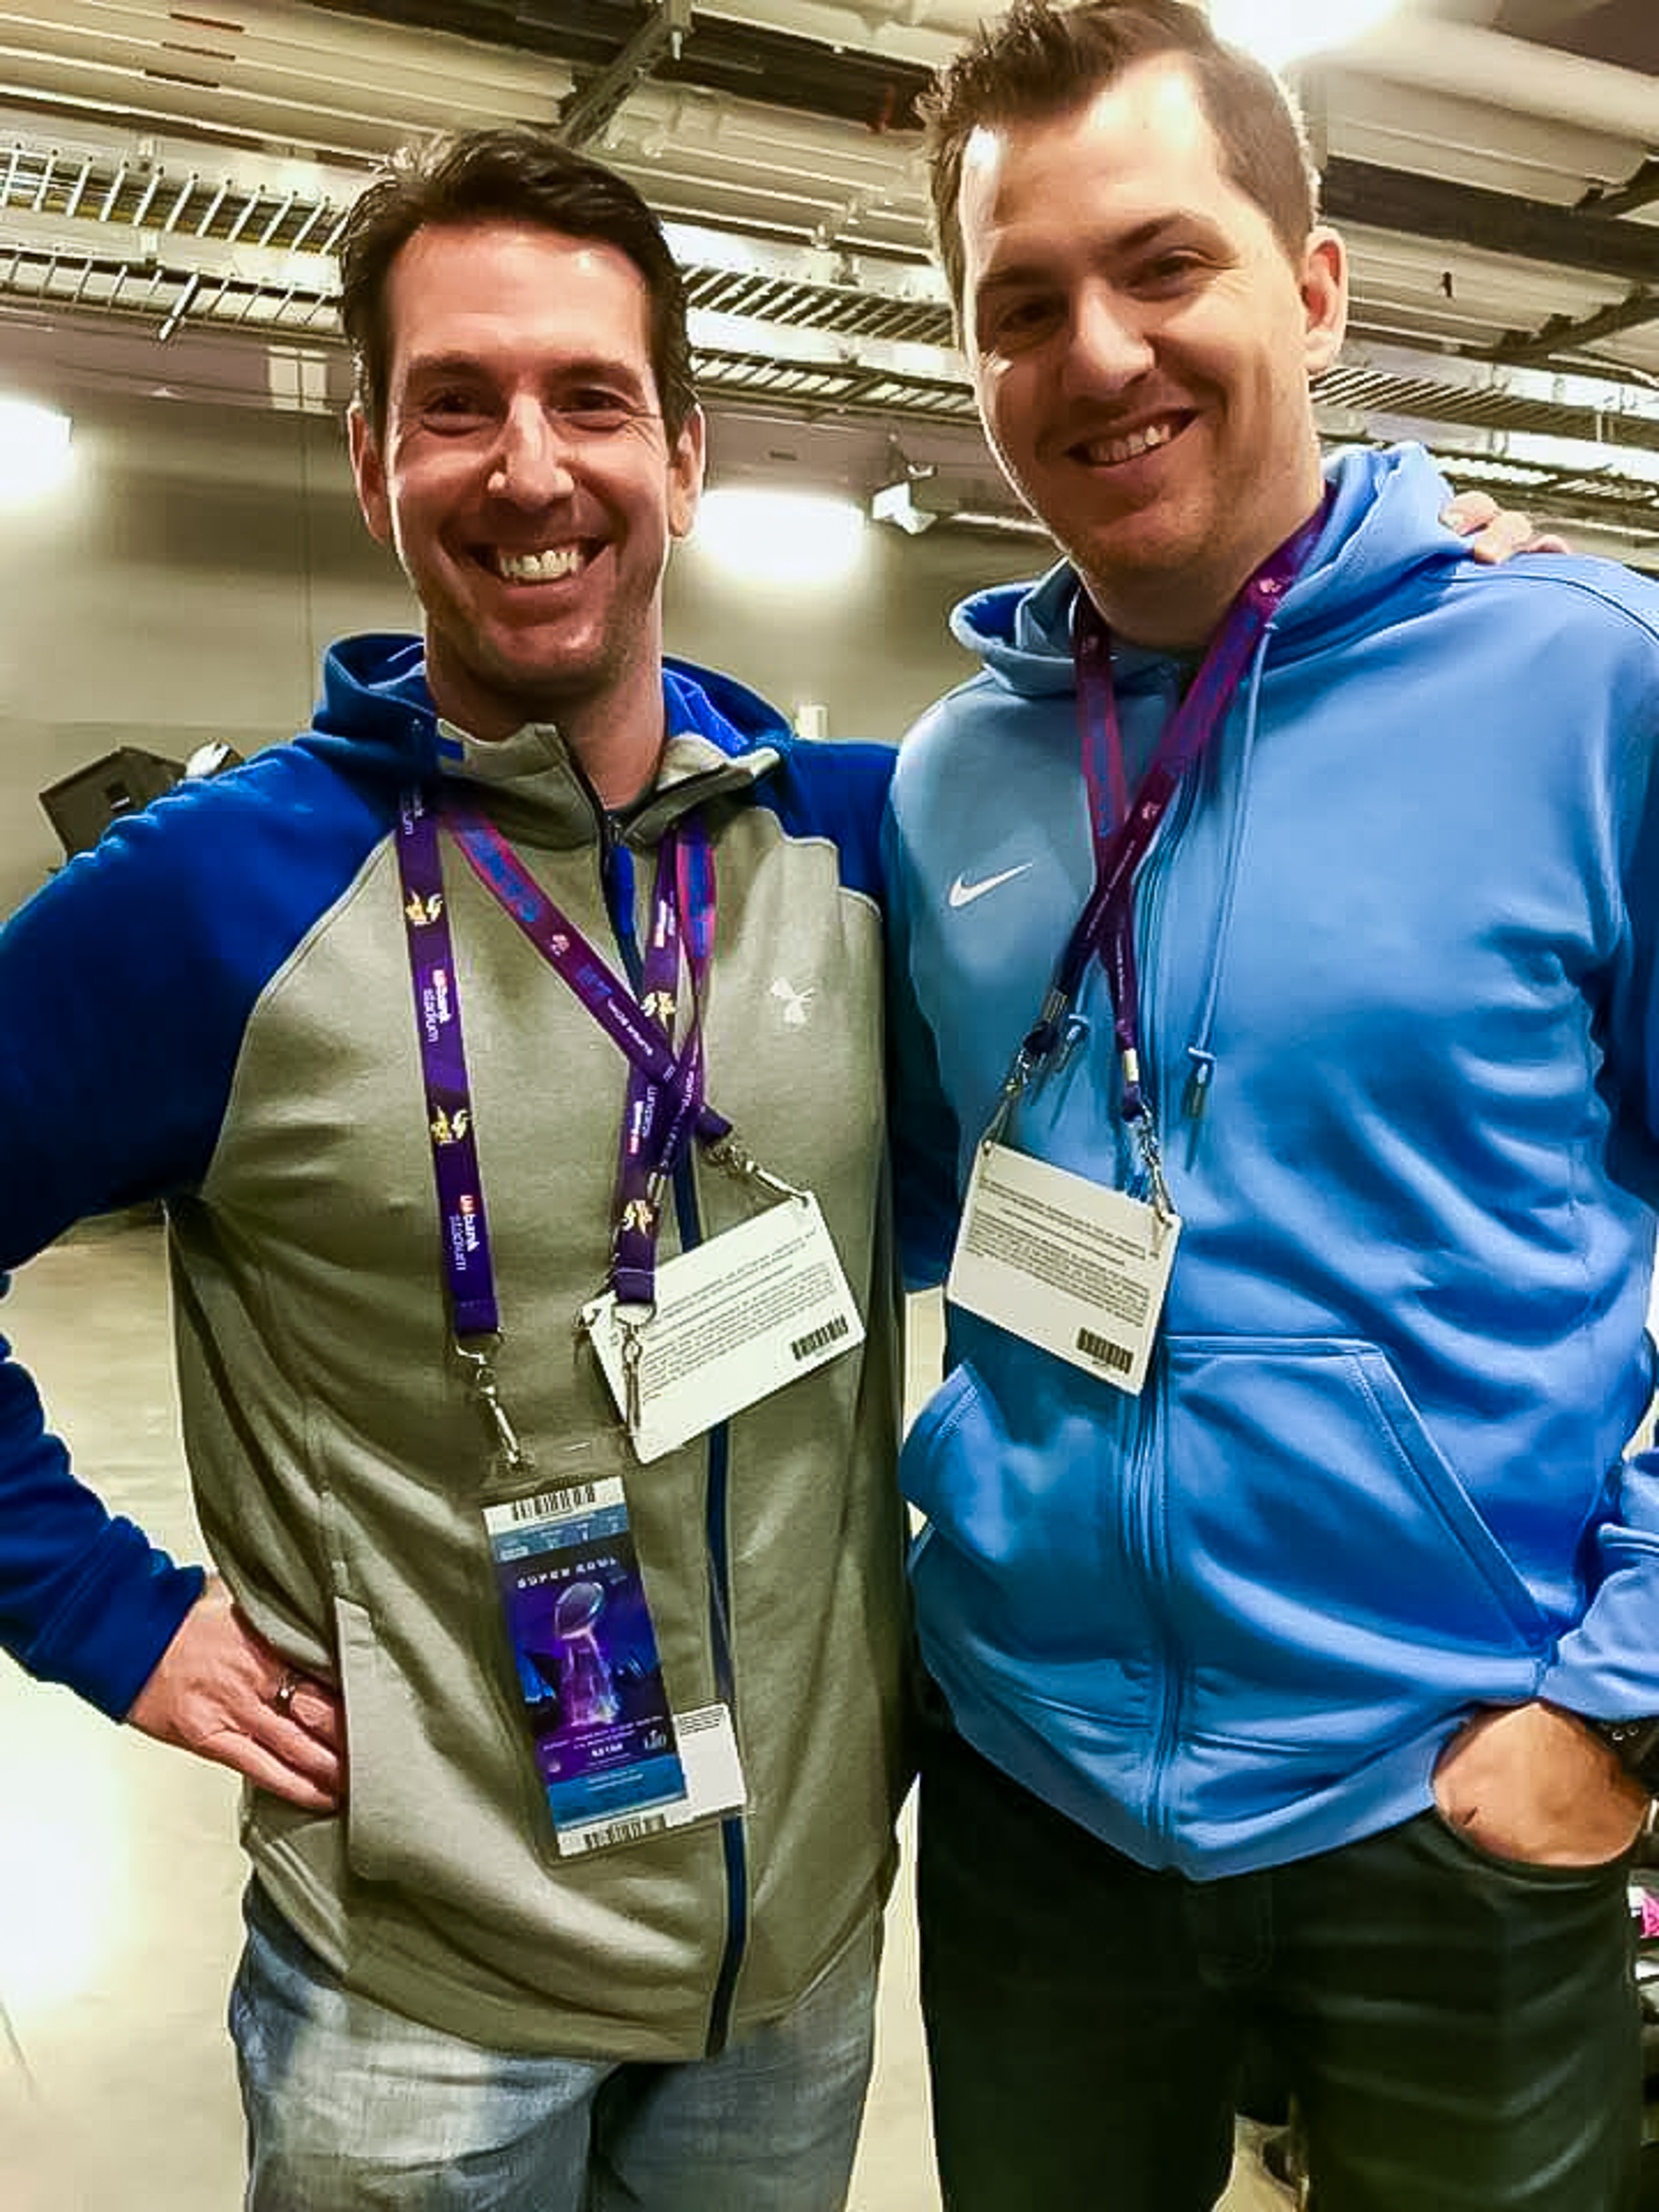
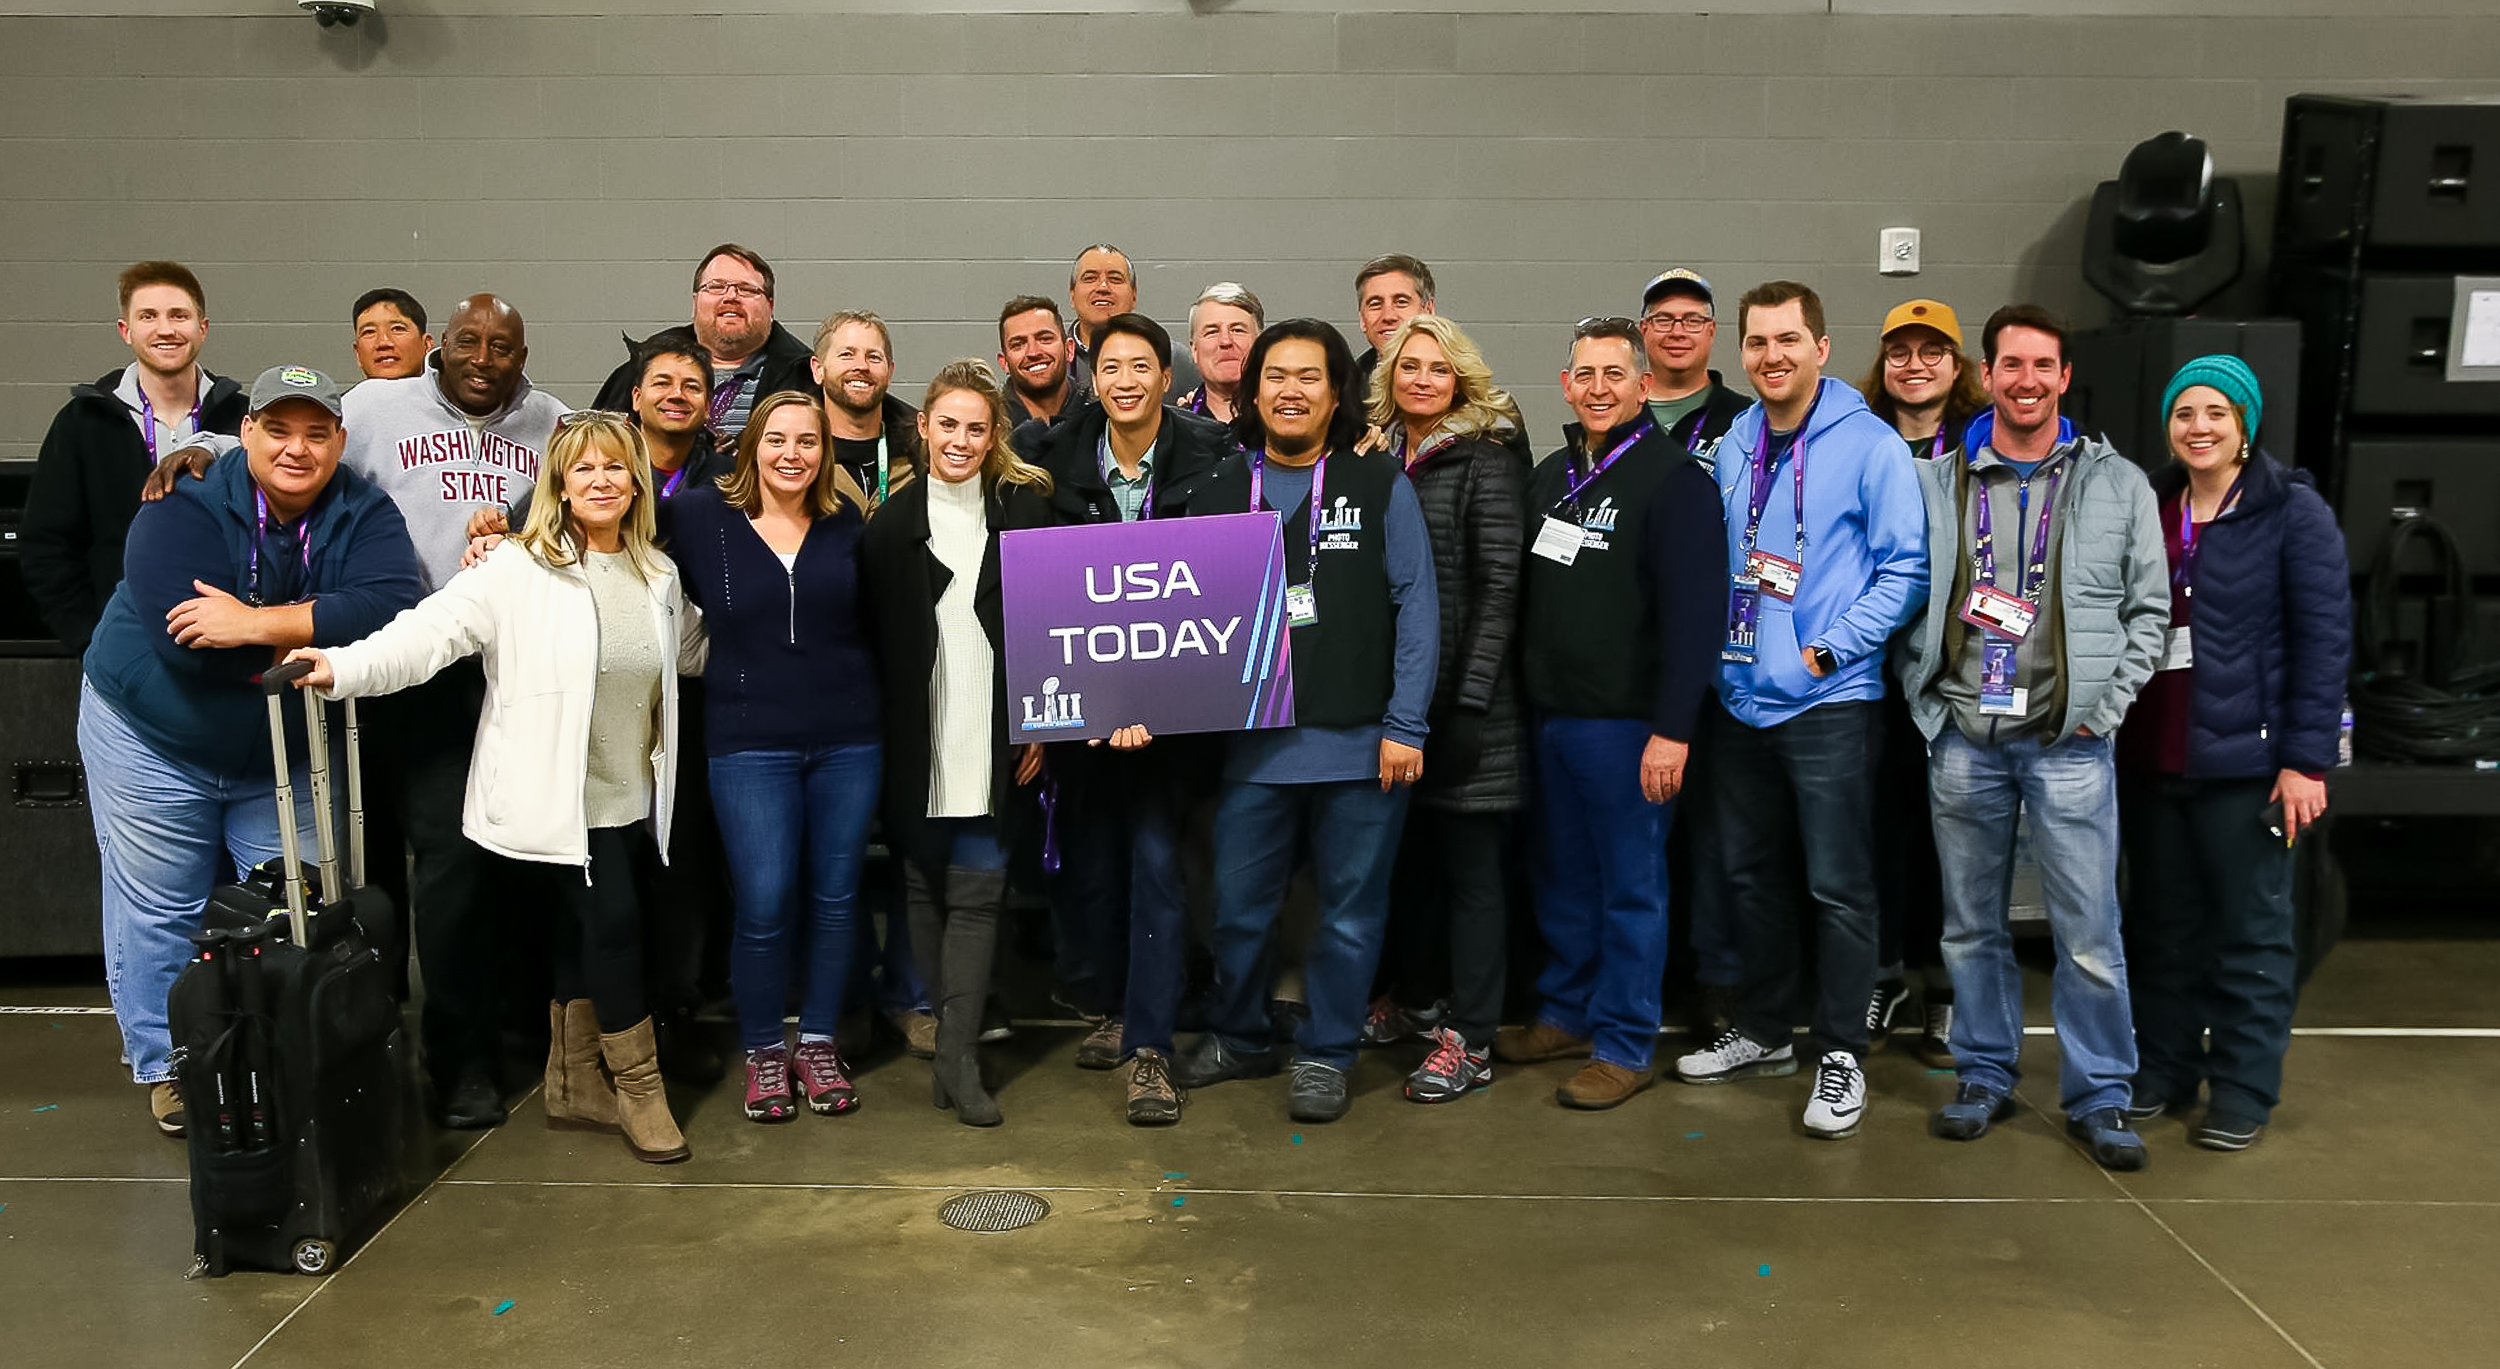
Swag, Souvenirs, and Work Crew


My final thoughts. Overall it was a really incredible experience going to my first and hopefully not last Super Bowl.  Shooting elevated in the stands was great for getting clean shots without players in the way but it lacks the cool field level angle. I regret not having a stadium wide angle shot with a remote for my own personal use and I felt like I should have taken more photos and videos of myself to document everything at the game. Pretty minor hindsight regrets.

Please follow and share at:
Instagram: @brad_rempel
Twitter: @brad_rempel
Facebook: RempelDesignandPhoto

Read More
Sony A7R3 Initial Thoughts

So I recently jumped on the Sony bandwagon and purchased the new Sony a7r iii. I was in the market to replace my aging Canon 1D Mark IV with the 5D Mark IV. I own two Canon 1DX’s and I wanted a smaller travel landscape camera that I could still use for sports and remote shots if needed. Sony then released the a7r3 and it looked so amazing on paper I had to try it out. So after a lot of reading, educating myself and asking questions, I took the leap and made the purchase. I figured the worst case scenario is if I really hated the camera, I could sell it and still purchase the Canon 5D IV and not lose any money.

The Good, Bad, and Neutral:

Menus: The first adjustment to get used to is the menus. You’ve probably heard they are bad, cumbersome etc. I actually found it similar to the Canon and it just takes getting used to. Part of the issue is translating menu items from Canon to Sony and figuring out what things even mean. I’m so used to the Canon vocabulary that it was an adjustment figuring out what was what. One example on the Sony is “Swt. V/H AF Area”. I immediately have no idea what this even refers to until I read the manual and it’s the same as the Canon “Orientation Linked AF” (switches focus point when you move the camera from horizontal to vertical).  Once I figure out what the menu items mean, I think it’ll be easier to use.

Lightroom: I have to process images slightly different in Lightroom. Part of my sports workflow is to import images into Lightroom where I apply a general preset to all the images that’s specific to the venue I’m photographing at. For example I have a preset called “MN Wild 1250/3200/4.0”. I’ve found that the colors Canon produces are similar no matter what lens I’m using. I’ll use the 8-15 fisheye, 16-35 f/4, 70-200 f/2.8 and the 200-400/f4 and the preset gives me the desired output I’m looking for. When I applied the same preset to the Sony images, the images looked much warmer and “orange”. It’s not that the Sony images are wrong, I just have to make an additional preset for the Sony body. In my “Canon preset” I have my camera calibration set to “camera standard” and switching it to “adobe standard” seems to fix most of it with the Sony to match the output of the Canon. I also have to change the White Balance down from 5500k to 5250k and since I shoot RAW it’s an easy switch.


Focus: I felt like it missed getting the focus right on some simple shots but I feel it was my fault and I’m still trying to figure out how I want the camera to focus. I tried face focus, then I tried using the focus dot, and now I just figured out how to do pupil focus (which I haven’t tried yet). So again I’ll chalk up the “misses” to user error before I can blame the camera. I think it’ll perform great when I use it more and when it was on, images were really sharp. For my purposes I didn’t really pixel peep and compare it between the Canon lenses but all three seemed great for my use (Canon 16-35, 200-400 and Sony 24-70), see the last images for a comparison.


The Adapter: So along with the camera I also purchased the Metabones Canon to Sony e-mount adapter (5th generation). The hope was I could use my existing wide angle Canon 16-35 f/4 for landscape shots but it turns out it didn’t work with that lens. Extremely disappointing! The odd thing is that the lens works with the Sony a7r ii and the 4th generation adapter. It also didn’t work with my Canon 200-400 f/4 but worked with my Canon 70-200 f/2.8 ver. II. I tried to update the firmware but it looked like it was up to date so I ended up returning it. Since that was a bust I ended up buying the Sony 24-70 f/2.8 GM. FYI, Sony lenses aren’t cheap and probably more expensive then the Canon L series. So before I go on my next trip I’ll probably have to sell the Canon 16-35 f/4 (which I love!) and end up buying something similar from the Sony line up.

The Battery: I also found out that if I want to use it as a remote camera I’ll have to end up buying a battery grip because one battery wouldn’t last an entire game. Part of the reason I bought the camera was because it was small, tiny, and light, so buying the battery grip kind of defeats the purpose. It’ll be close to a wash when I return the adapter so it’s not a big deal. I’m not sure I’d travel with the grip just so I can save space when packing.

Pocket Wizards. So I tested it with the Pocket Wizard Plus III and IV’s and it works! I only tested it at my house but everything seemed to work perfectly. I was a little worried because a friend of mine said it didn’t work properly. What he/we discovered that it doesn’t work with the old versions of the MultiMax but it does with the Plus III. No idea if it works with the newer versions of the MultiMax. I’ve yet to use it at as a remote at a sporting event yet so I can’t give an opinion on how it worked.

The Verdict: Unknown so far. I haven’t used it enough to give it a grade and decide if I’m keeping it. My hunch is that it’ll perform great once I get used to it and eliminate the user errors. I’m not sure when I can take it out for some series landscape shots and I assume it’ll be amazing (I hope). It would be an expensive investment to completely jump ship. The cost of the Sony lenses are slightly higher compared to Canon and they just don’t offer the long lenses I’d need for sports. I’m sure they will down the road and the adapter is too much of an unknown for me to rely on.

Read More
Timberwolves Overhead Camera

I made a quick video setting up an overhead remote at Target Center before the Timberwolves and Spurs game. I made another at Xcel Energy Center years ago so I thought I’d follow it up with another venue.


Read More
Code Replacement Files

Here’s a quick tutorial on how to make your own code replacement files for use with Photo Mechanic. I use this not only for professional sports teams, but for college, and even my own son sport teams when tagging and identifying players. For some sports it may be quicker to type out the names but using this method eliminates any spelling errors. Please adjust your YouTube settings to view at 1080p.
Enjoy!

Read More
Best of 2015 Sport Photos

Each year I find I grow as a photographer and I’m looking forward to what 2016 will bring.
Here are my favorite photos from 2015. Thanks for all the likes/follows/shares this past season. It really is appreciated.

Click to see all the images.

Read More