612.616.3296brad@rempeldesign.com
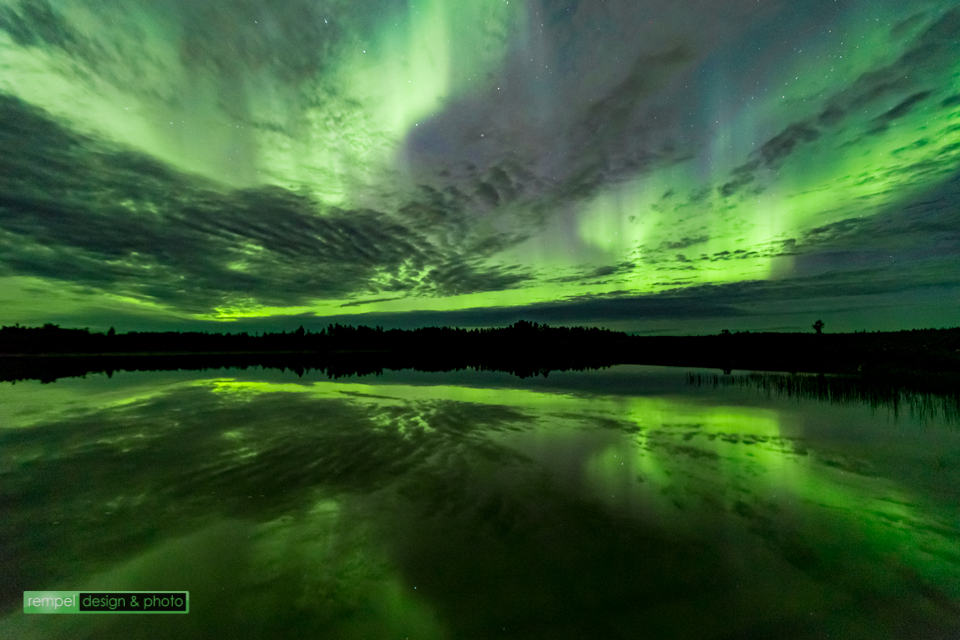
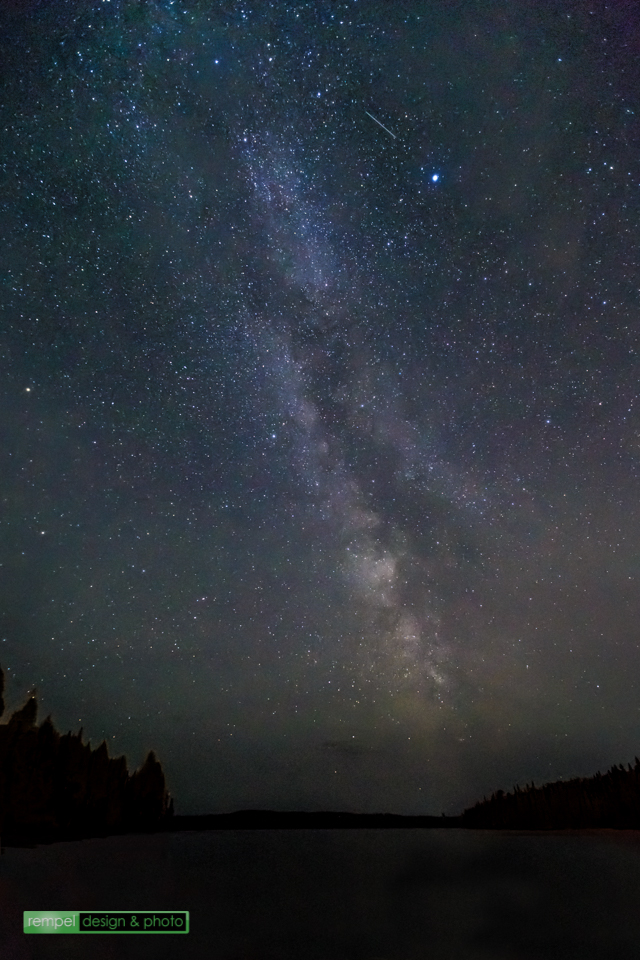
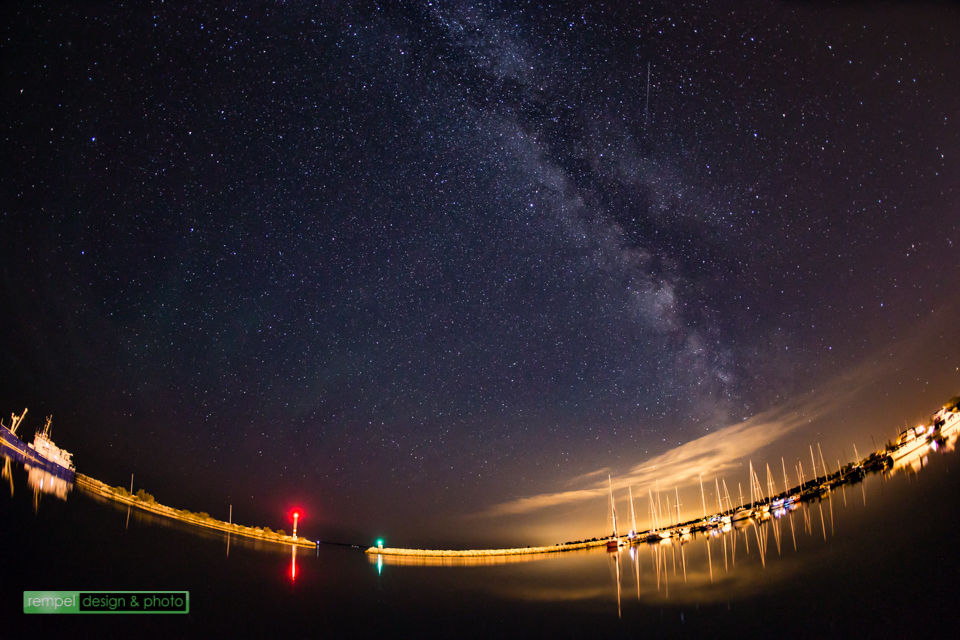
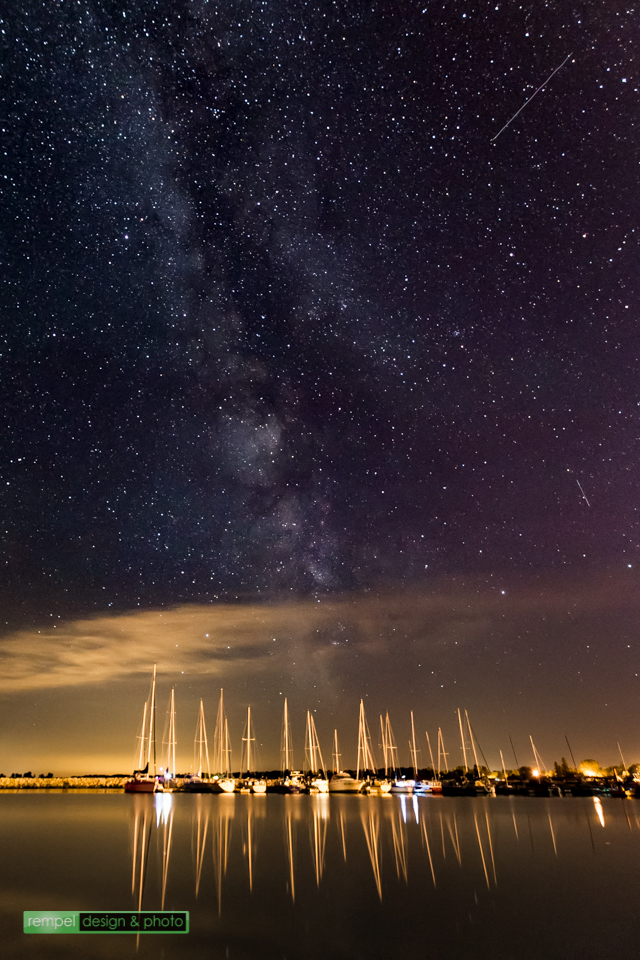
Top 20 Travel Photos – 2017

2017 was an amazing travel year for me. I was able to travel to Canada, Iceland, the Faroe Islands, Norway and Arizona. My wife had encouraged me to take a photo trip with a friend of mine (Brace Hemmelgarn) for a year or two so we both decided to take the leap and go traveling together. We’re both sports photographers but we appreciate great landscapes and seem to like similar destinations. We get along, and we get a chance to shoot along side each other a lot, so it made sense. My 2017 trips were:

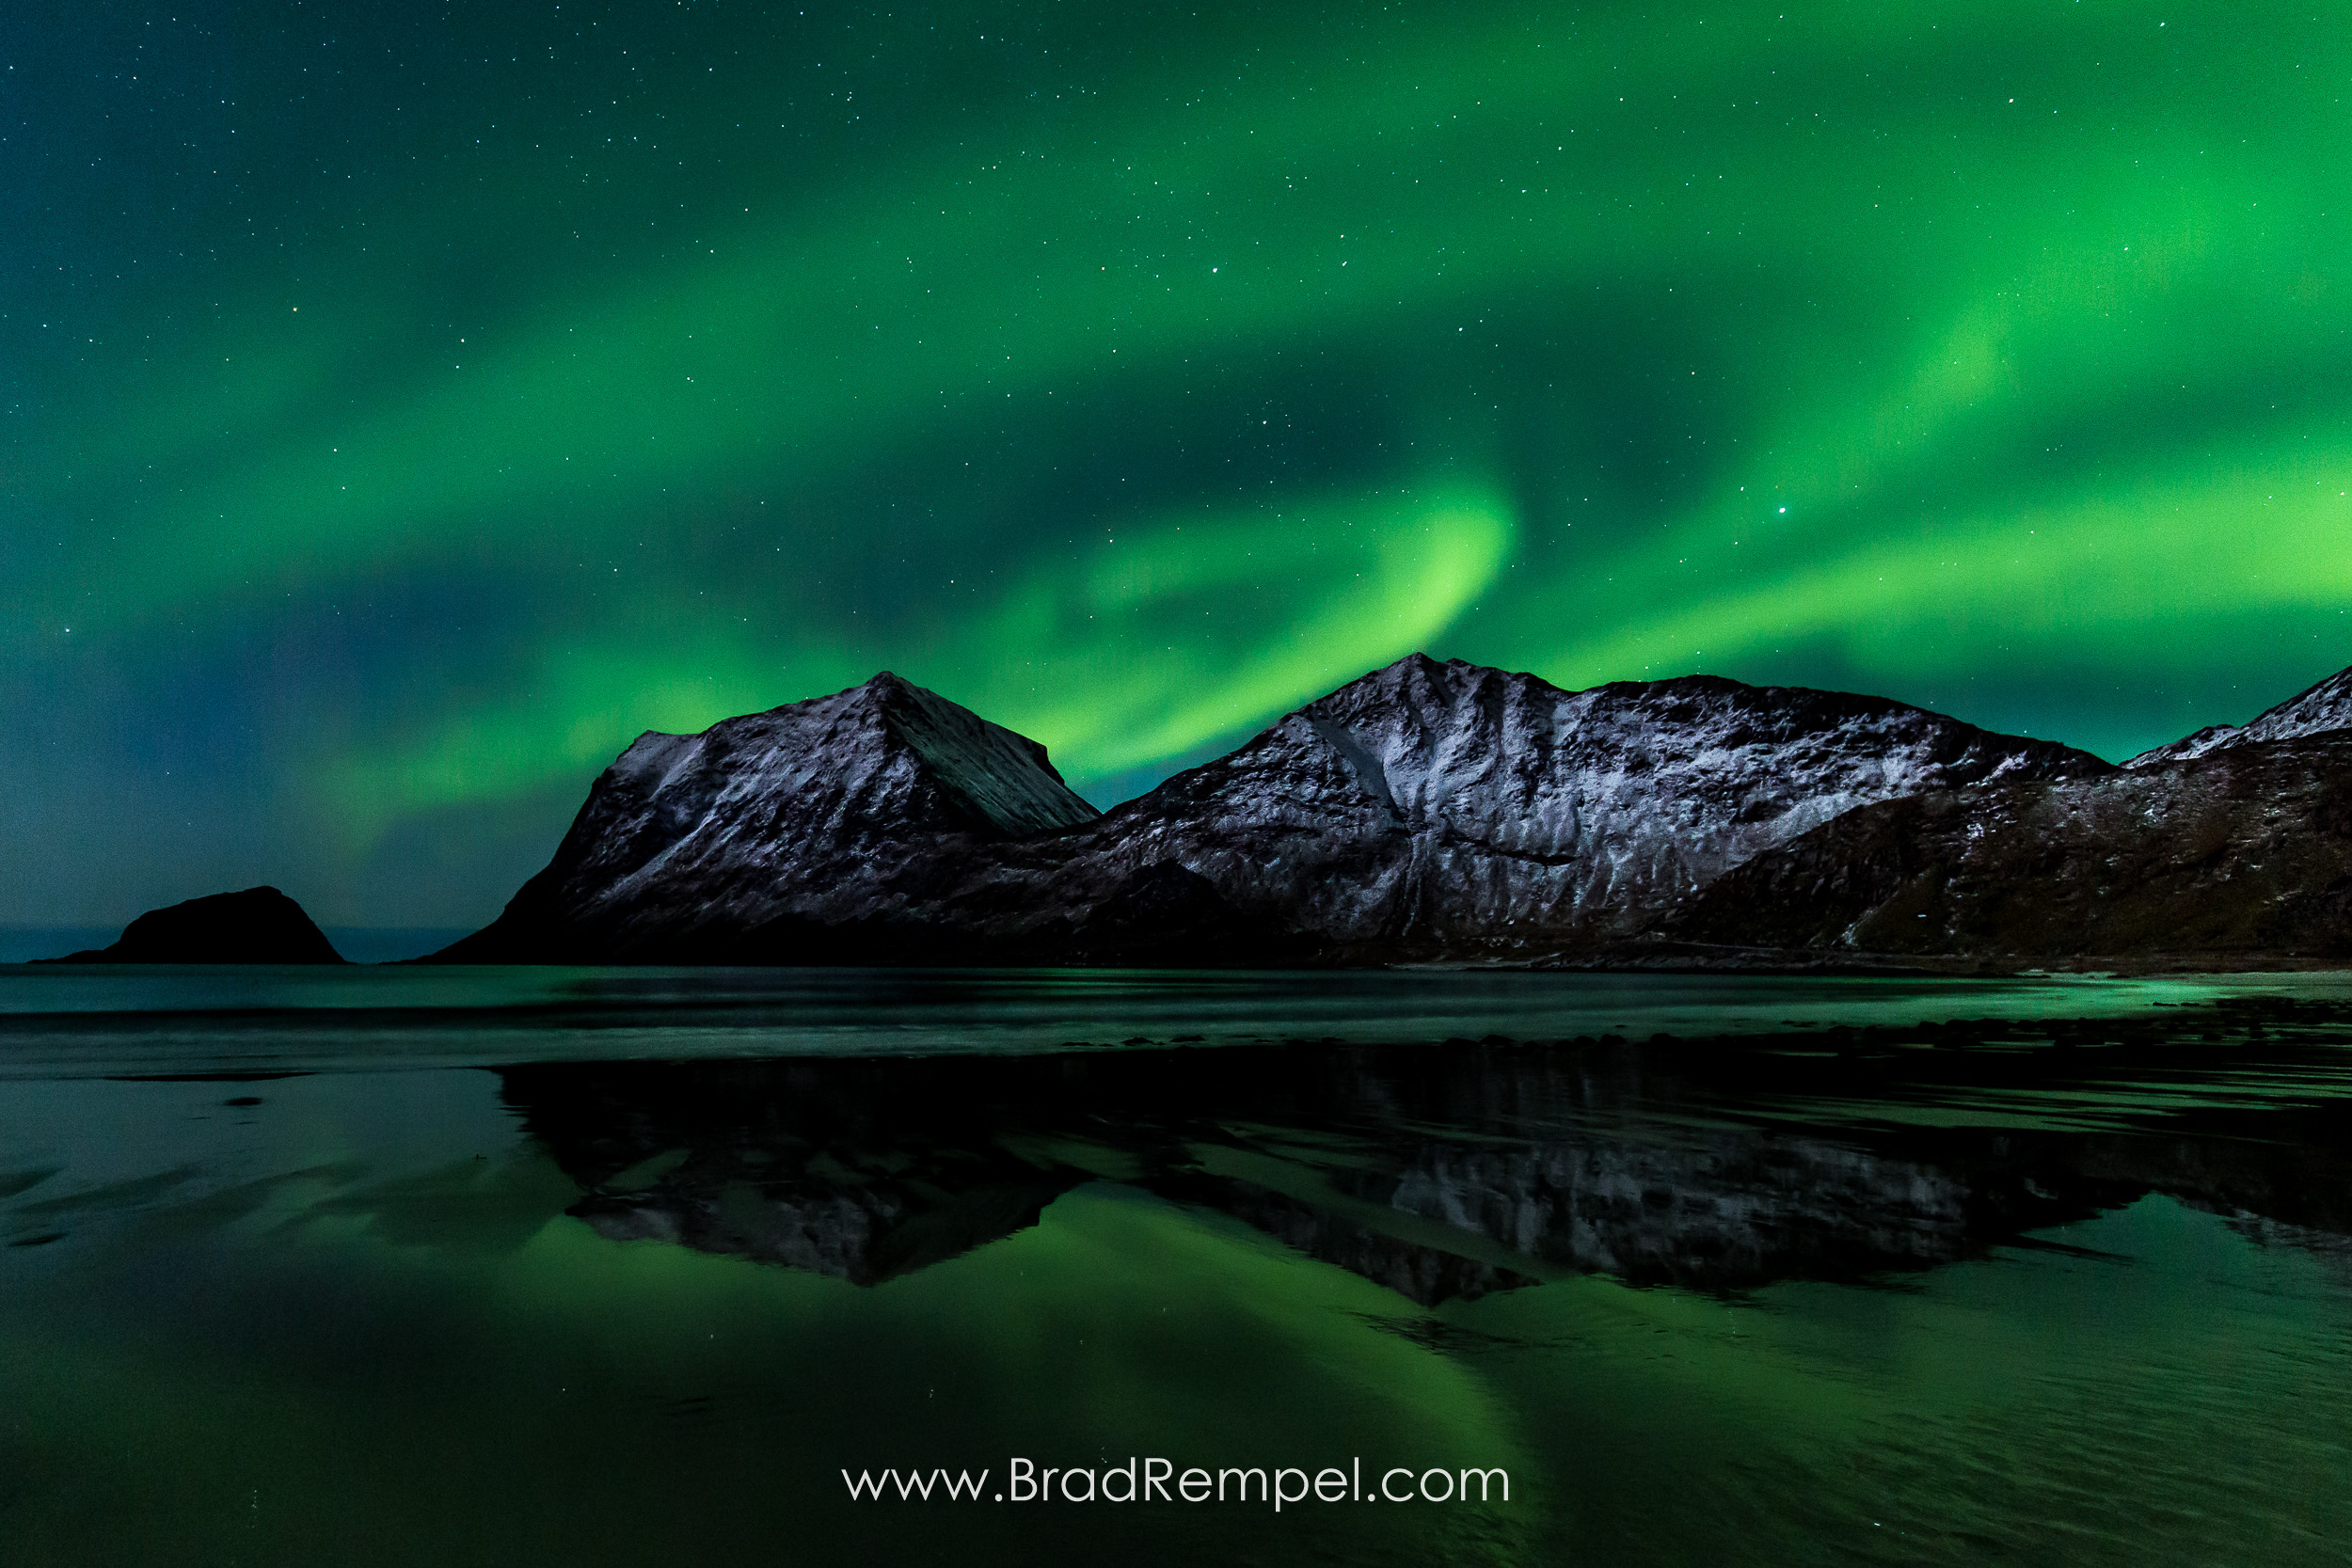
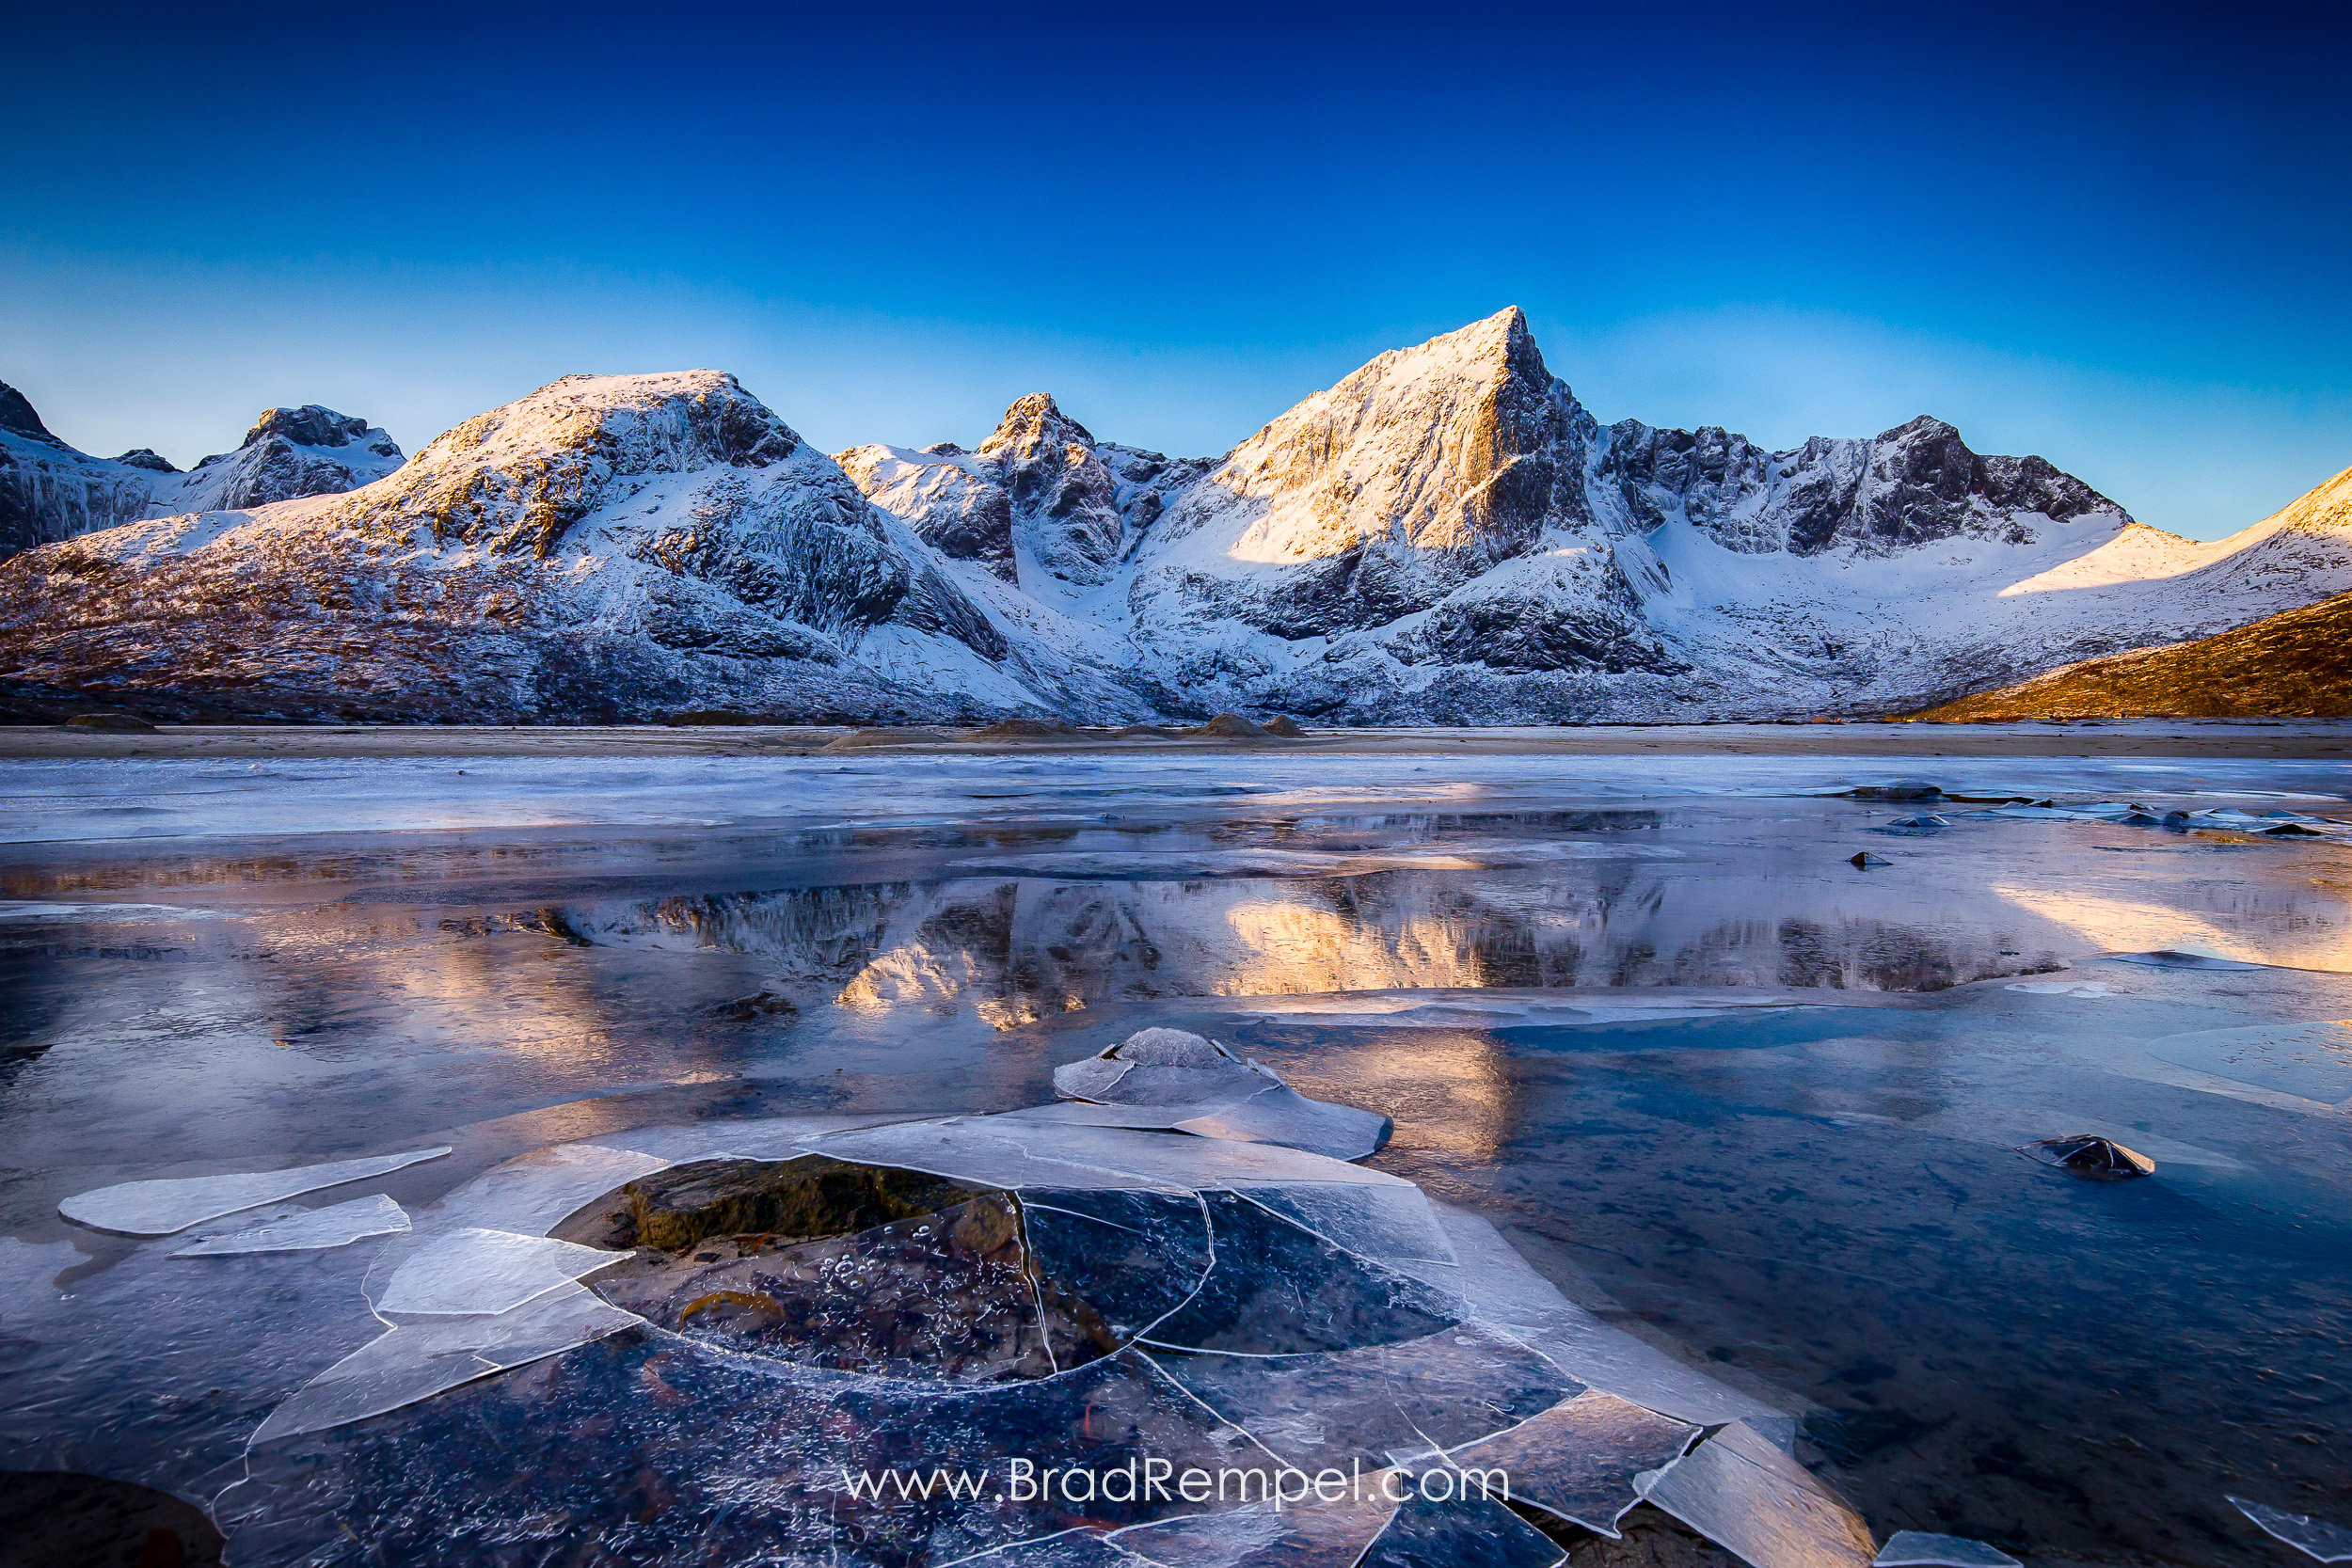
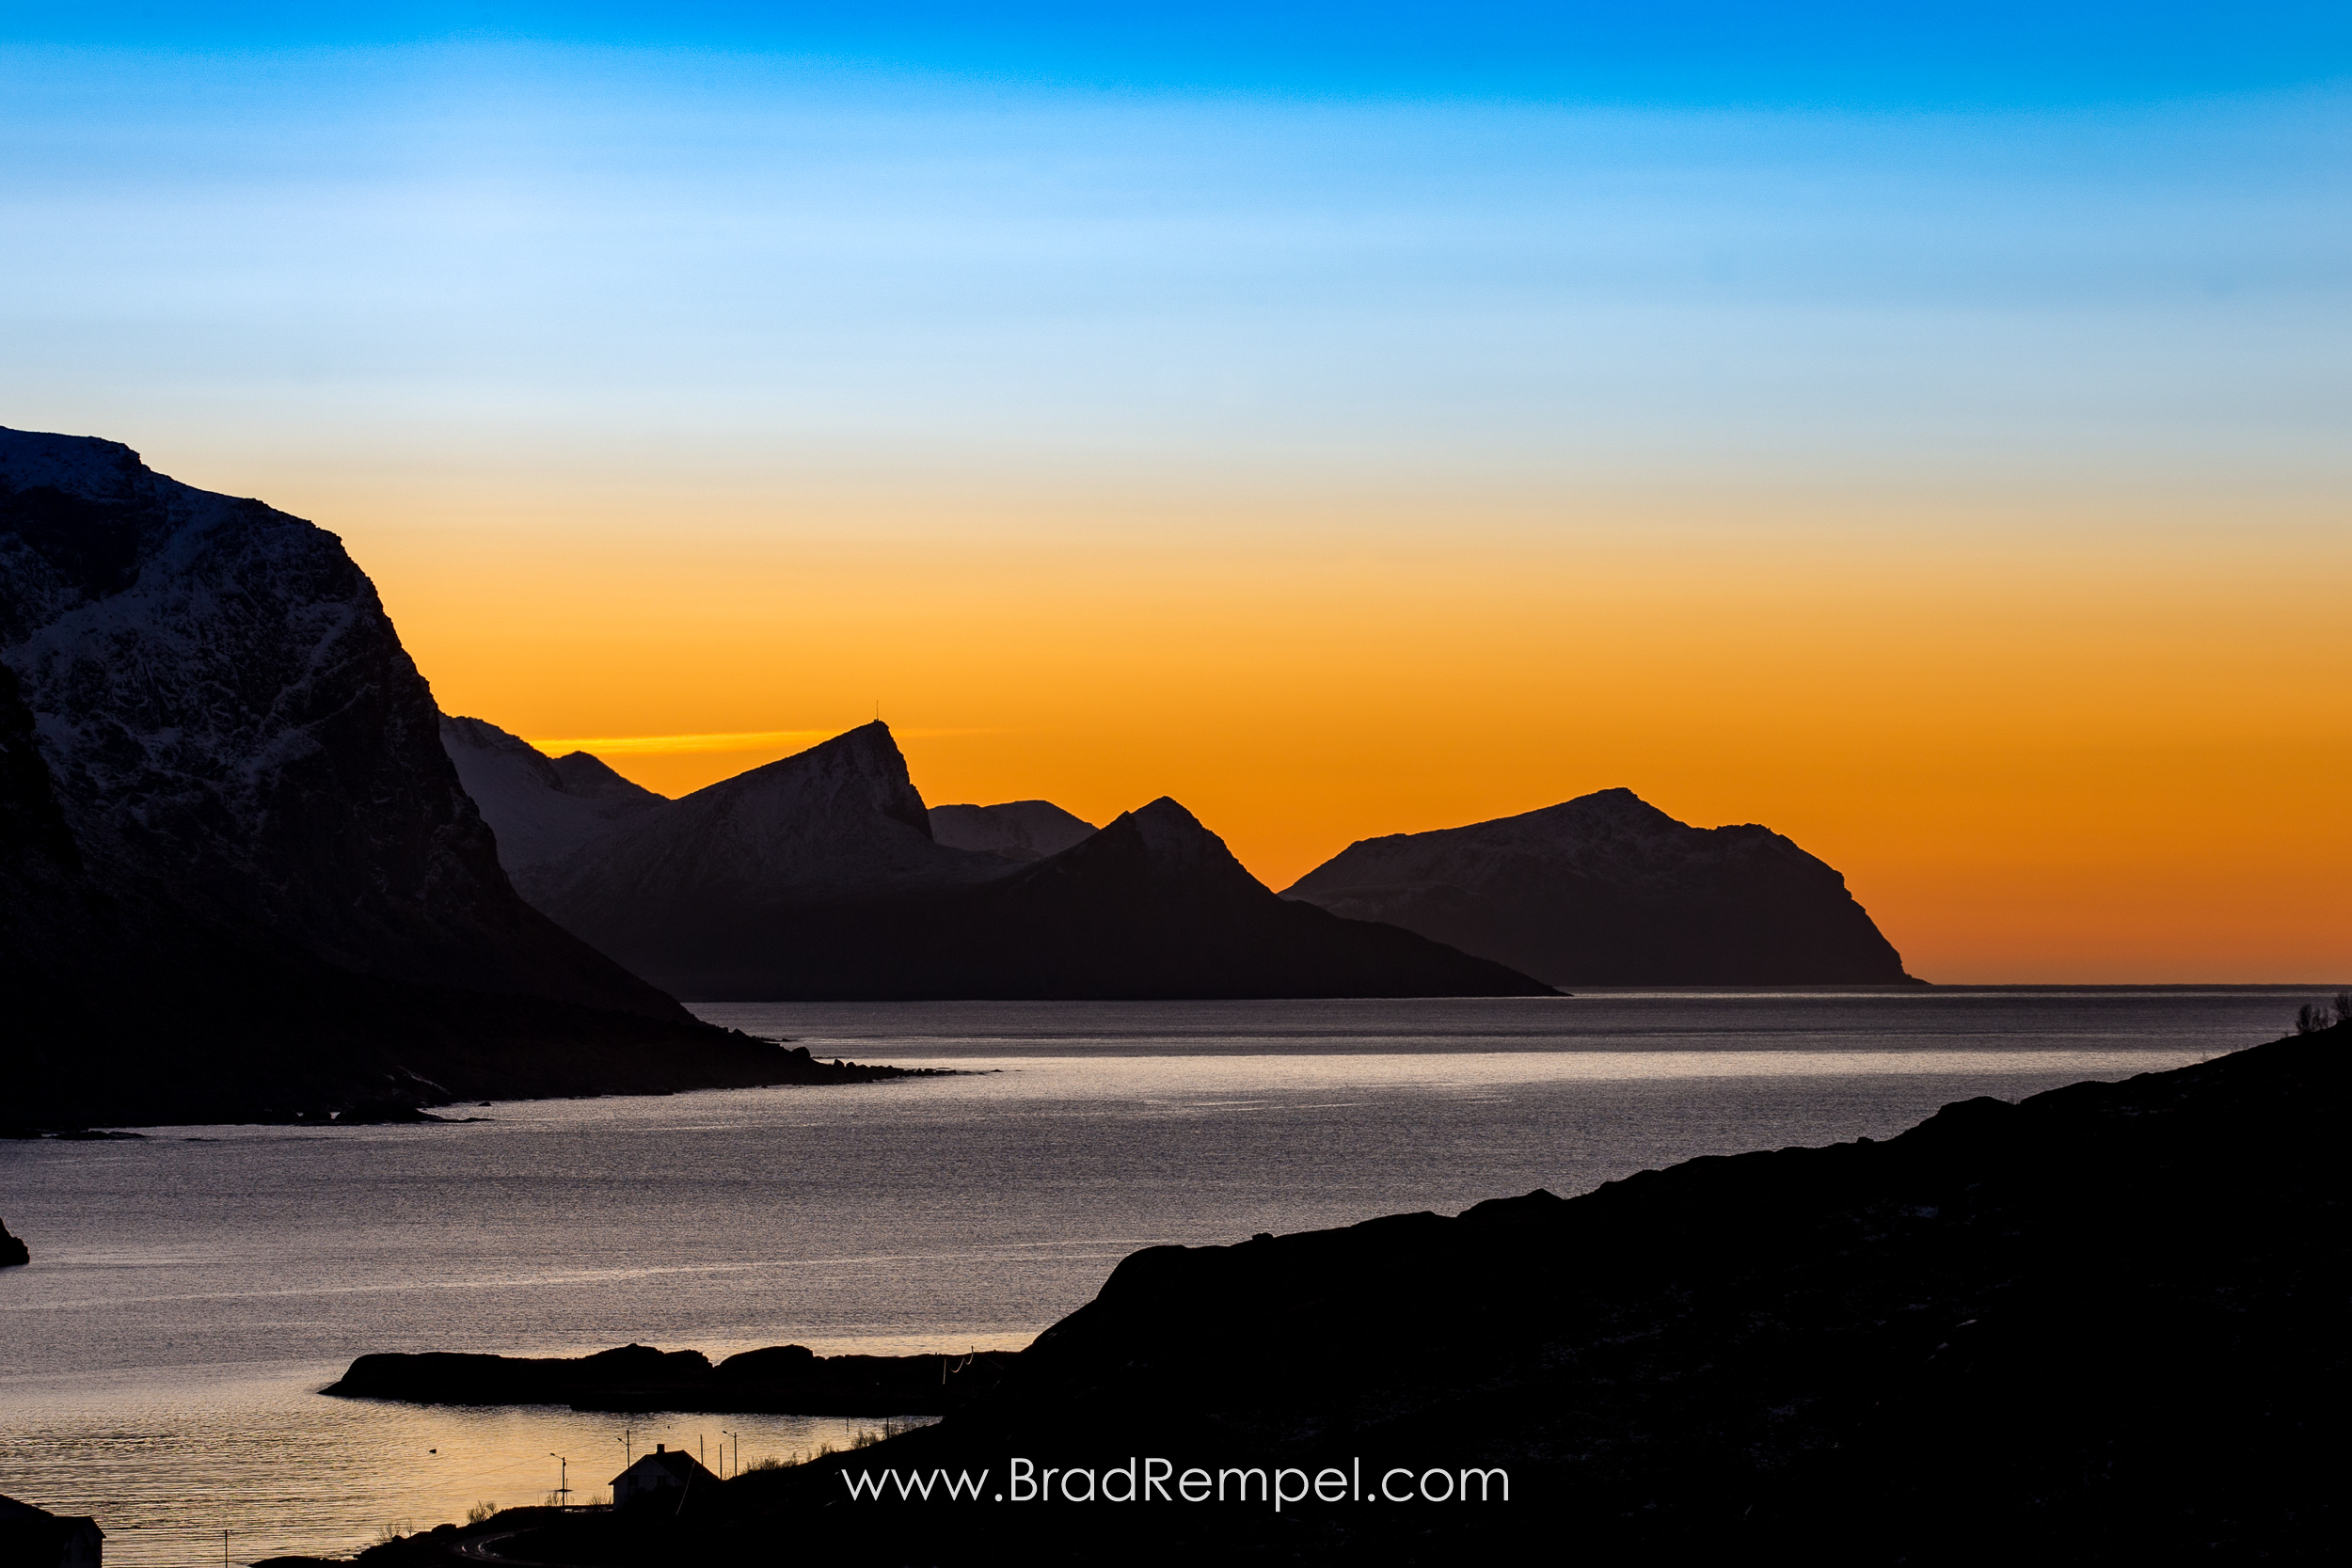
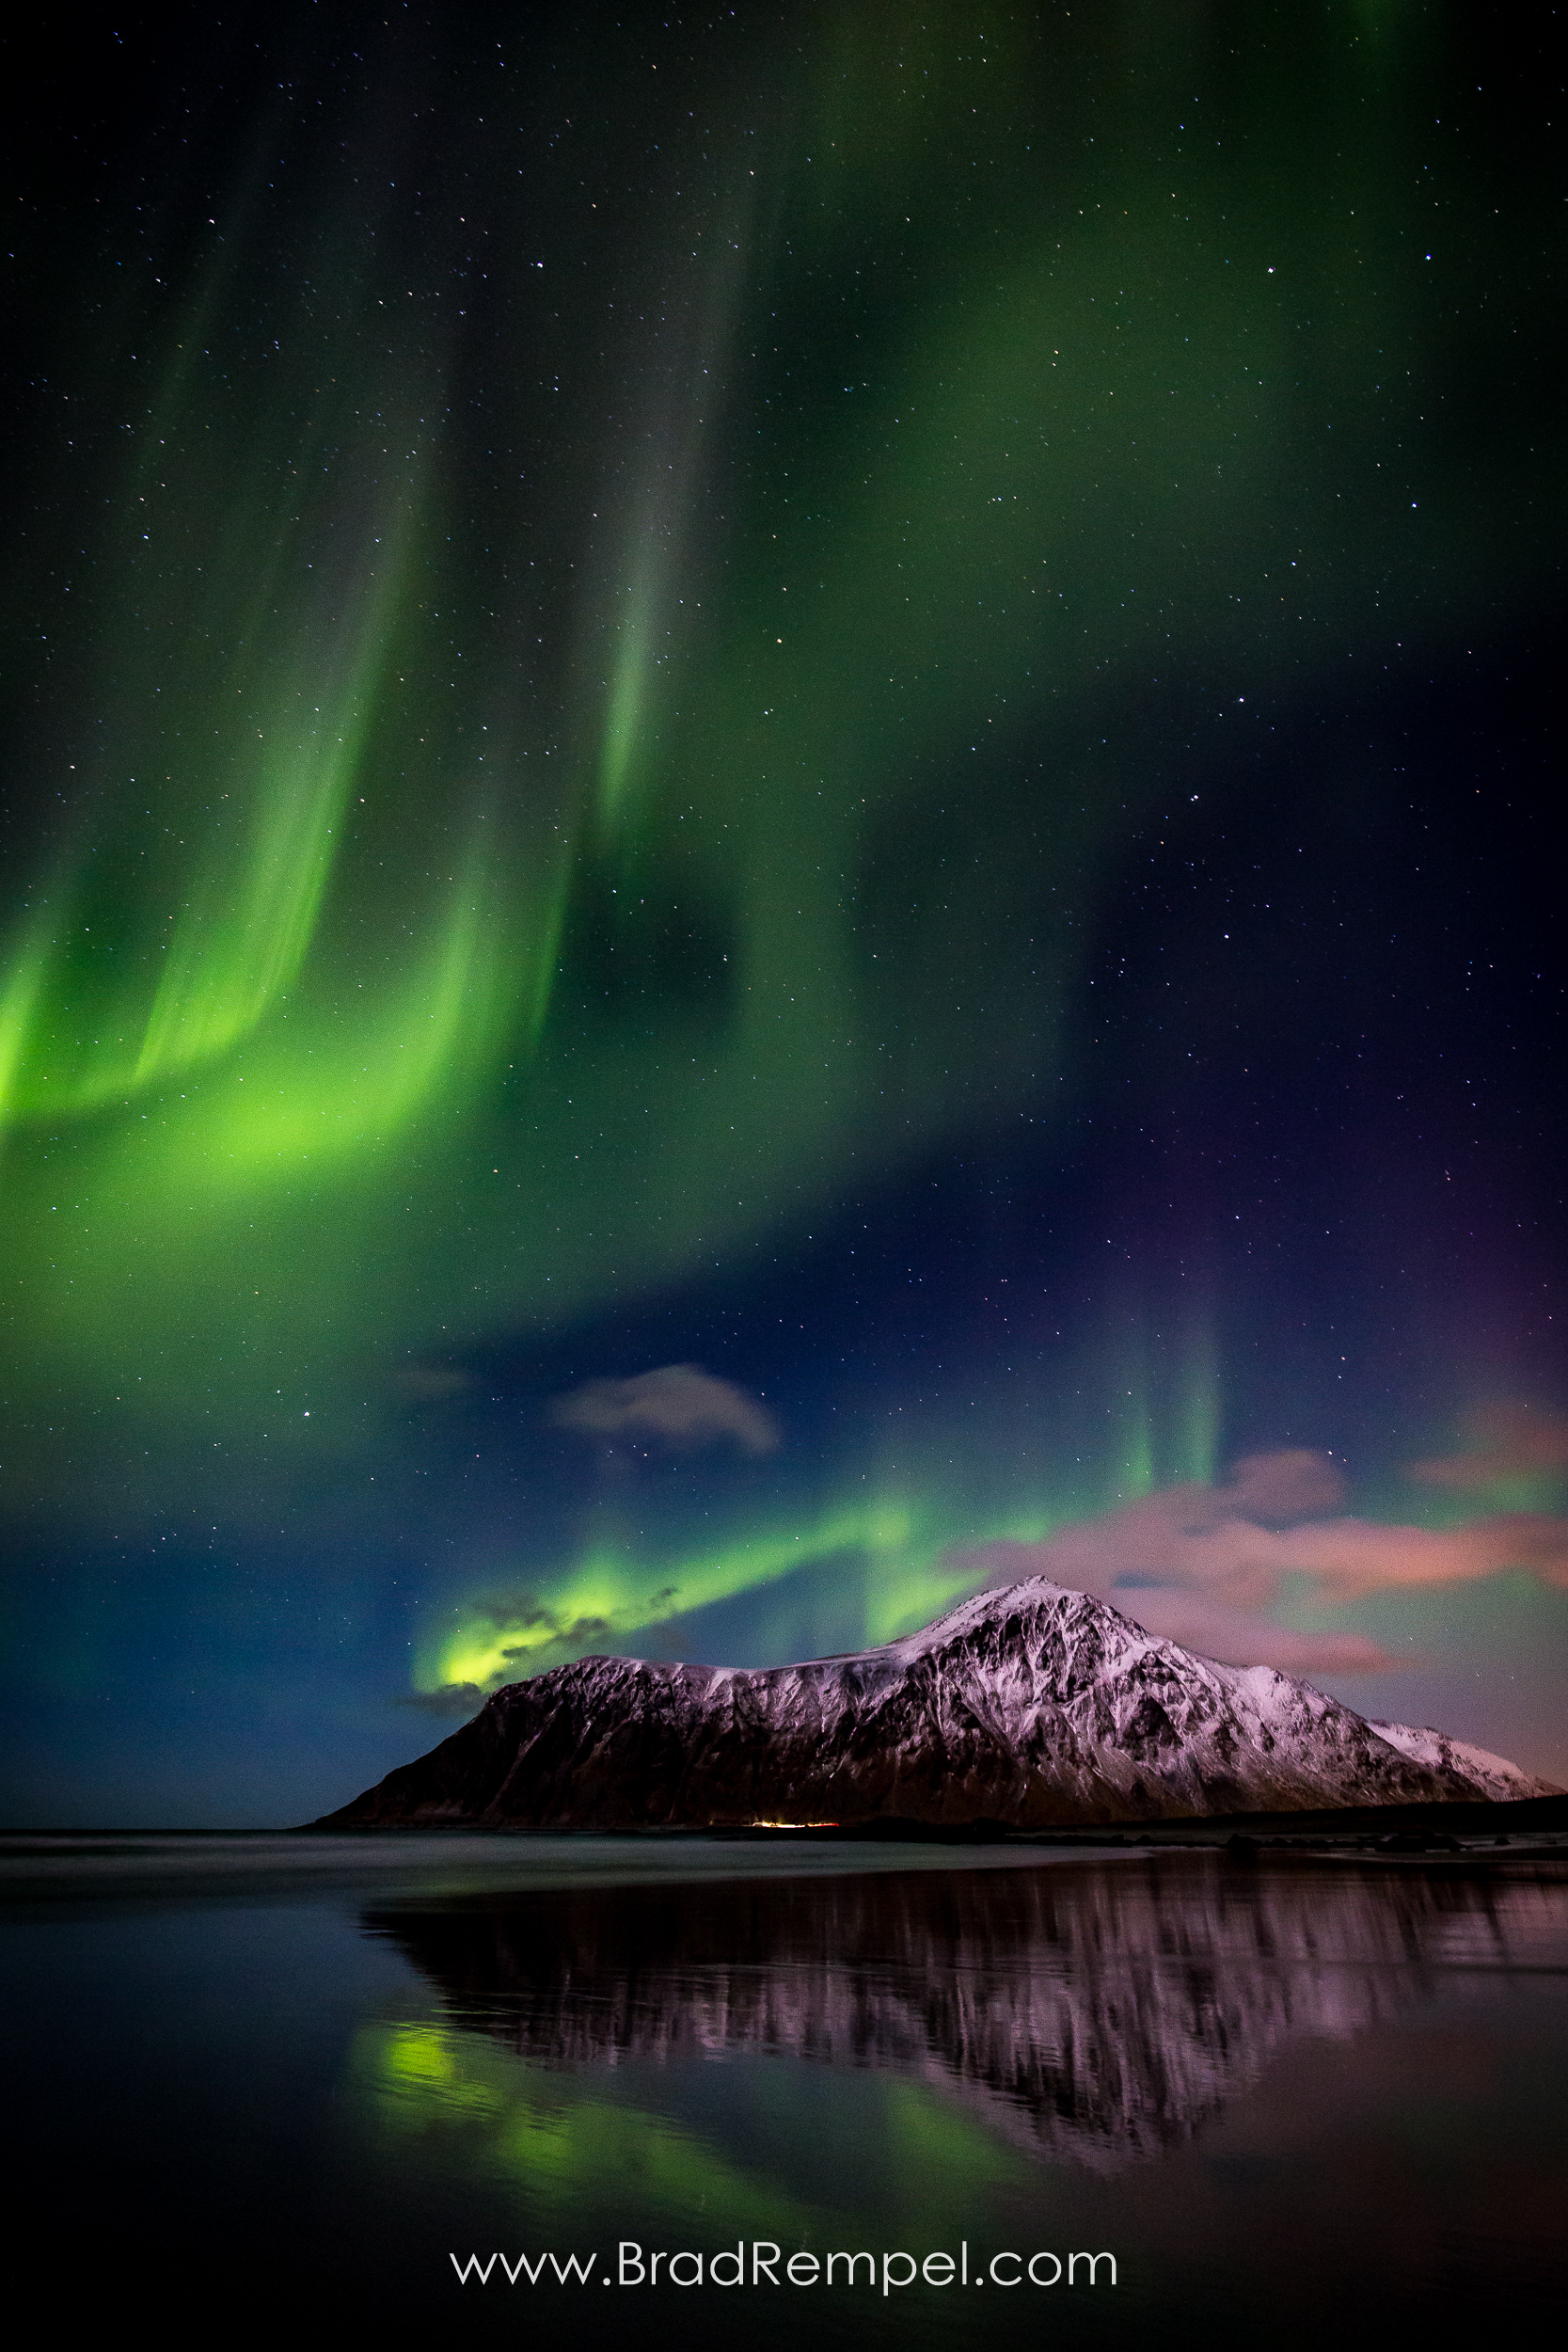
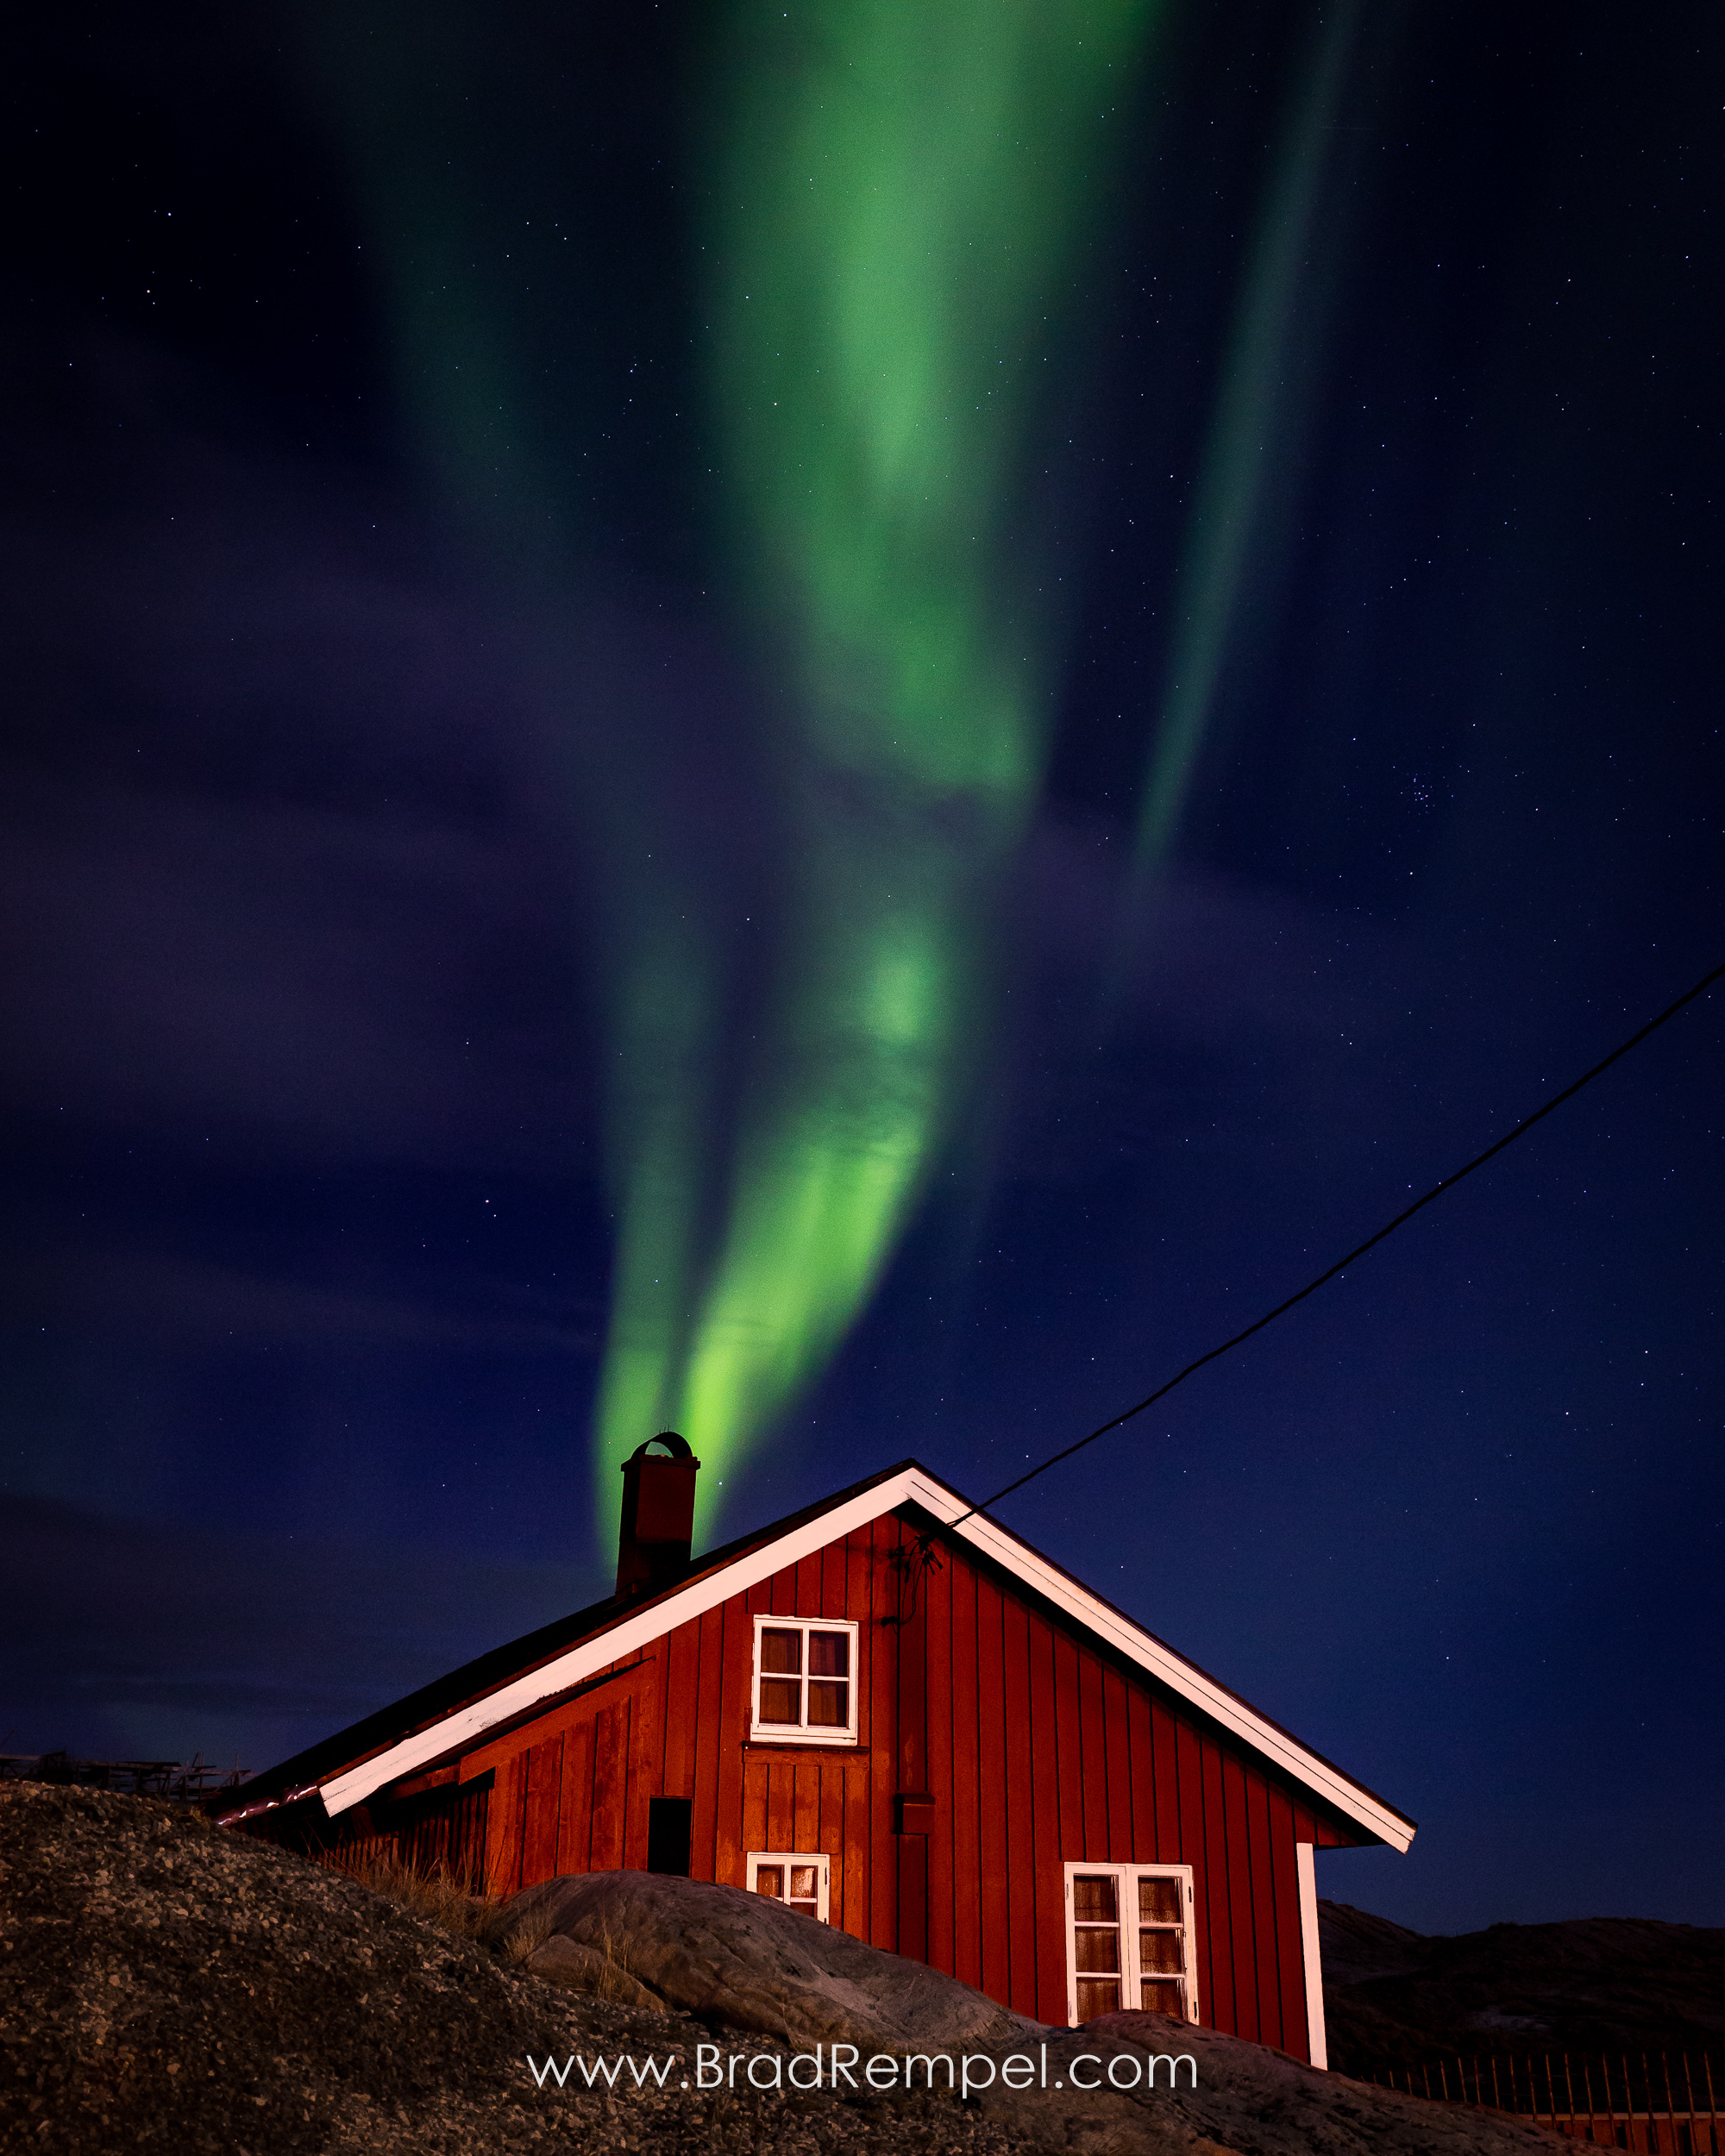
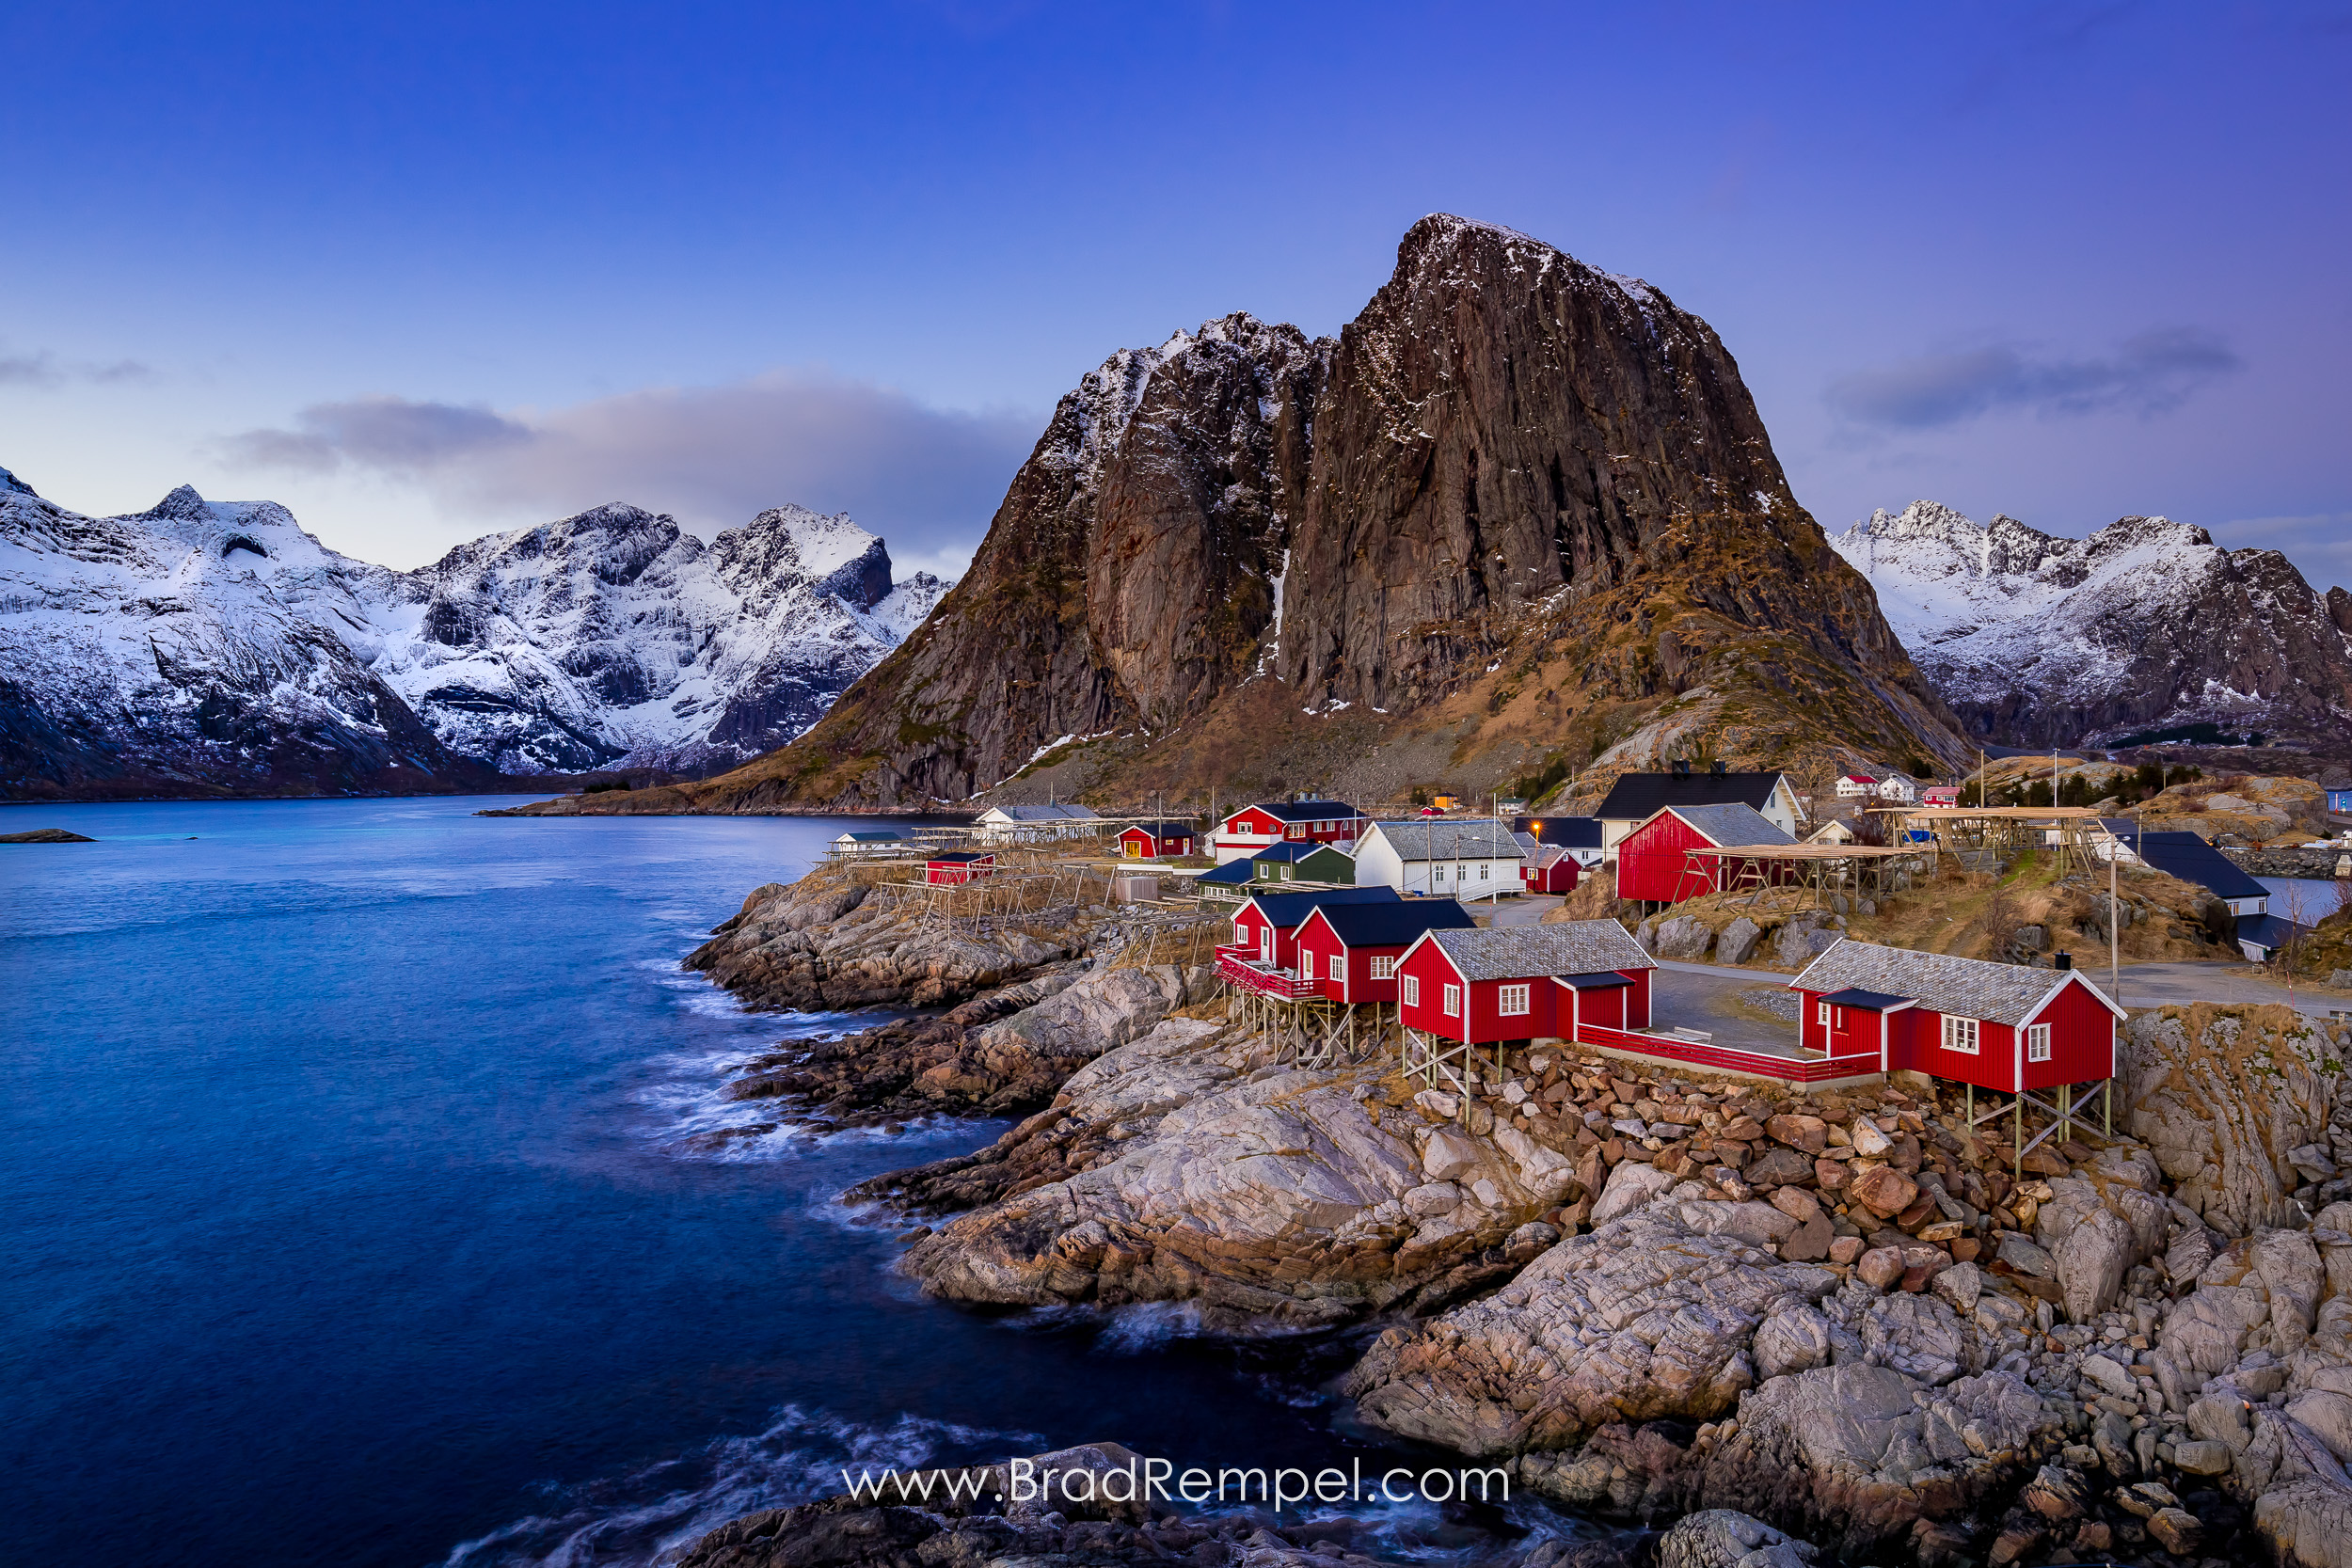
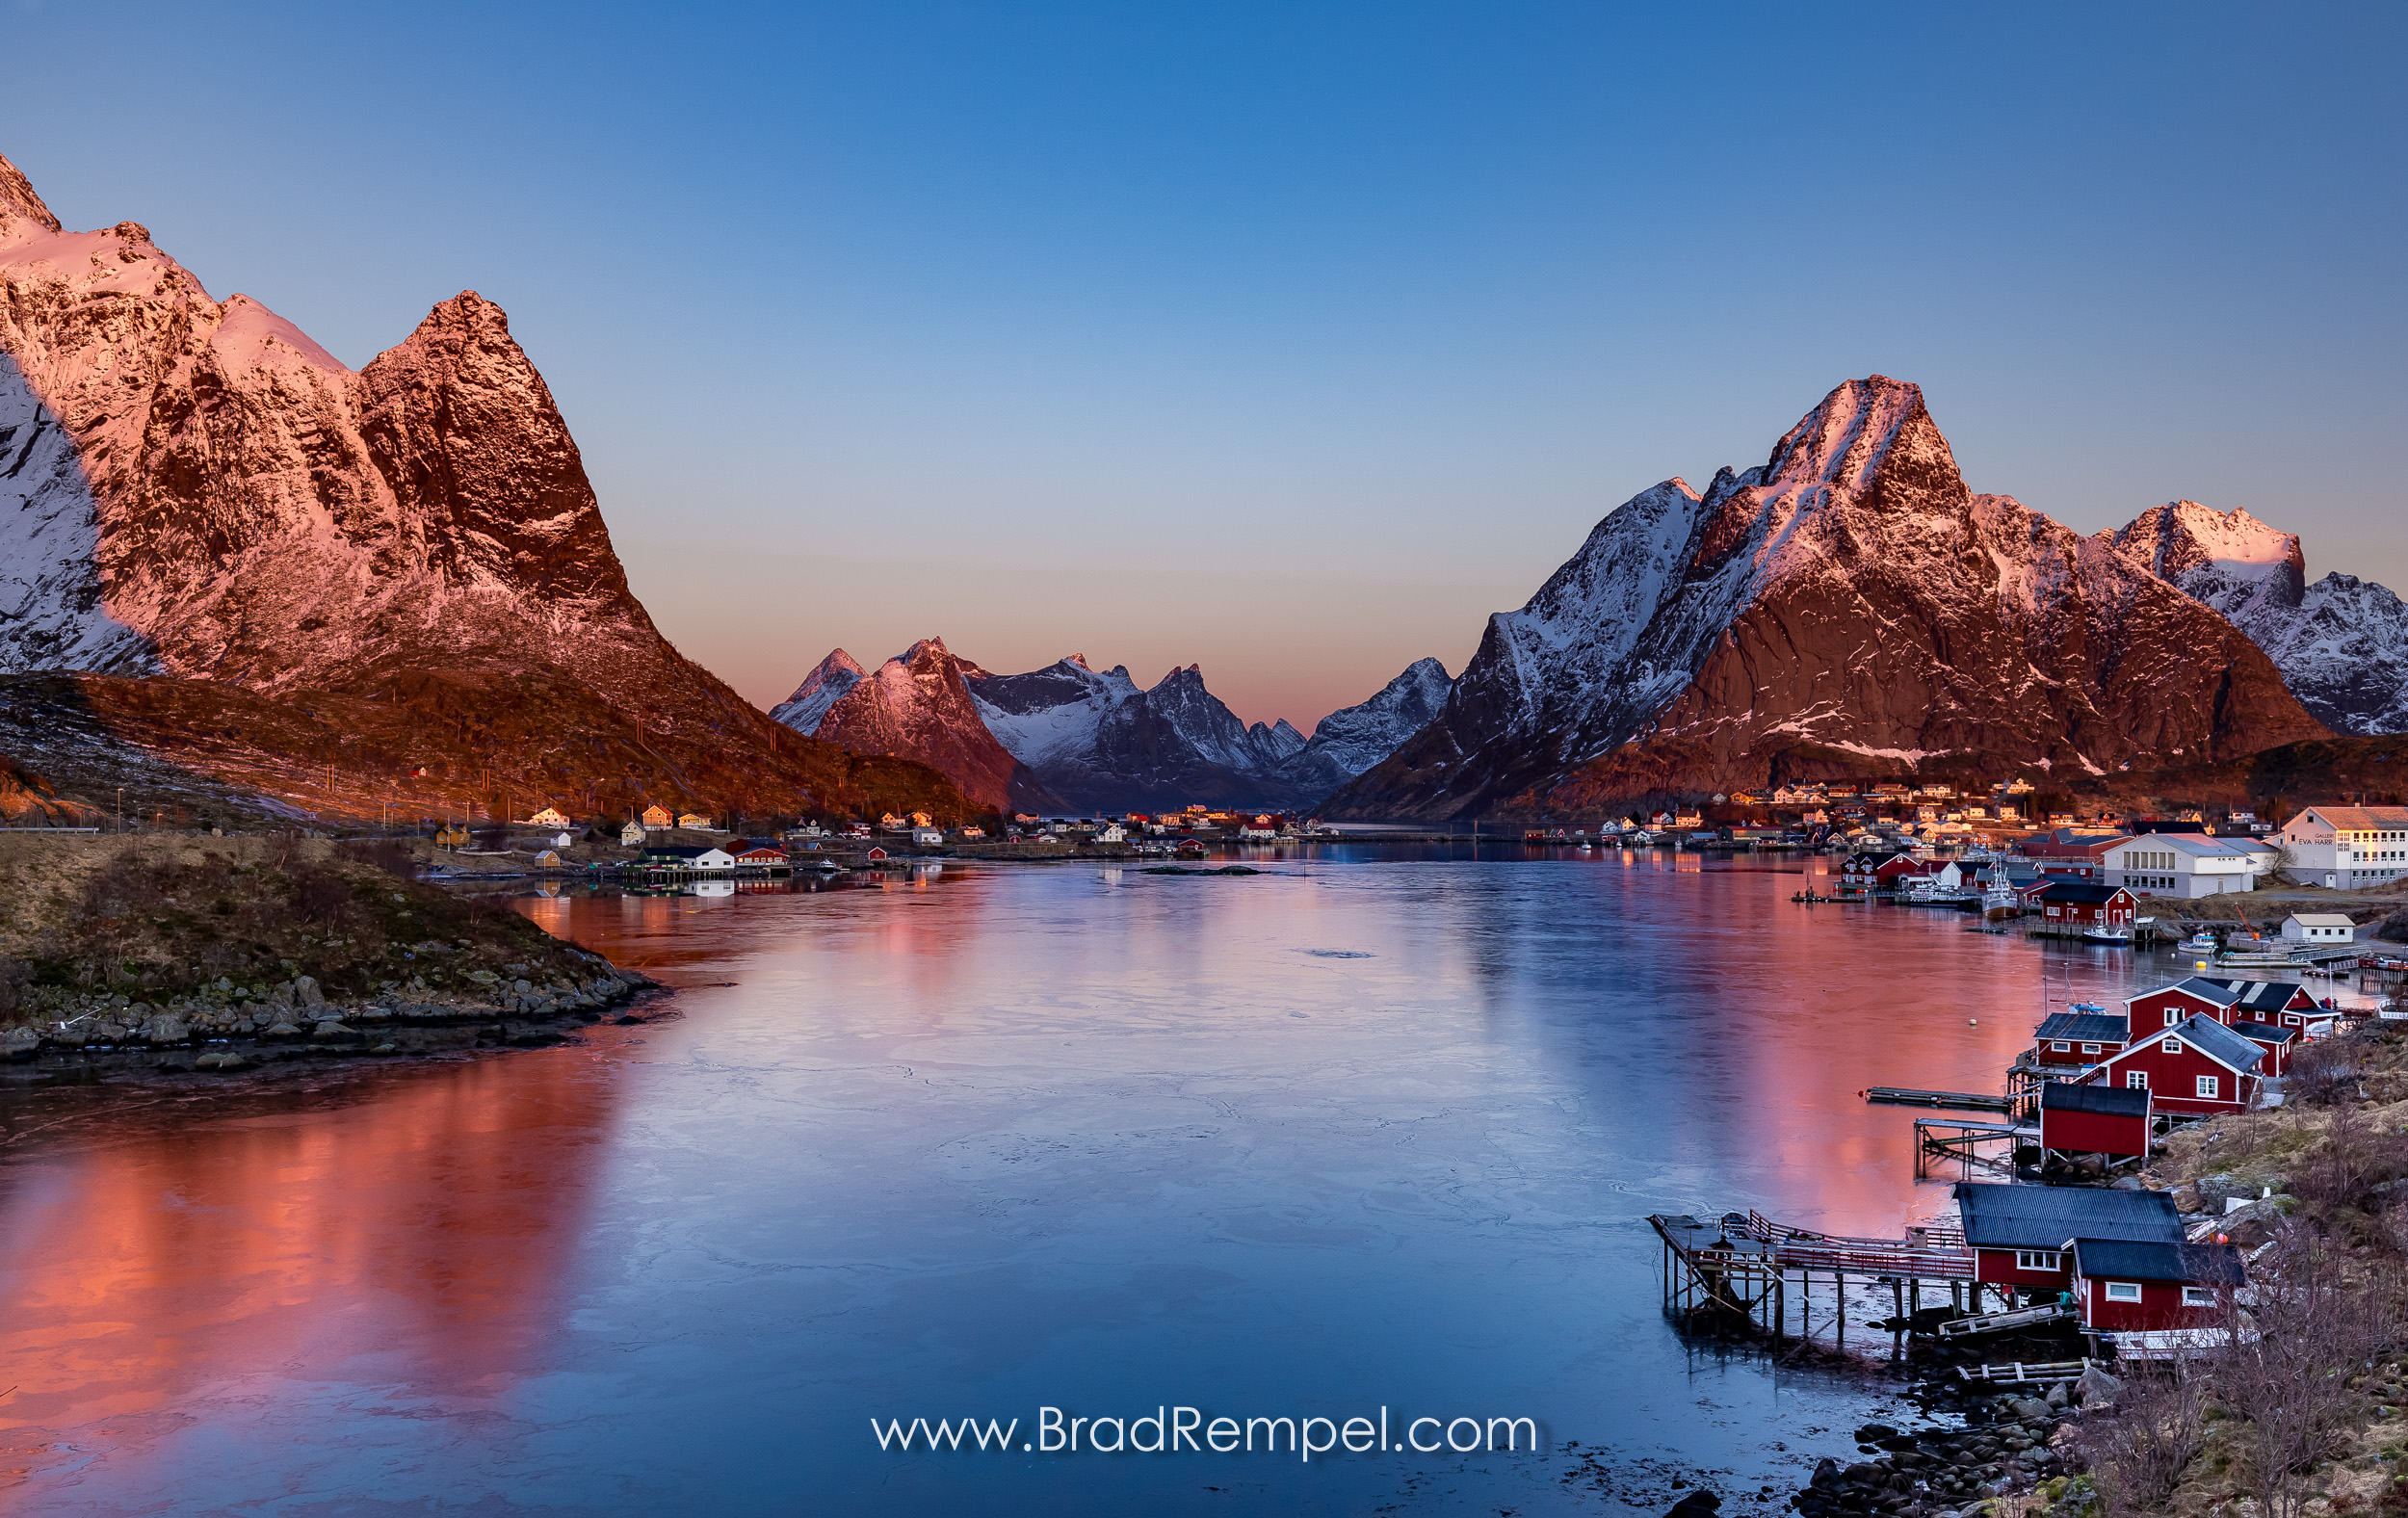
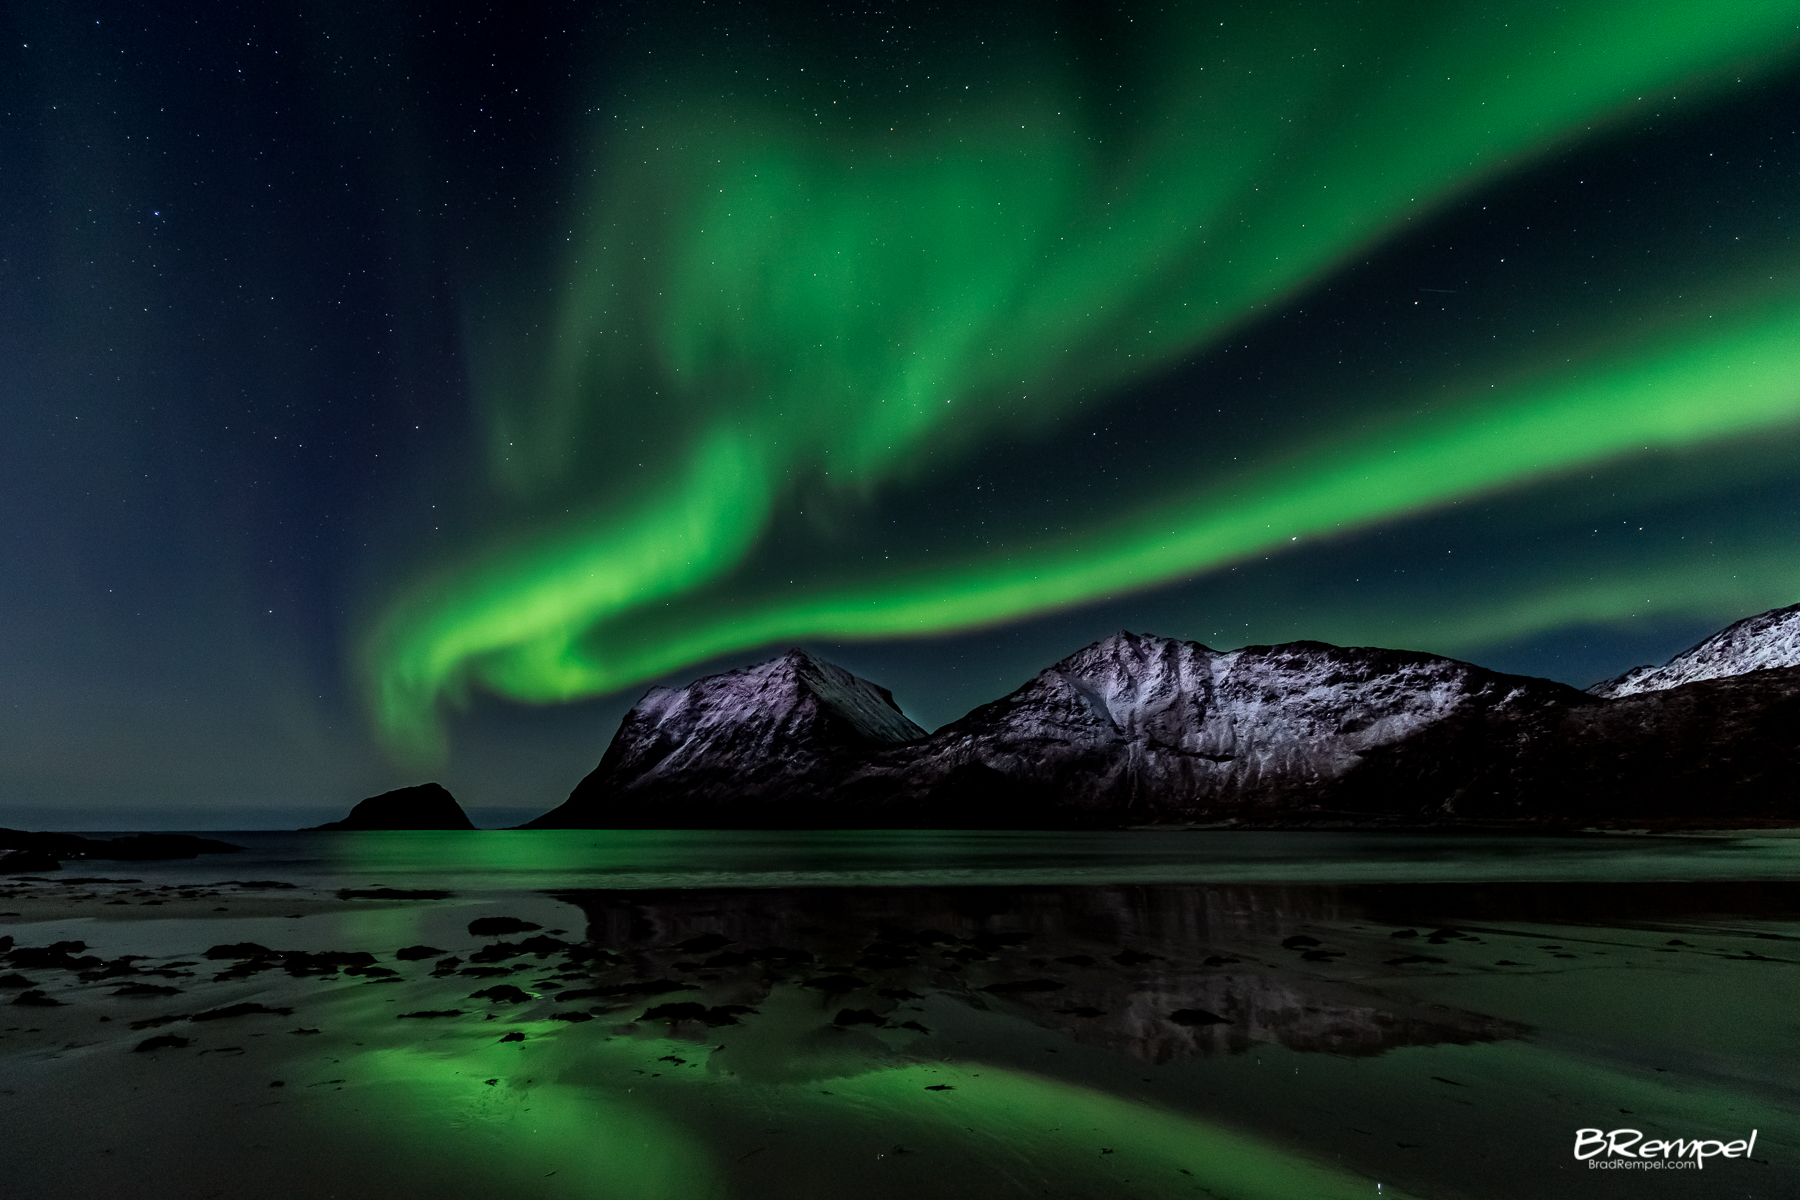
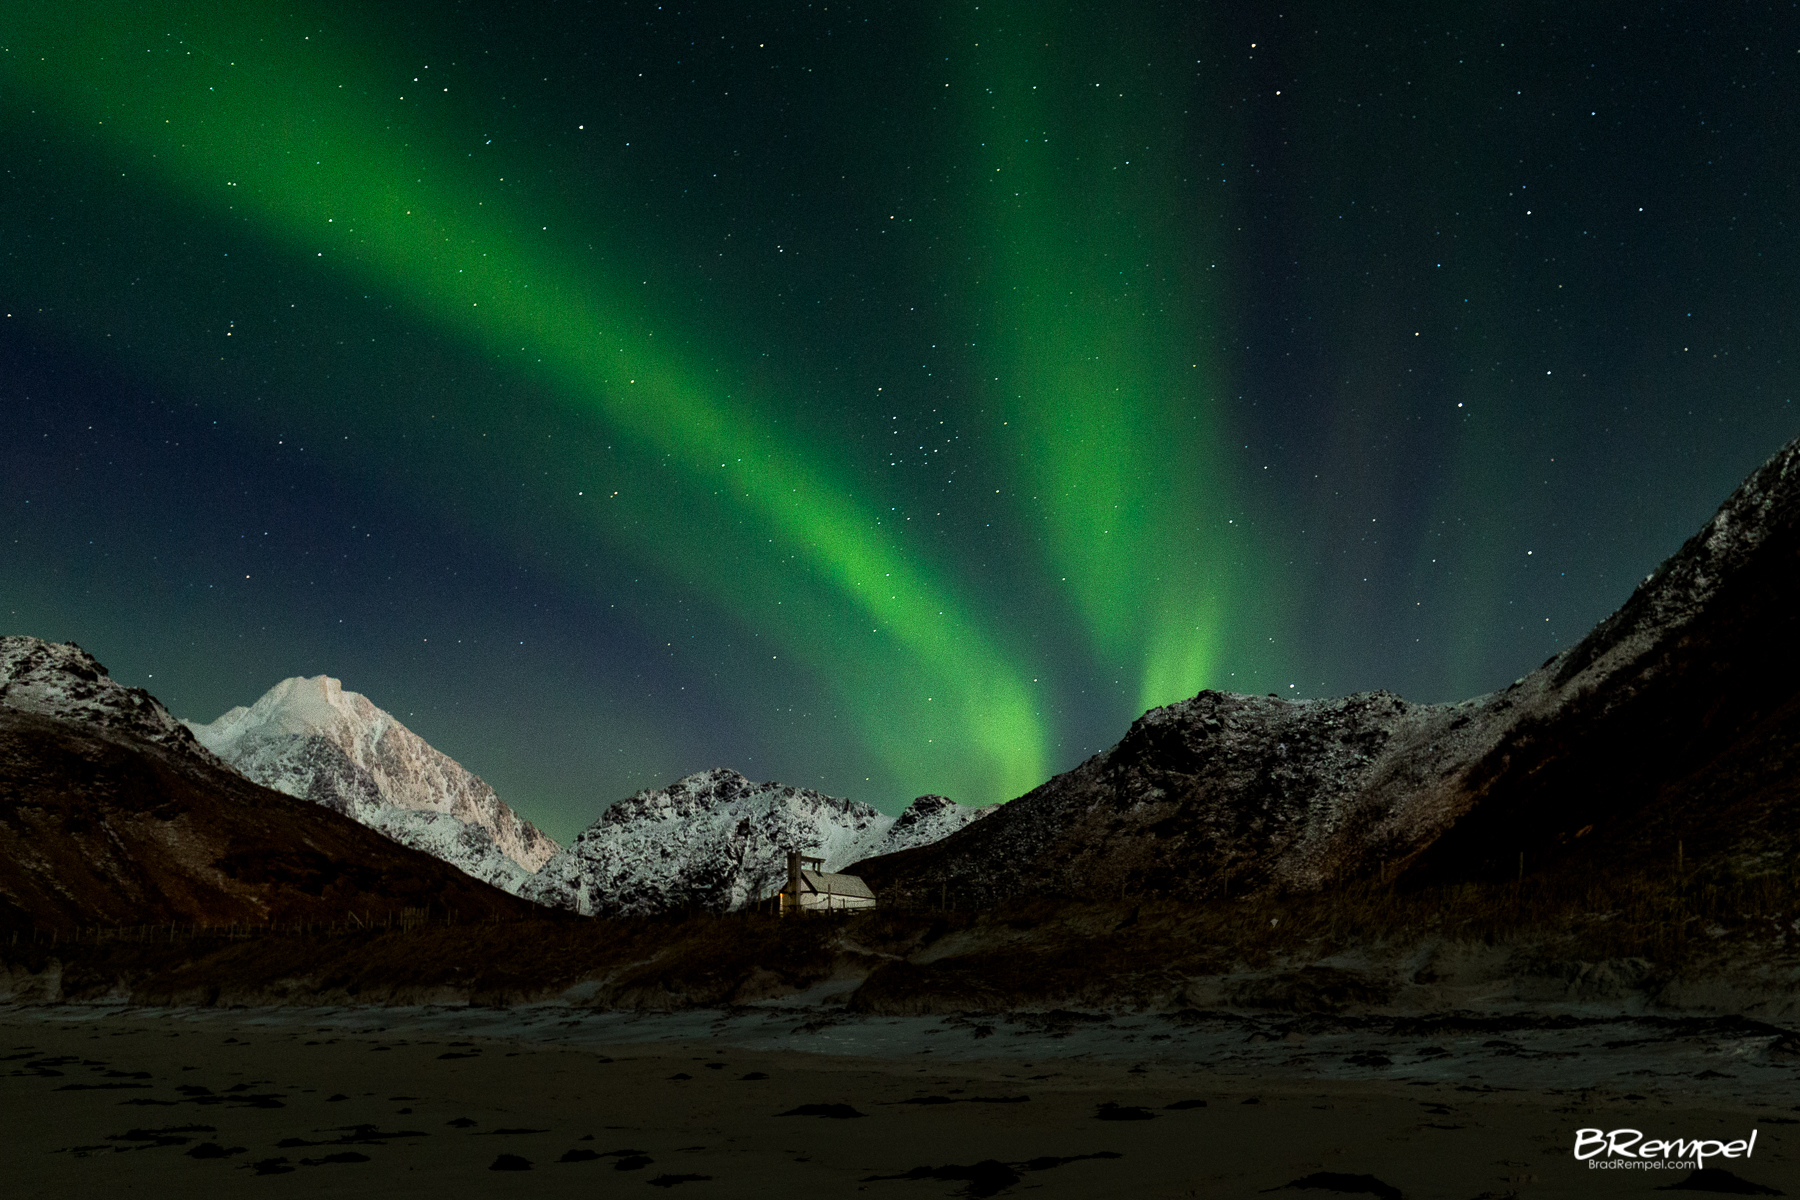
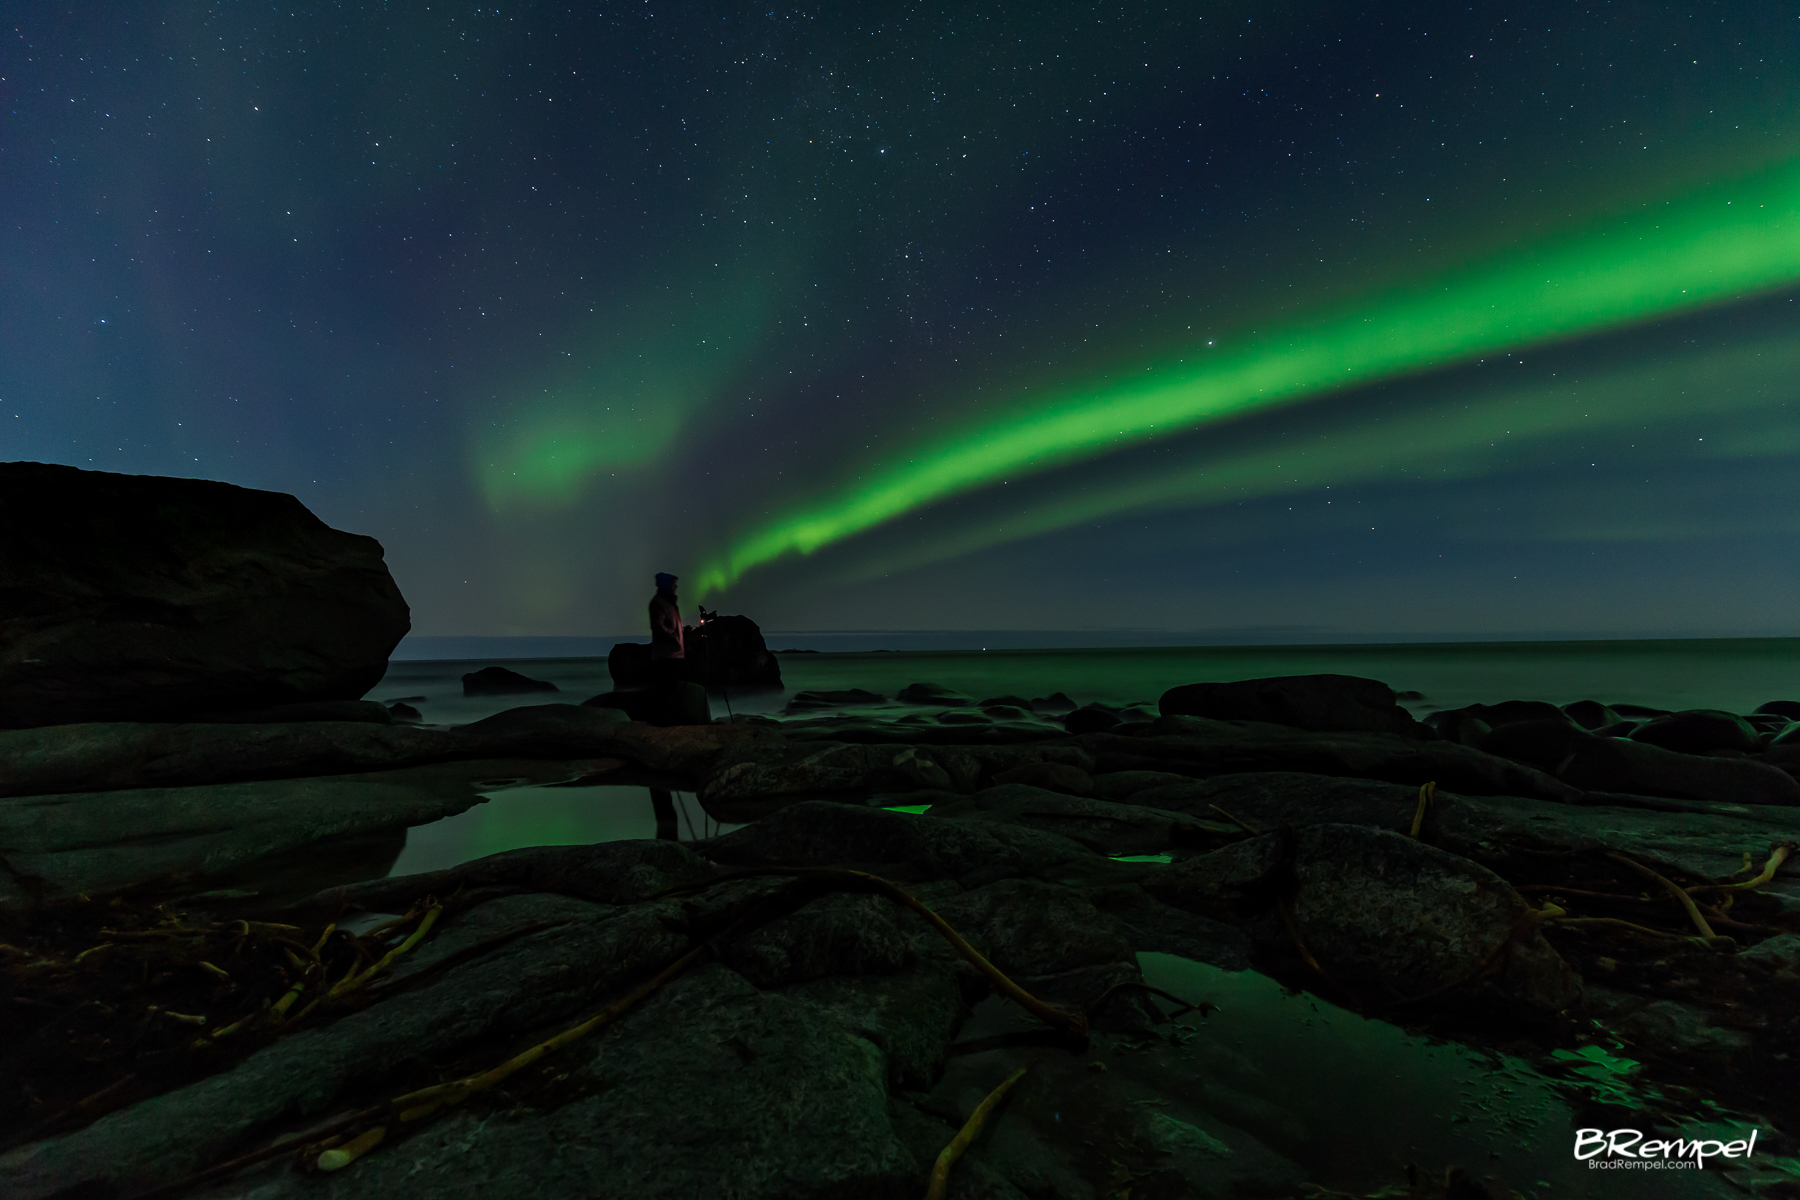
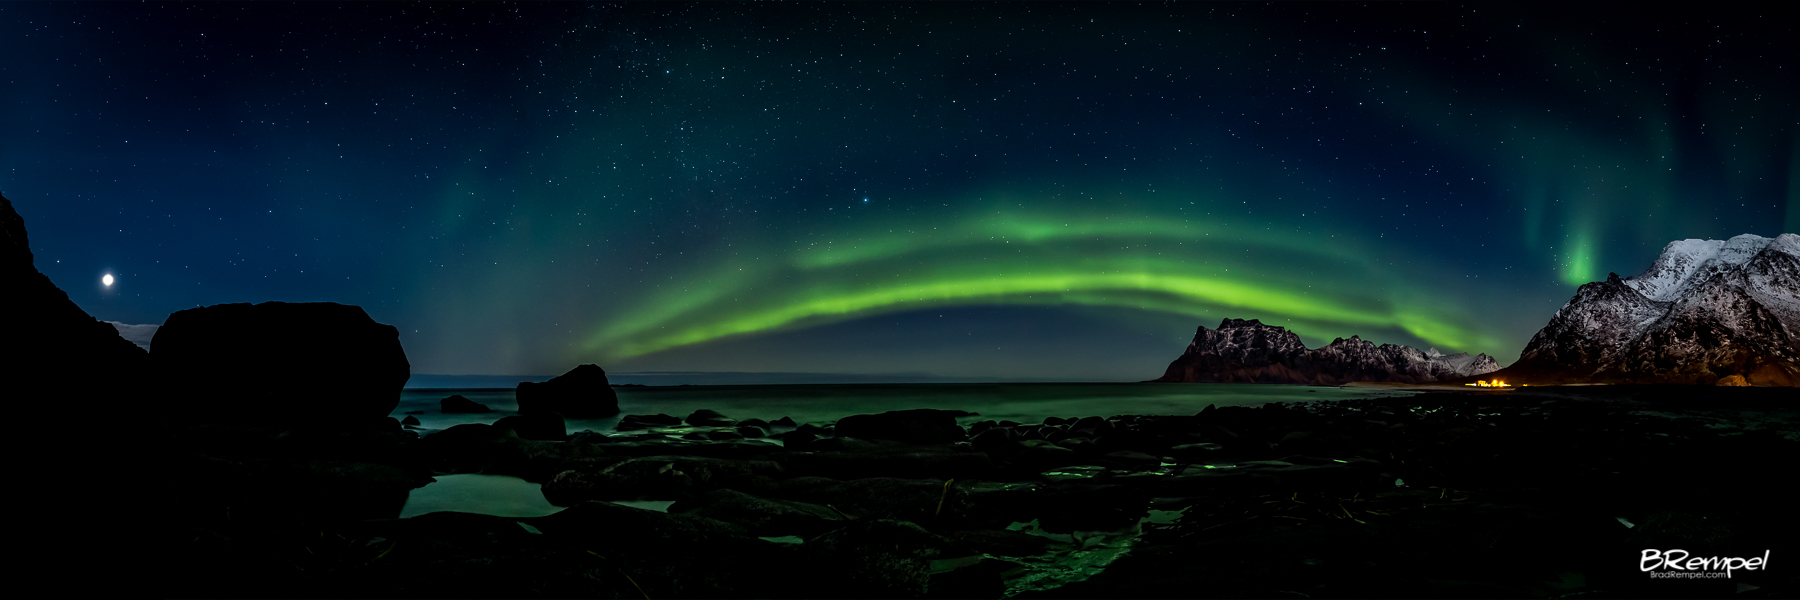
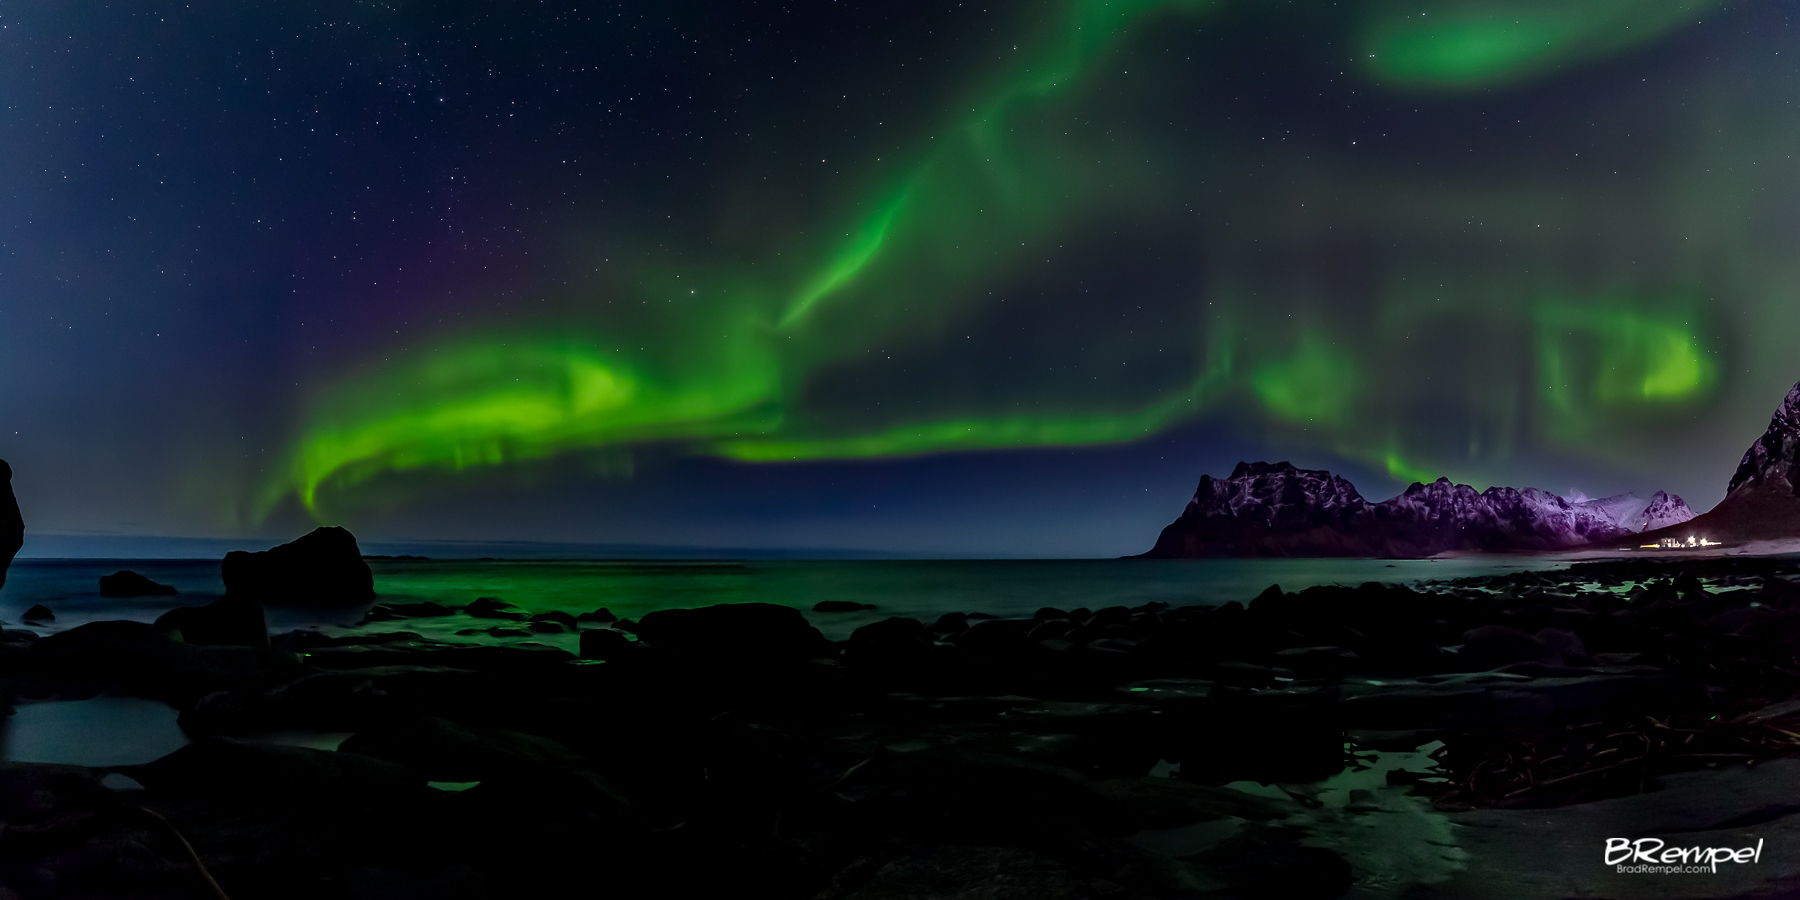
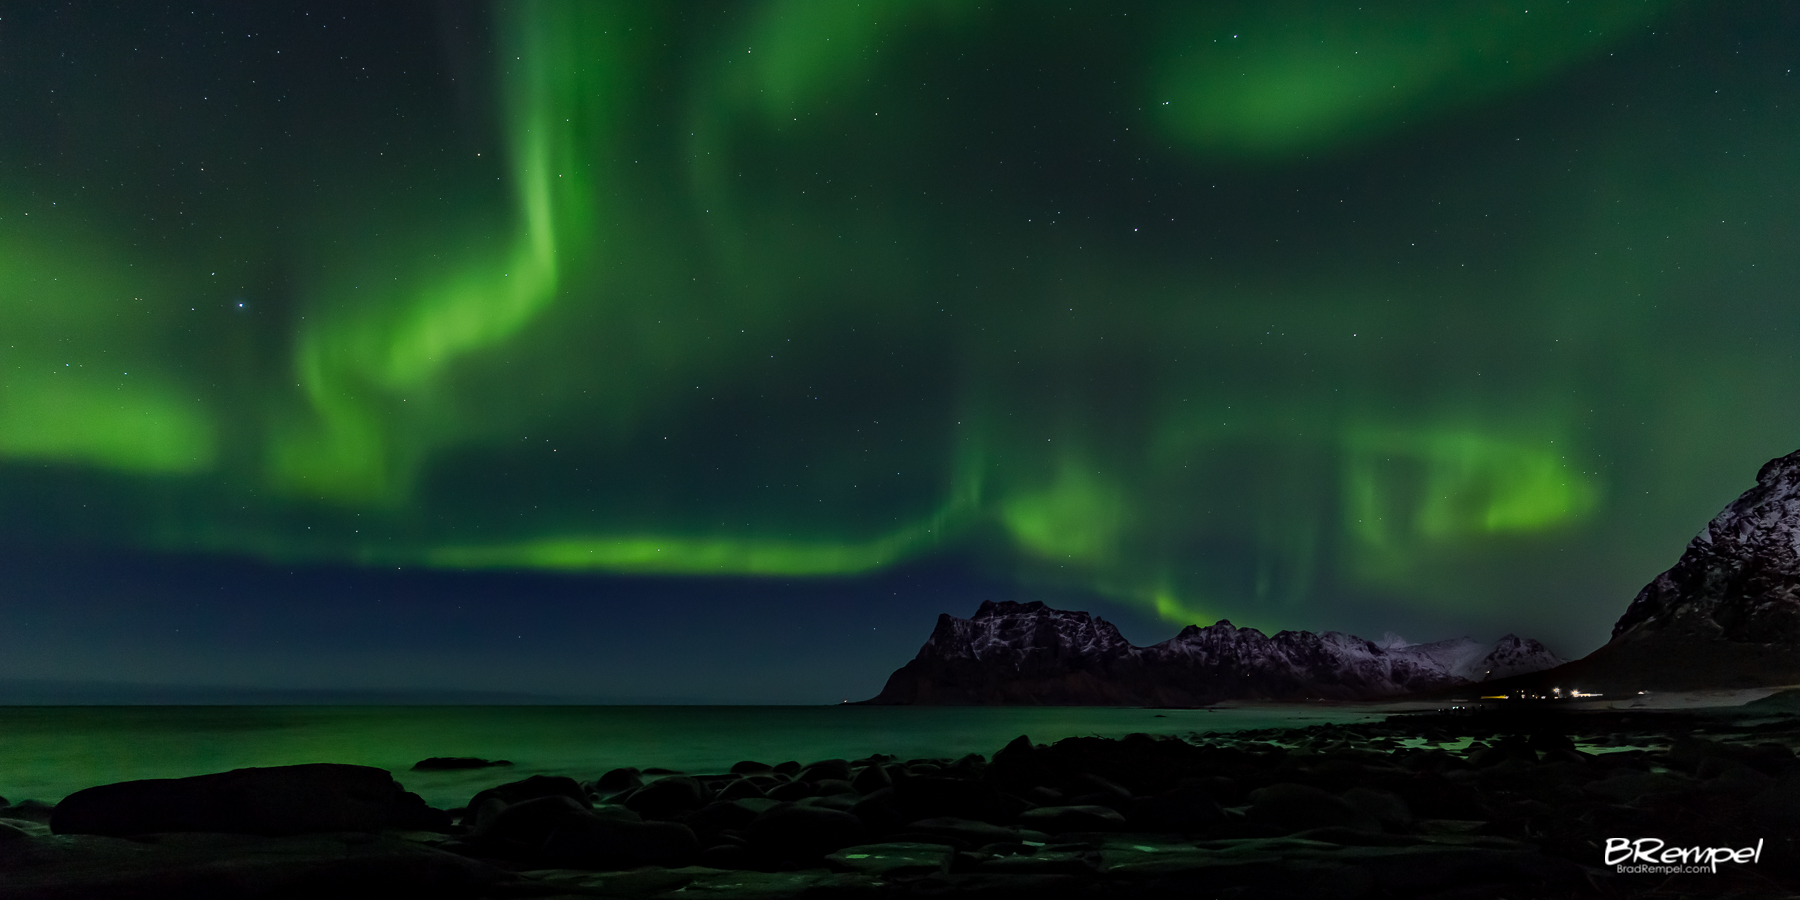
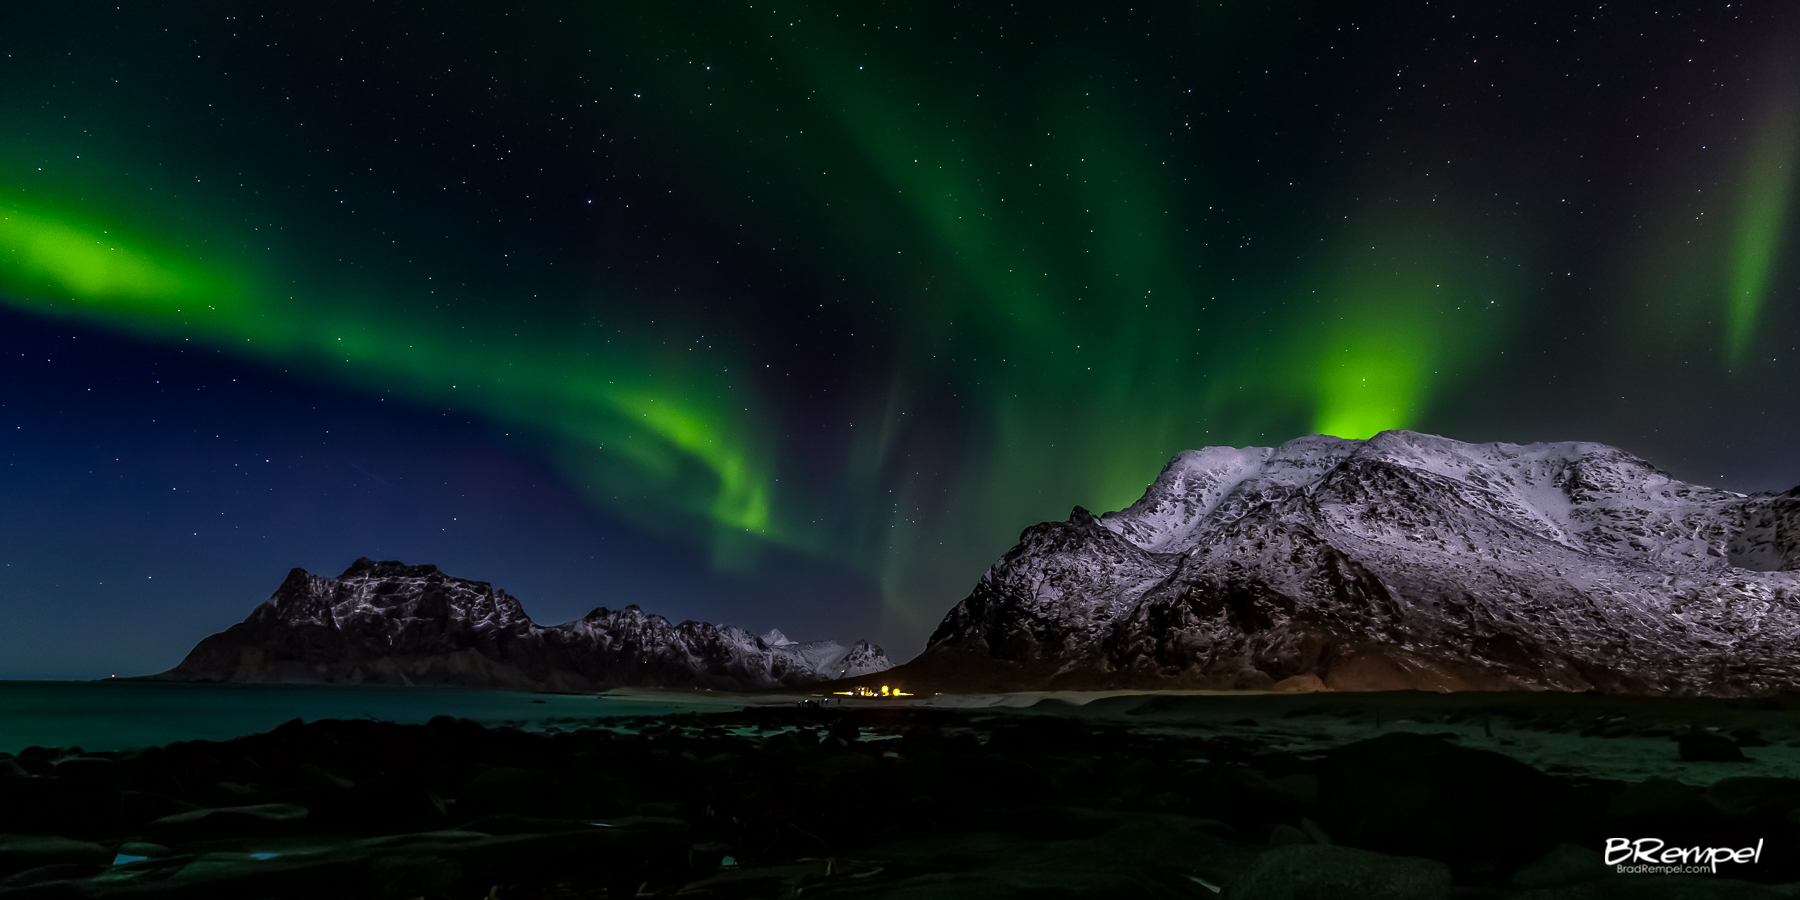
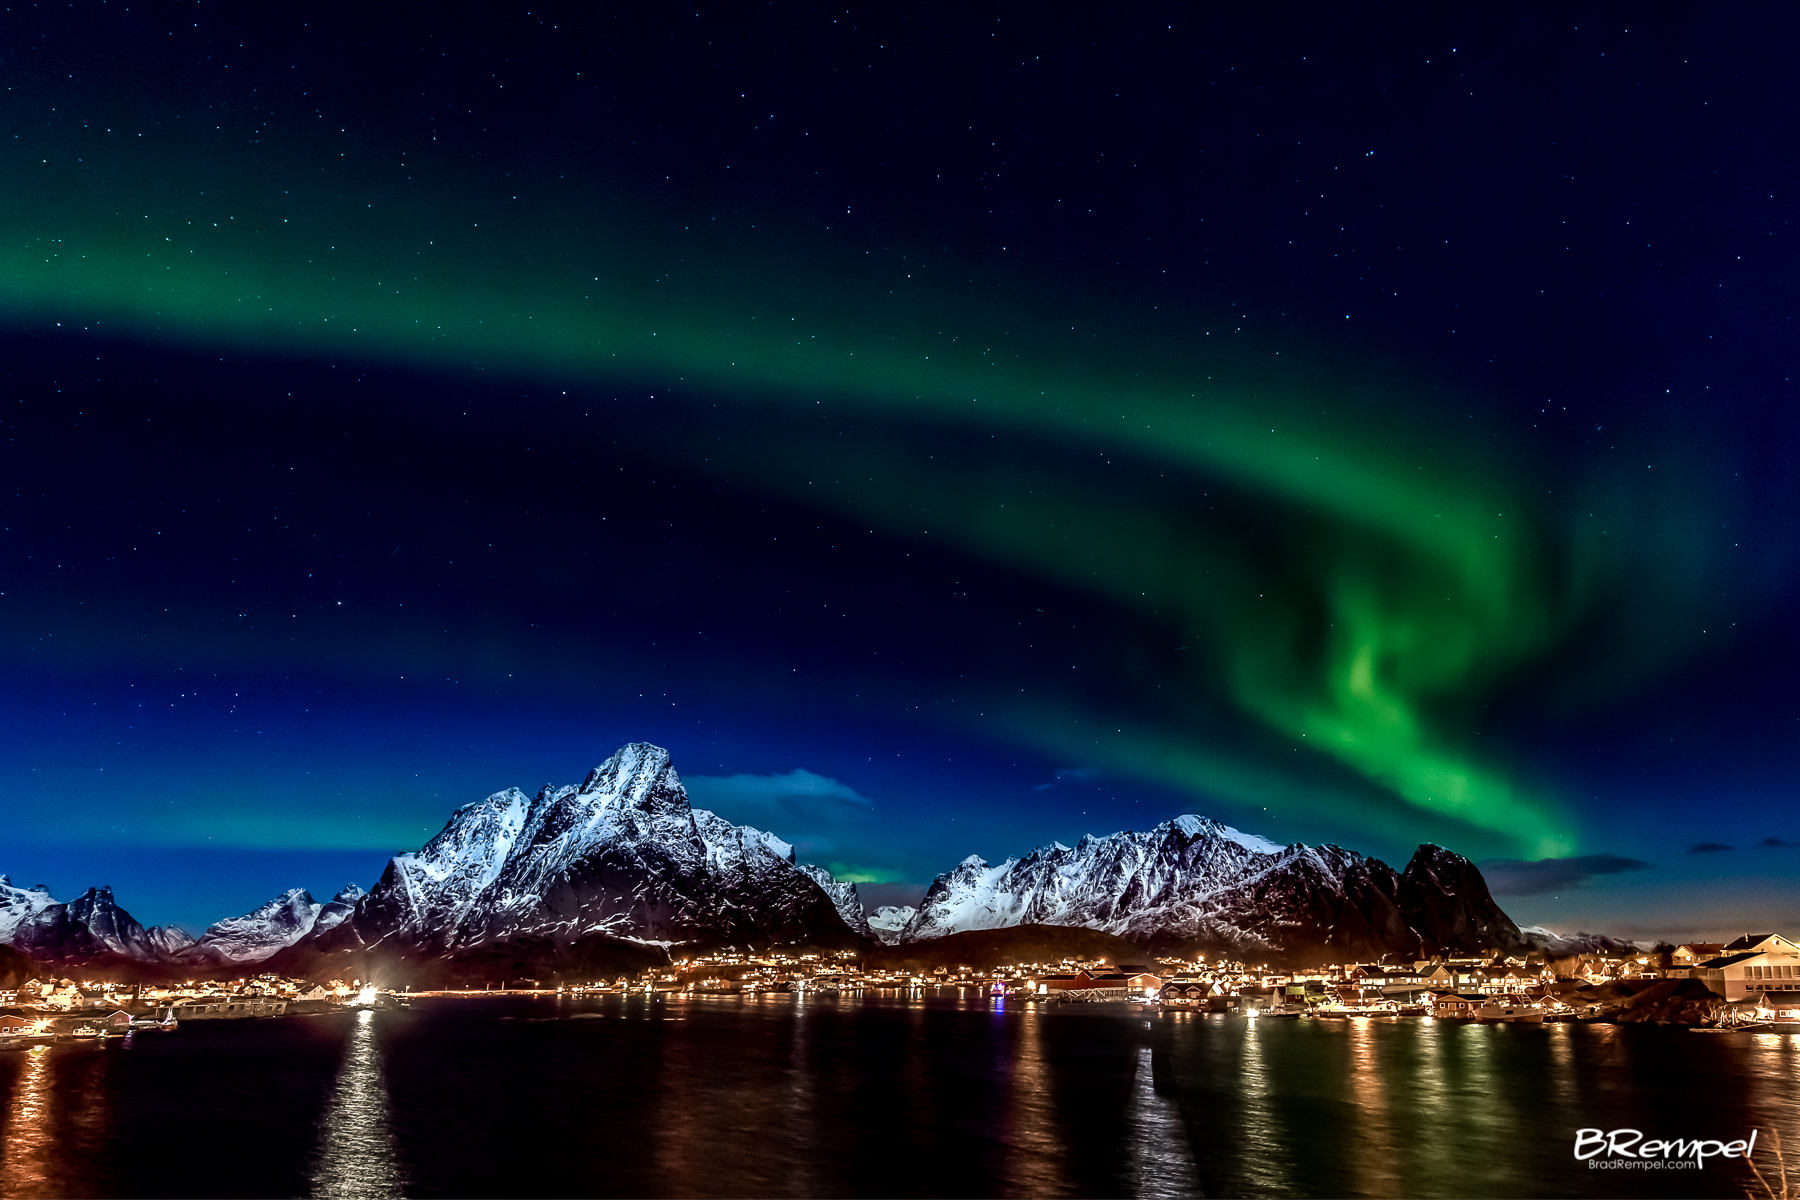
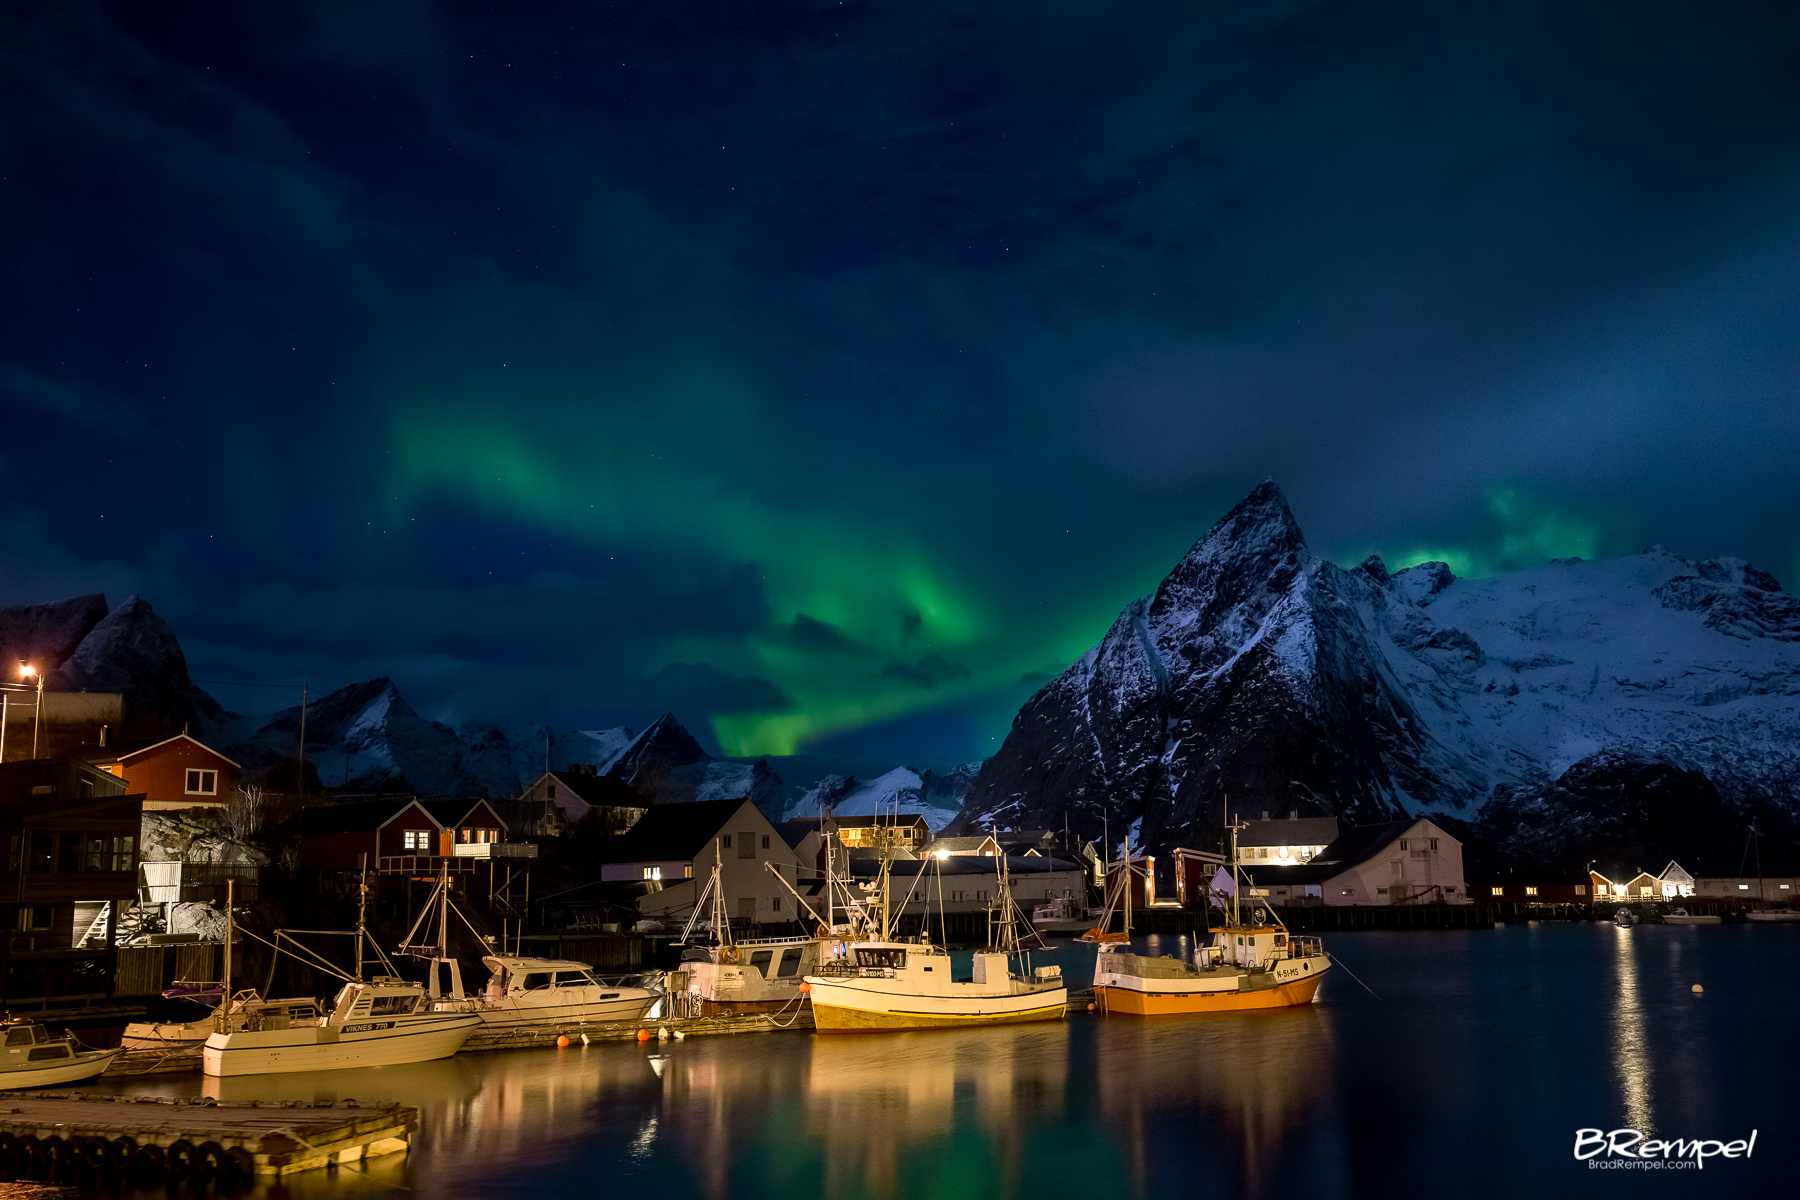
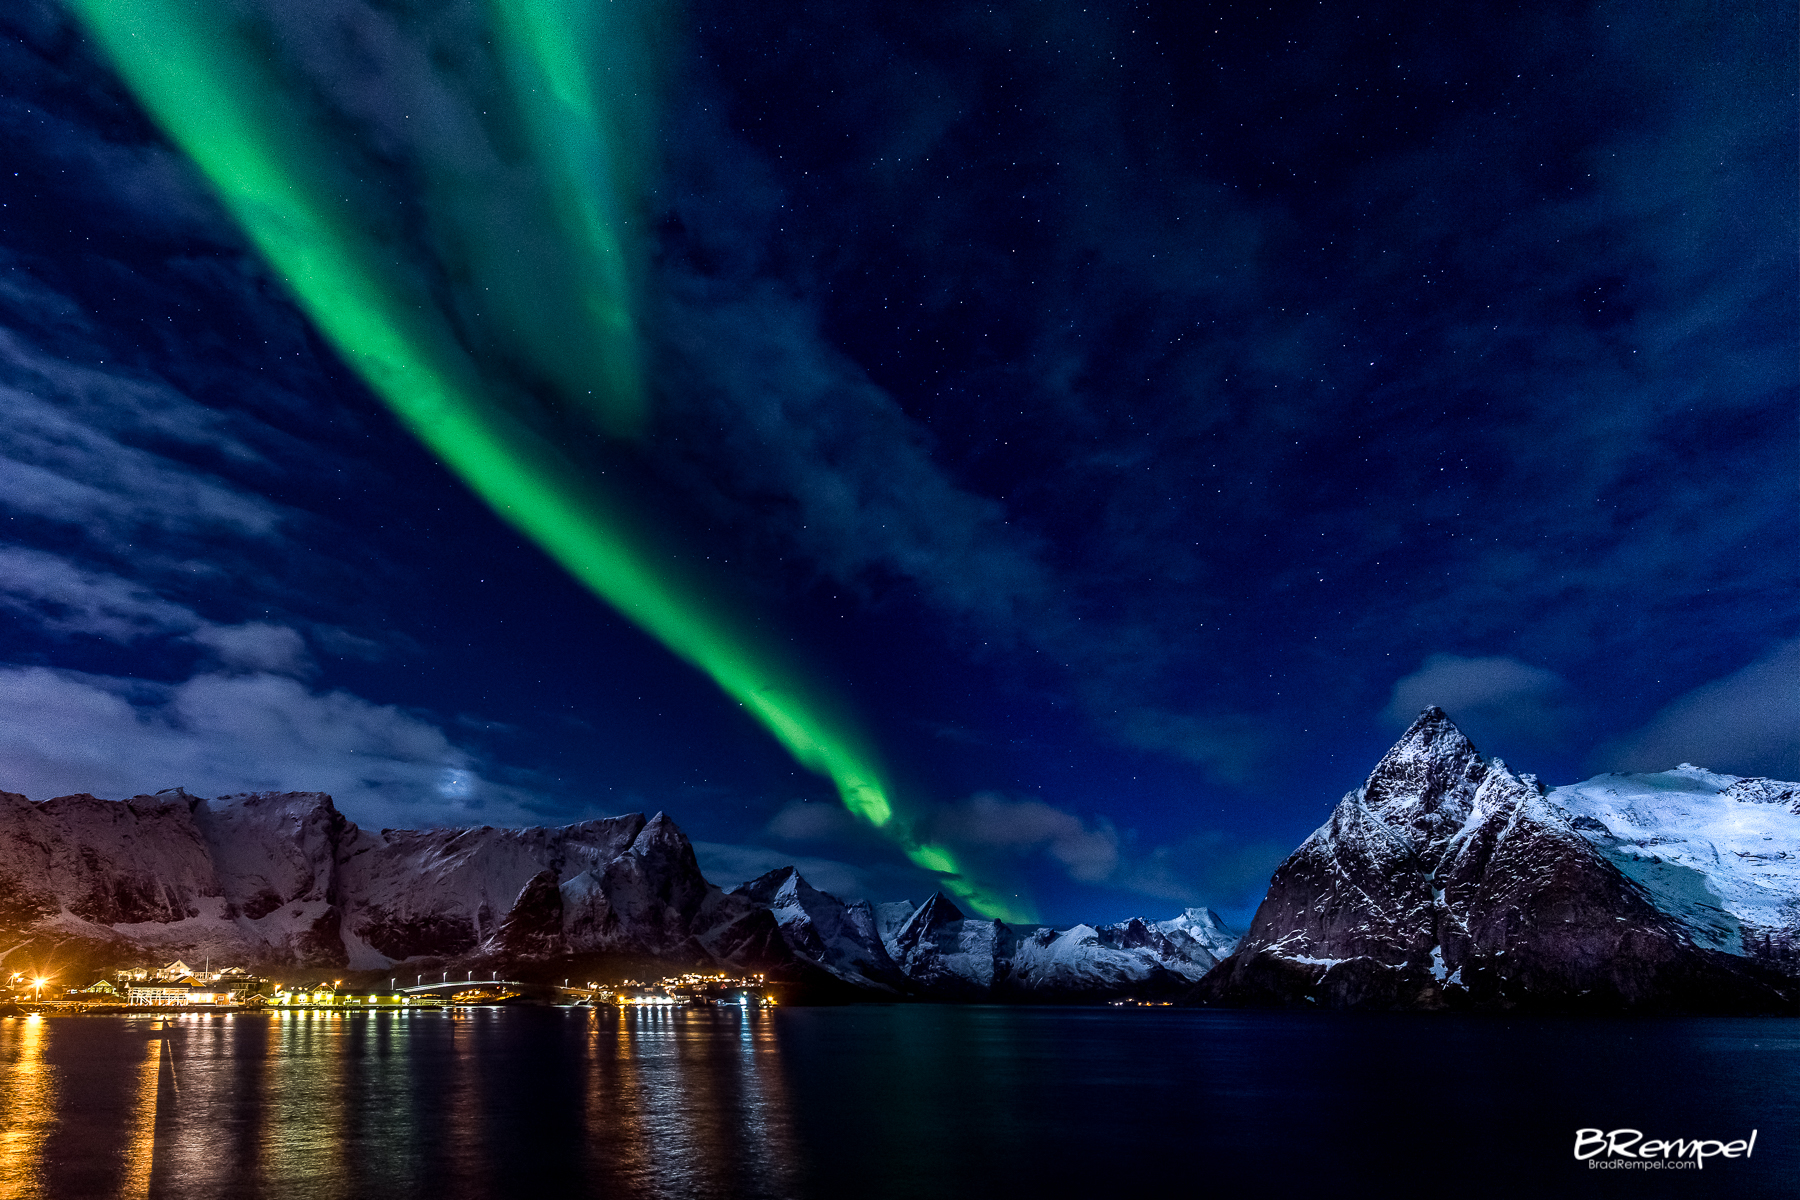
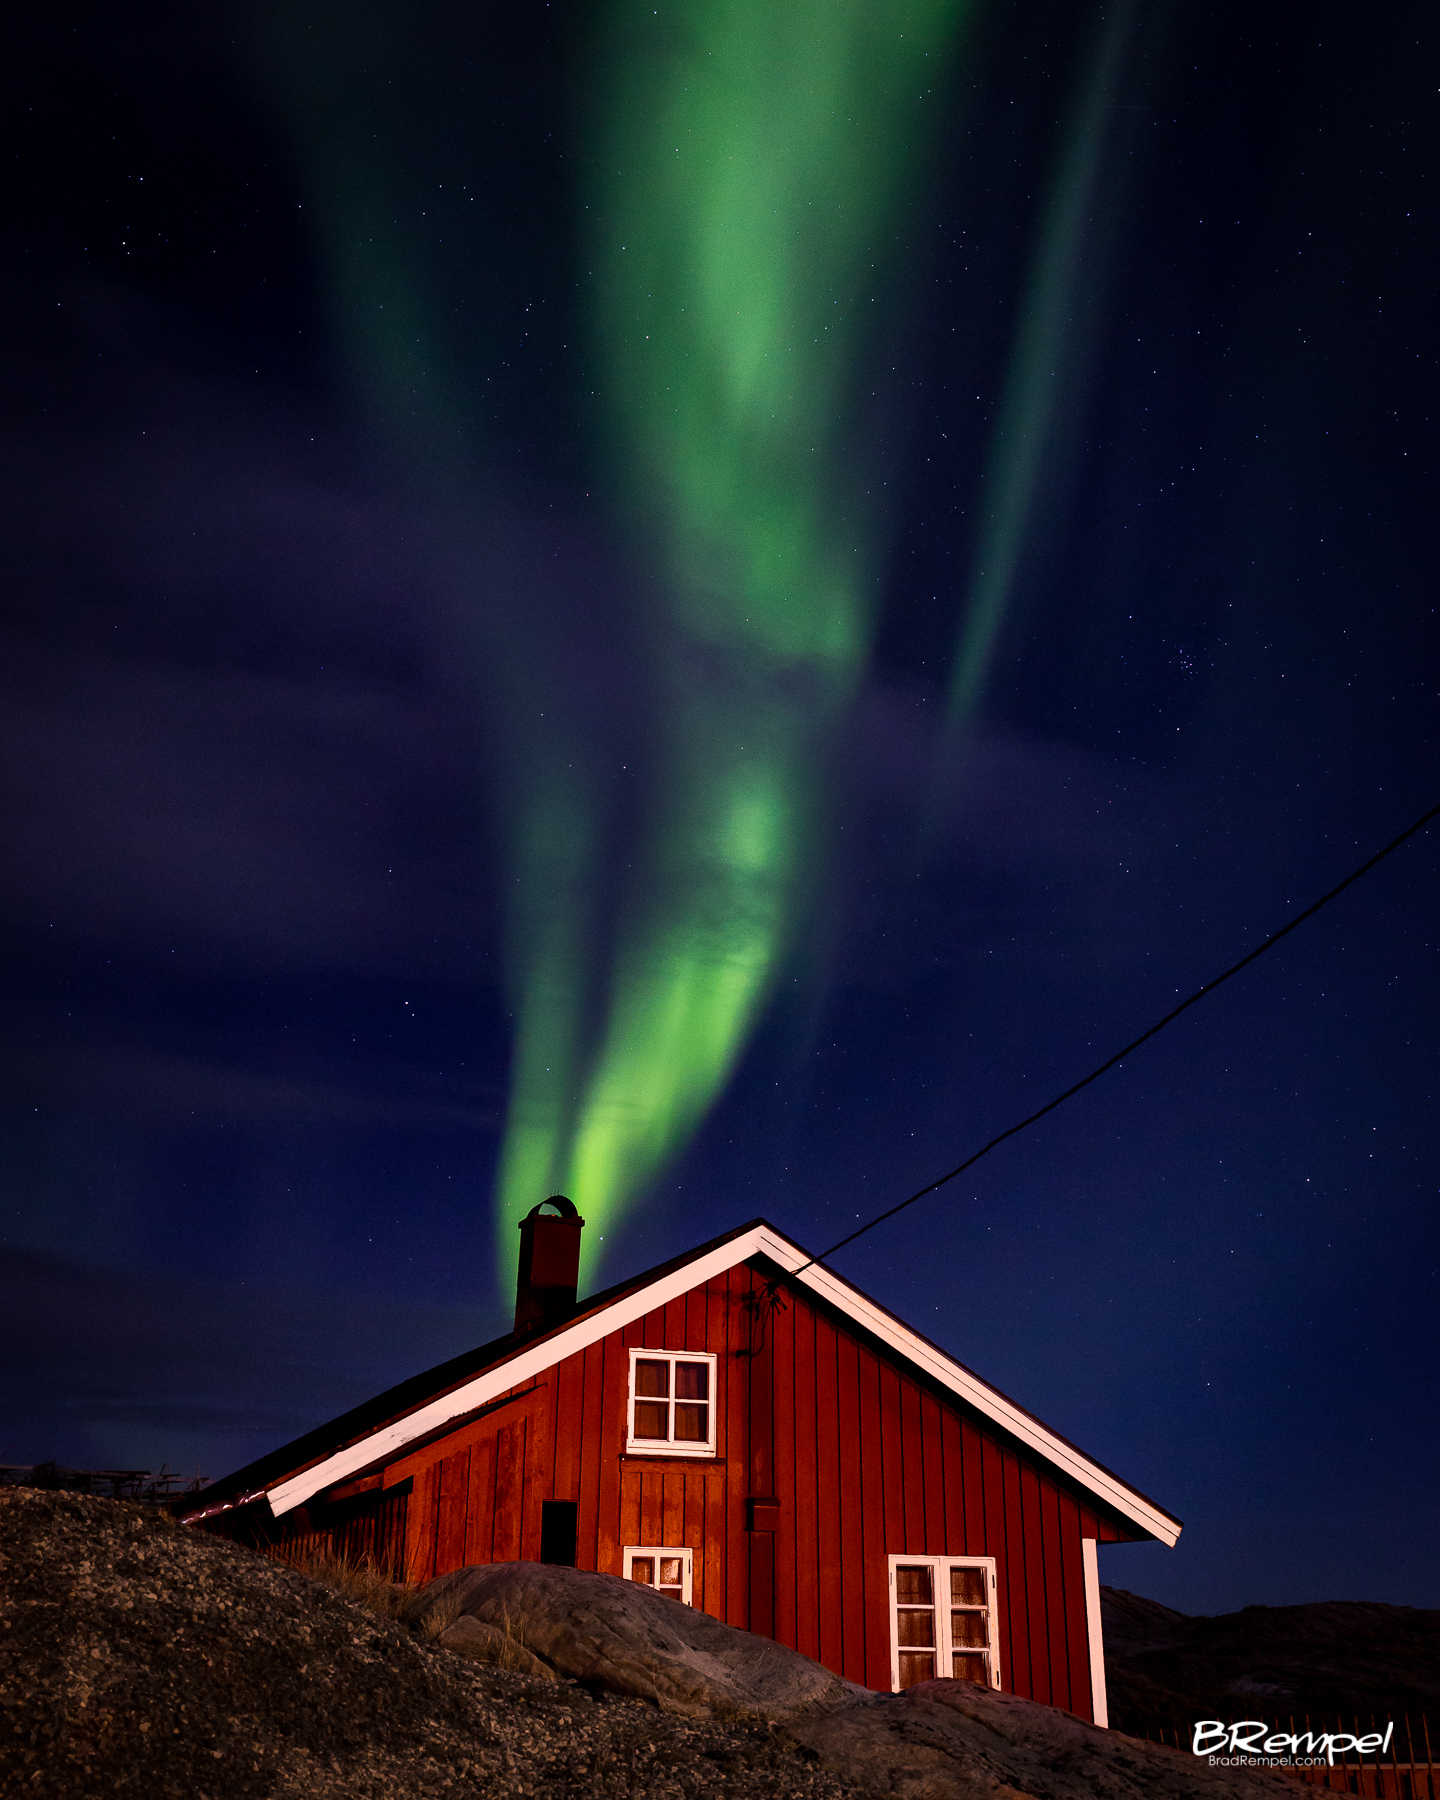
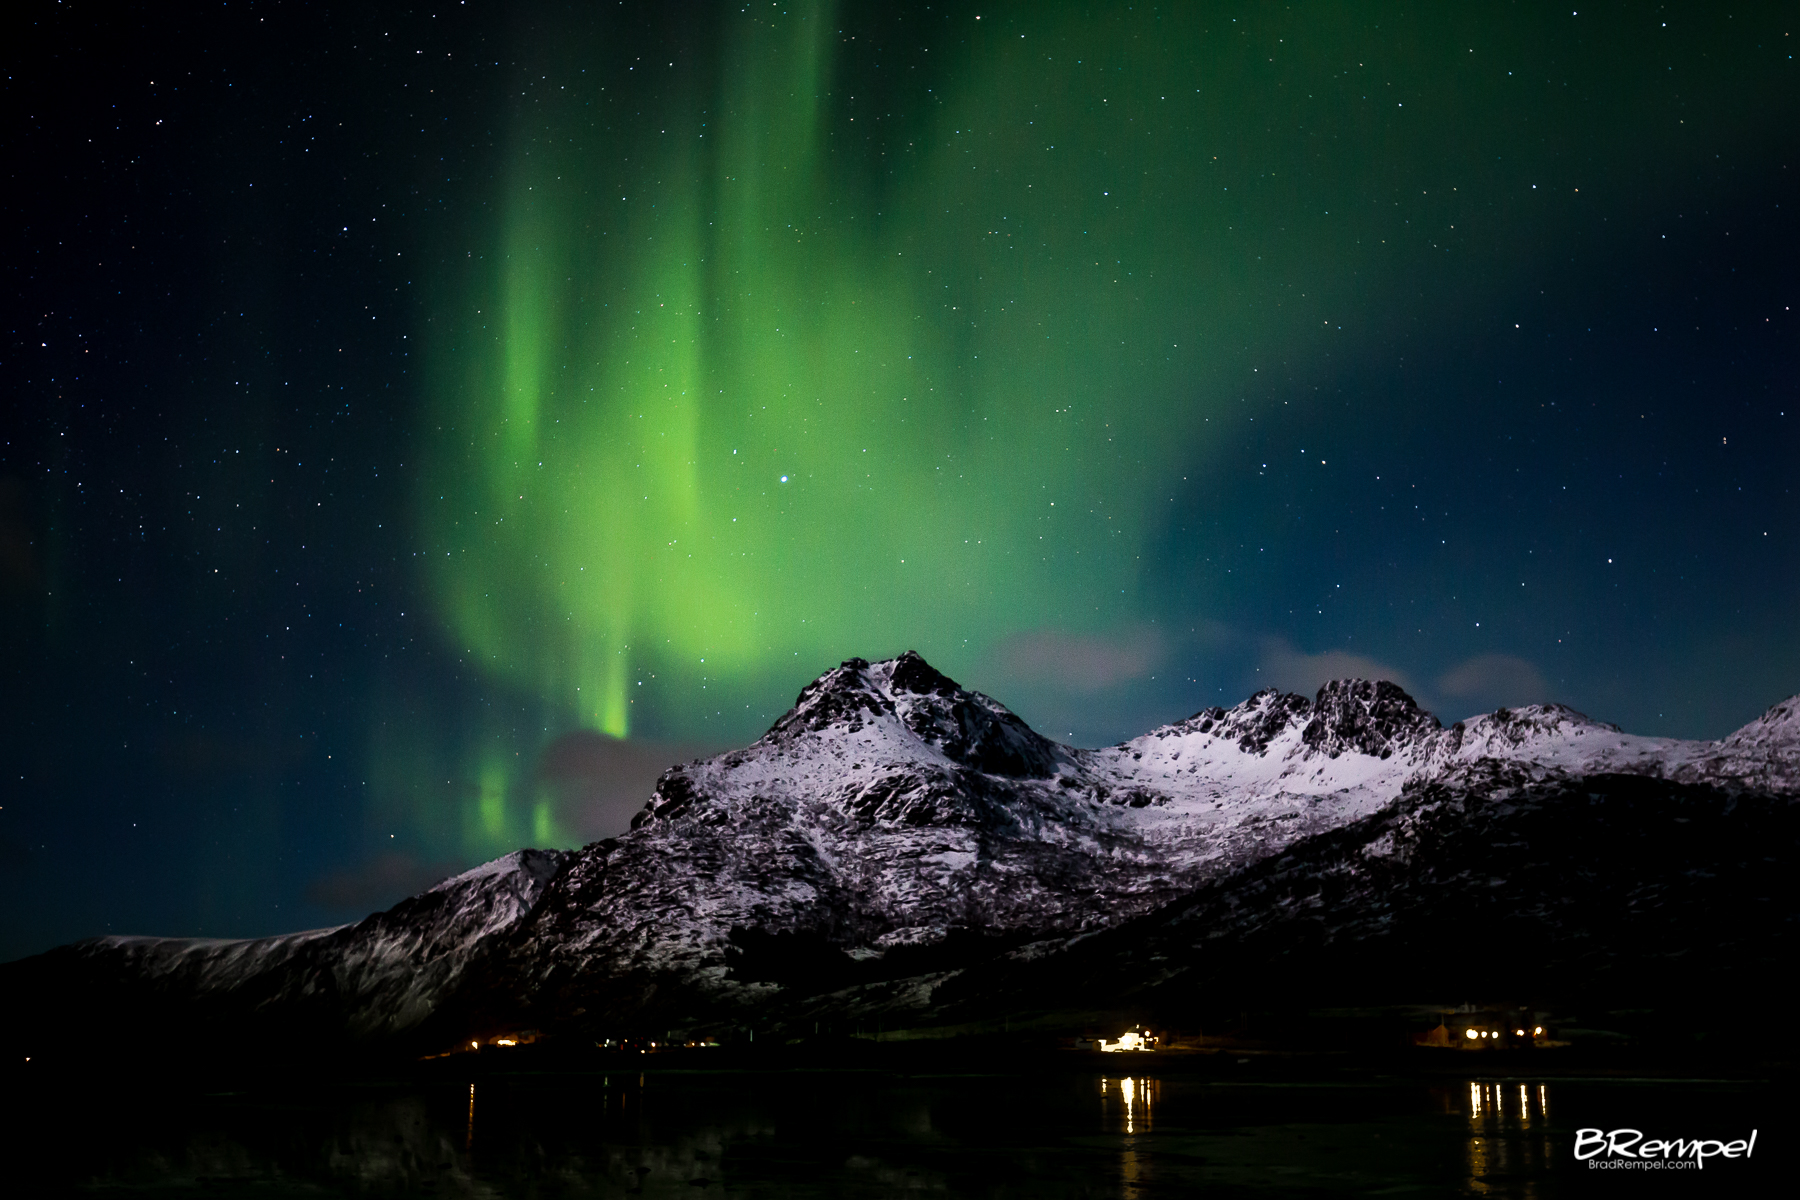
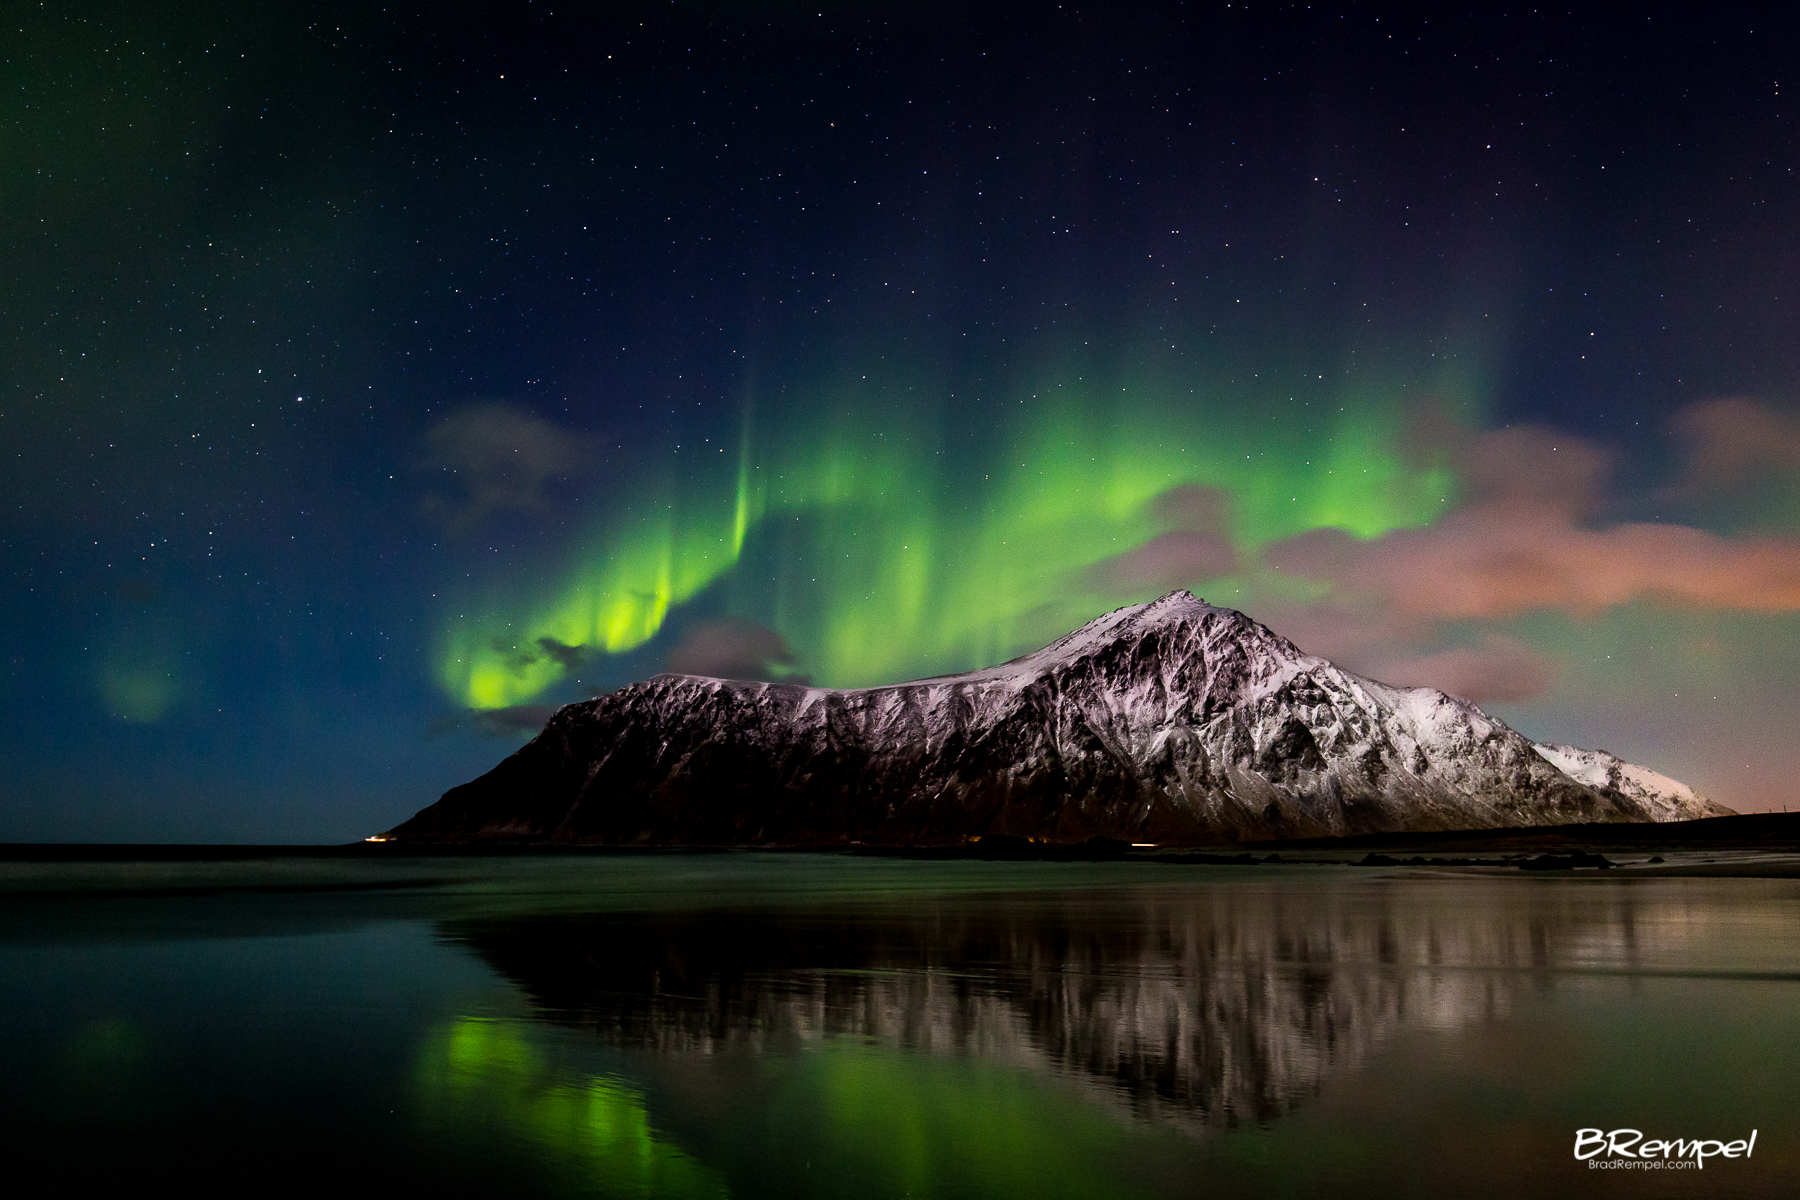
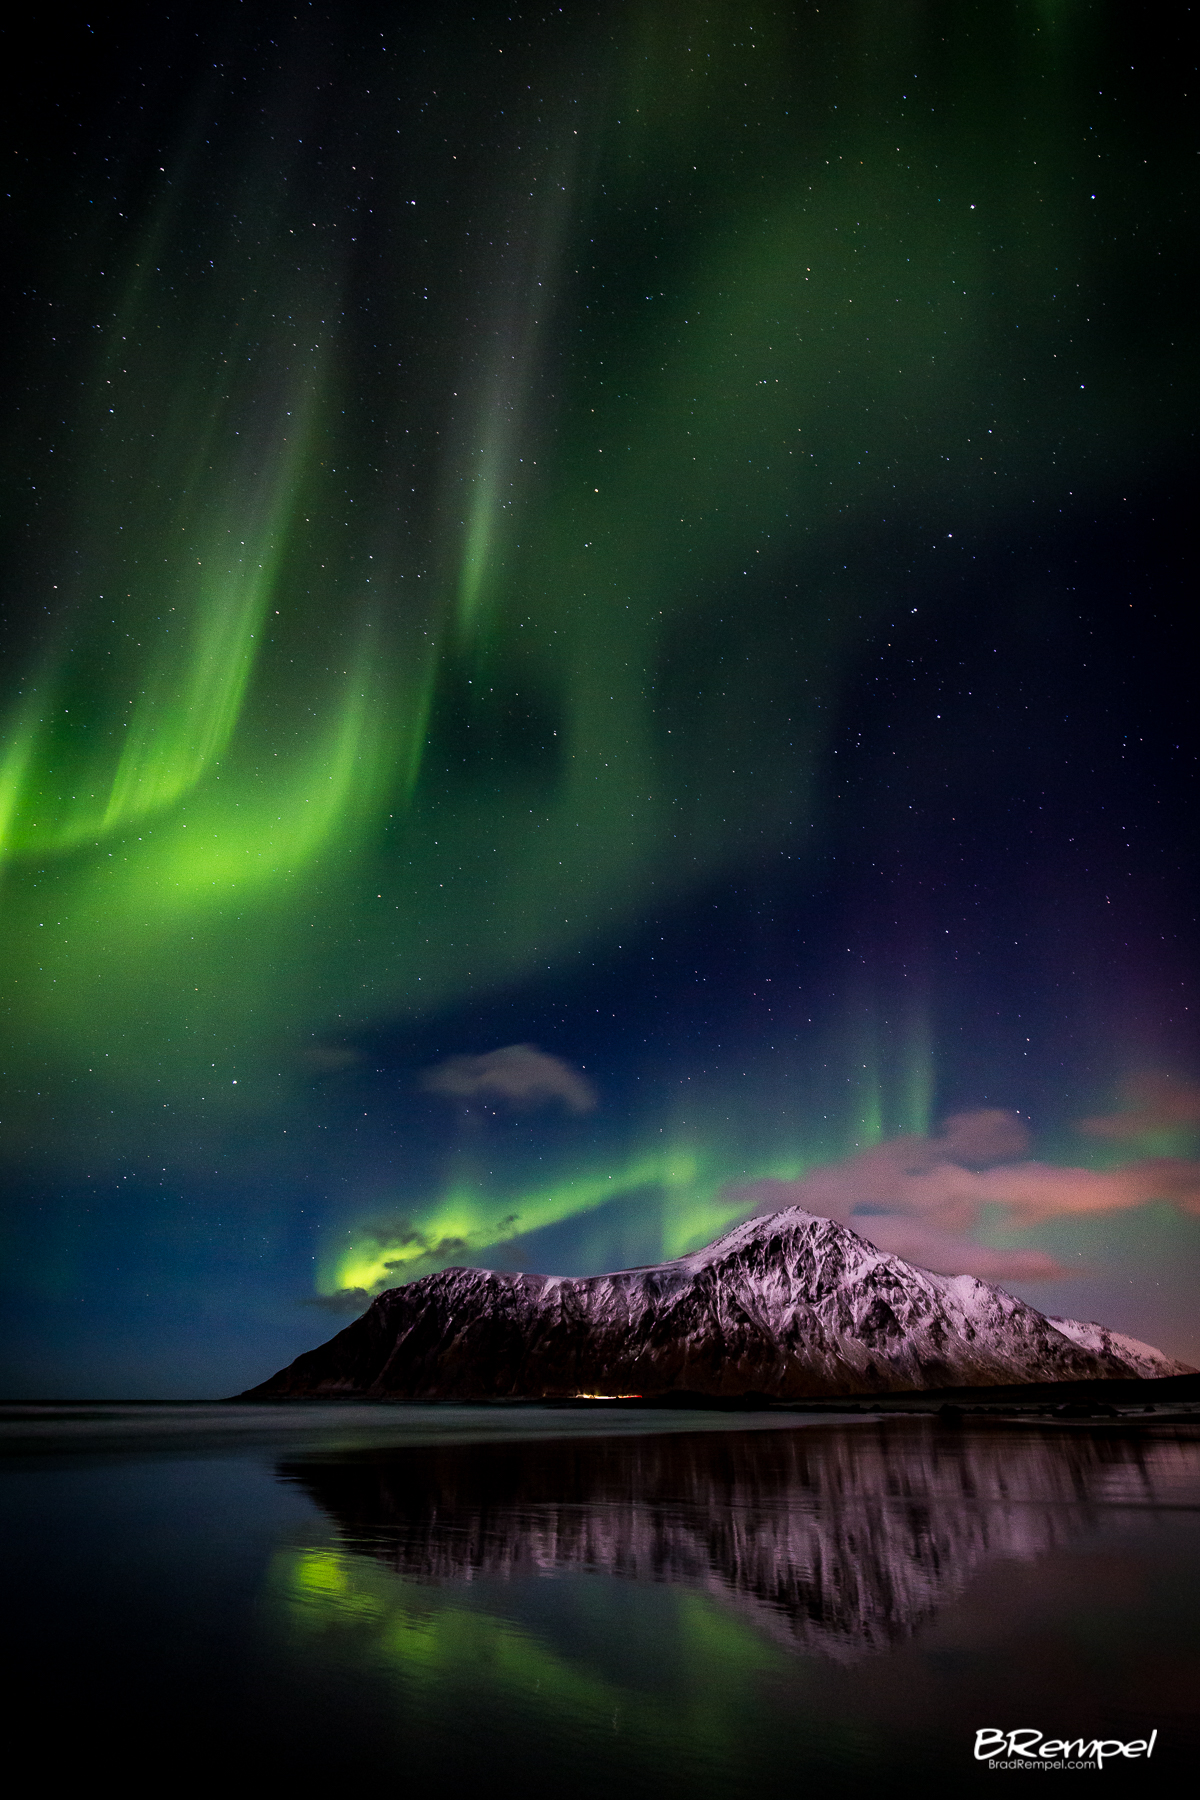
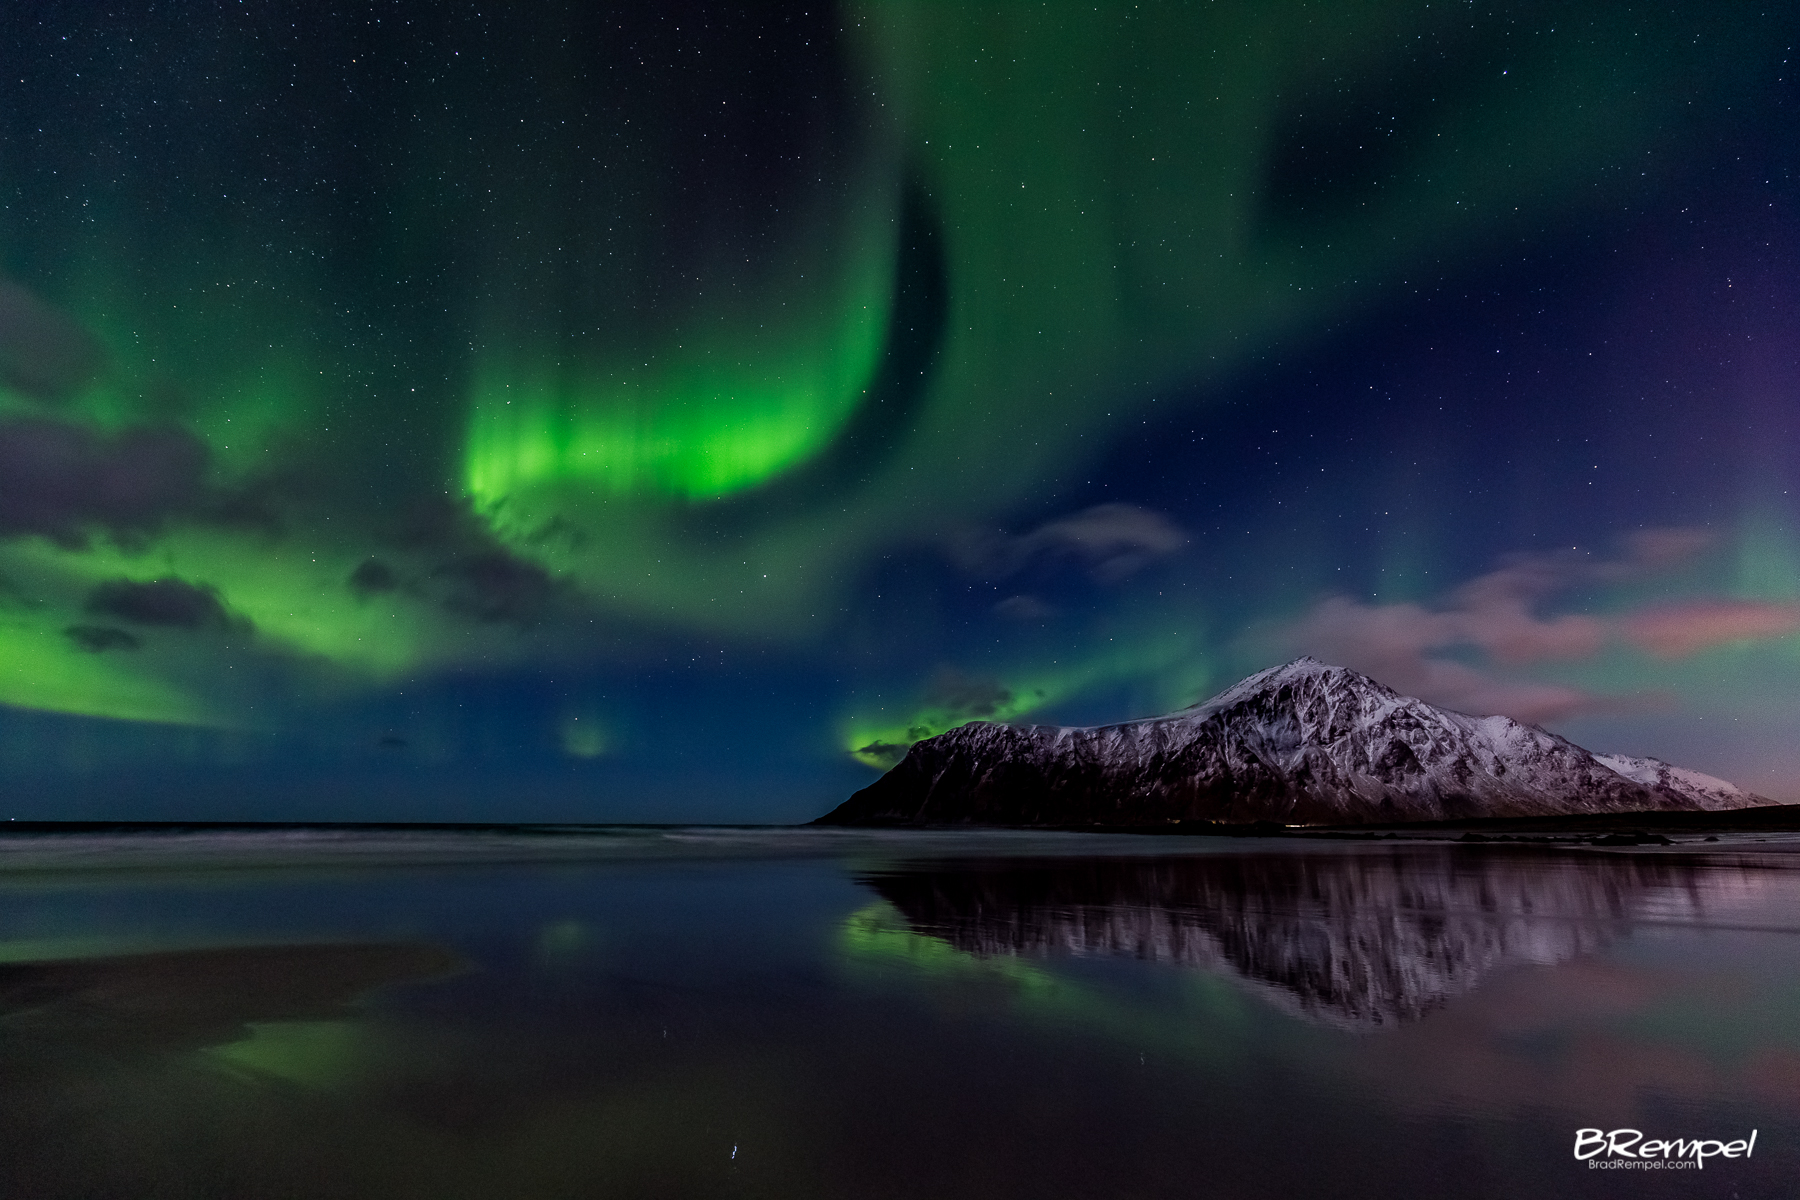
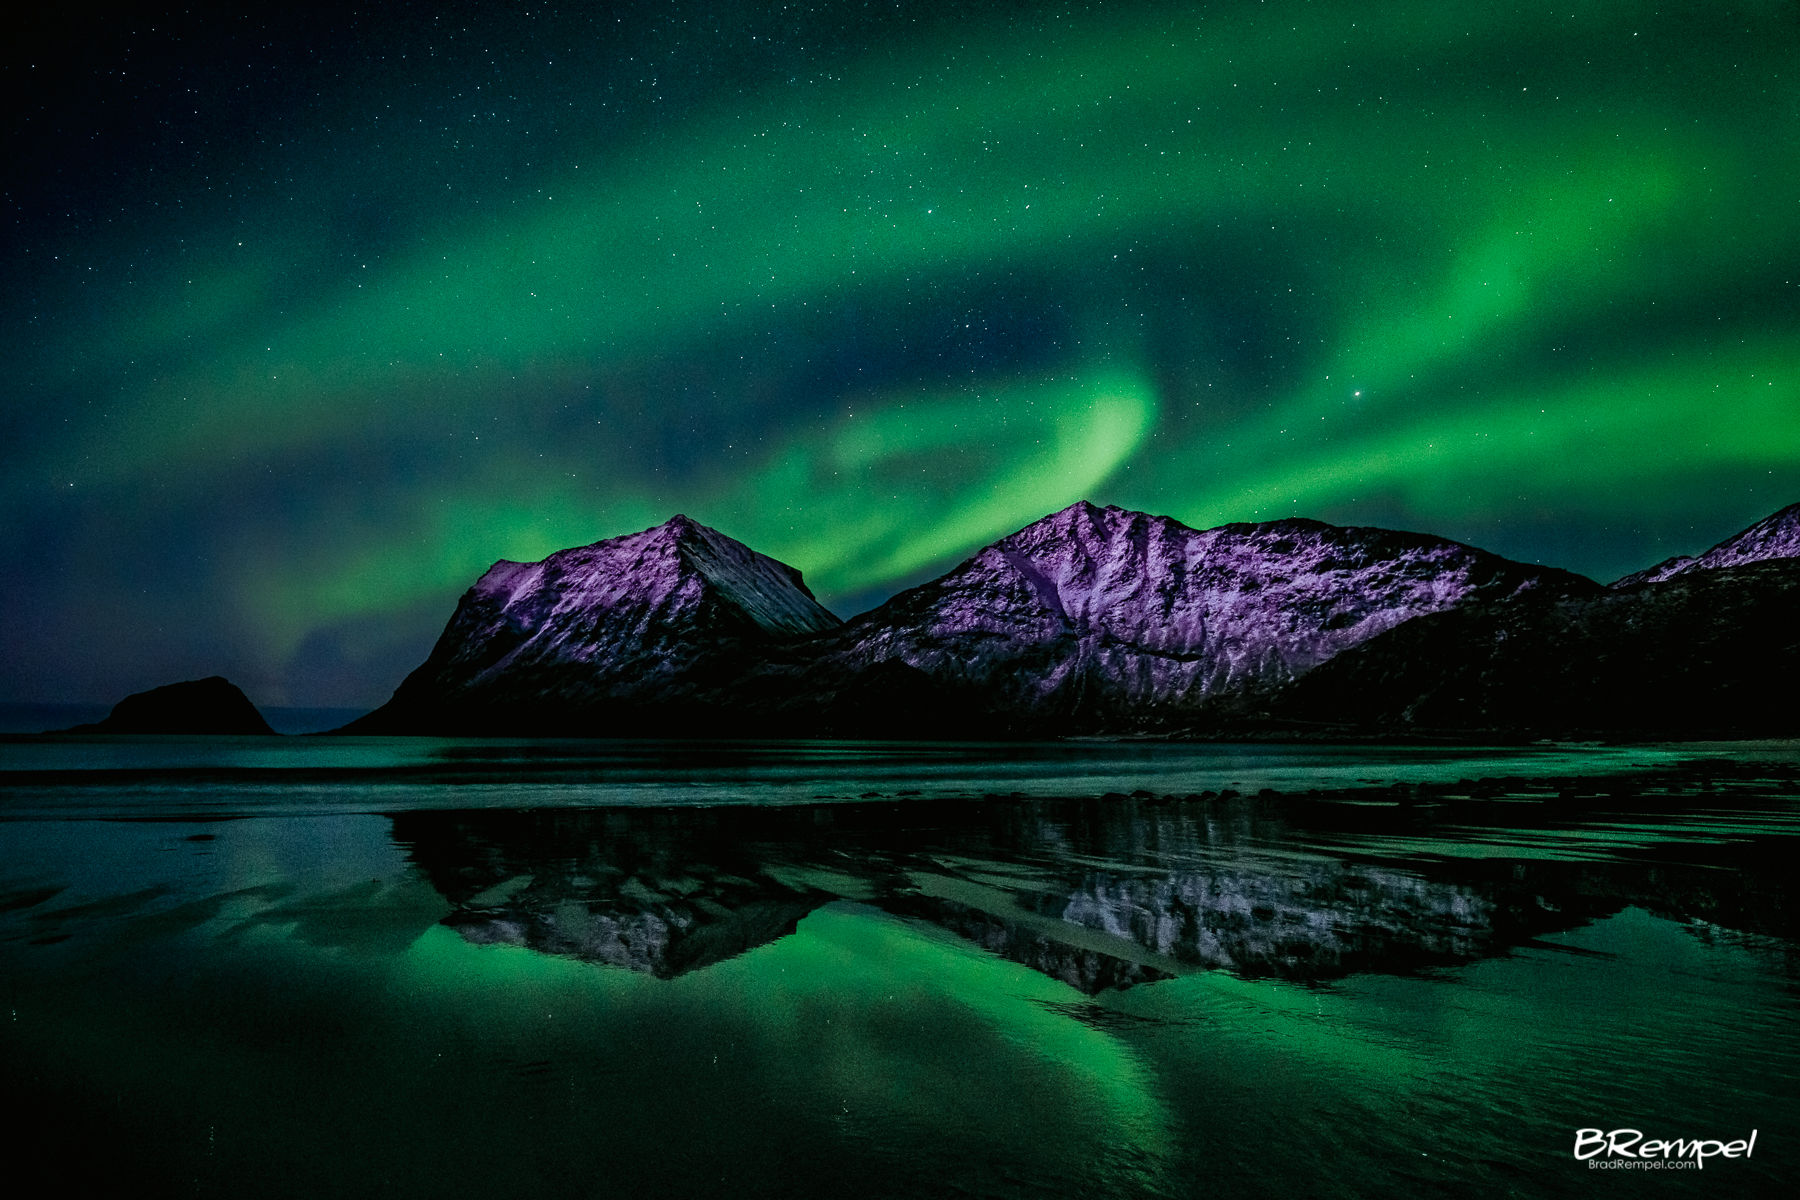
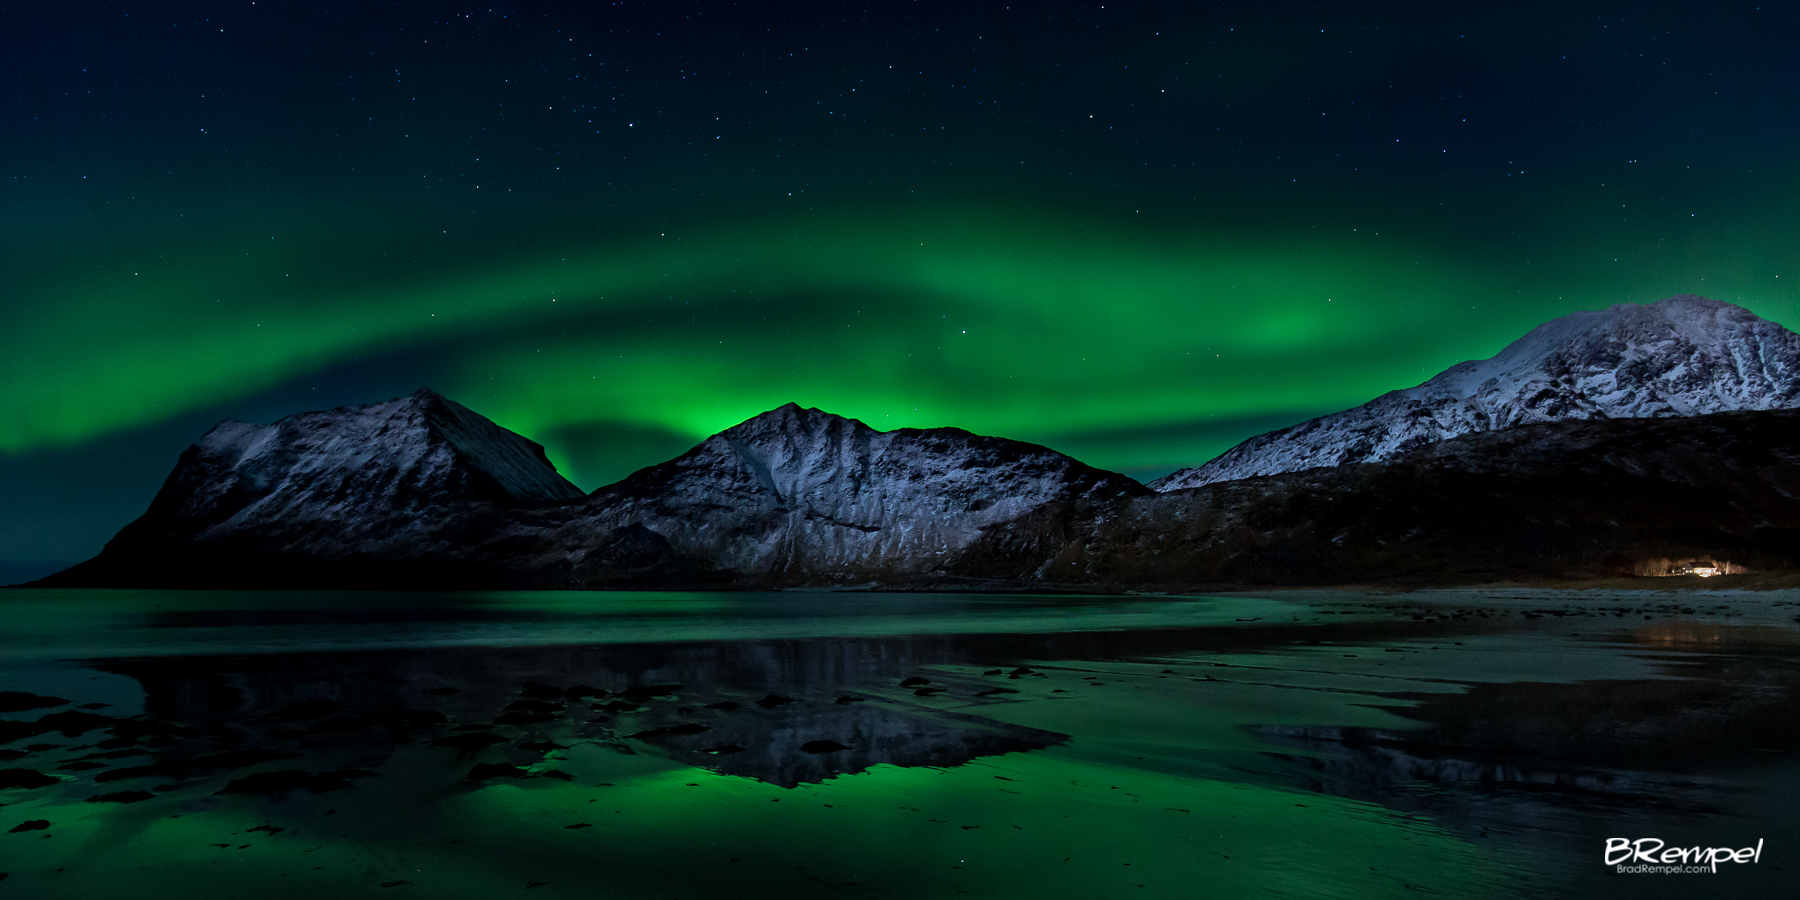
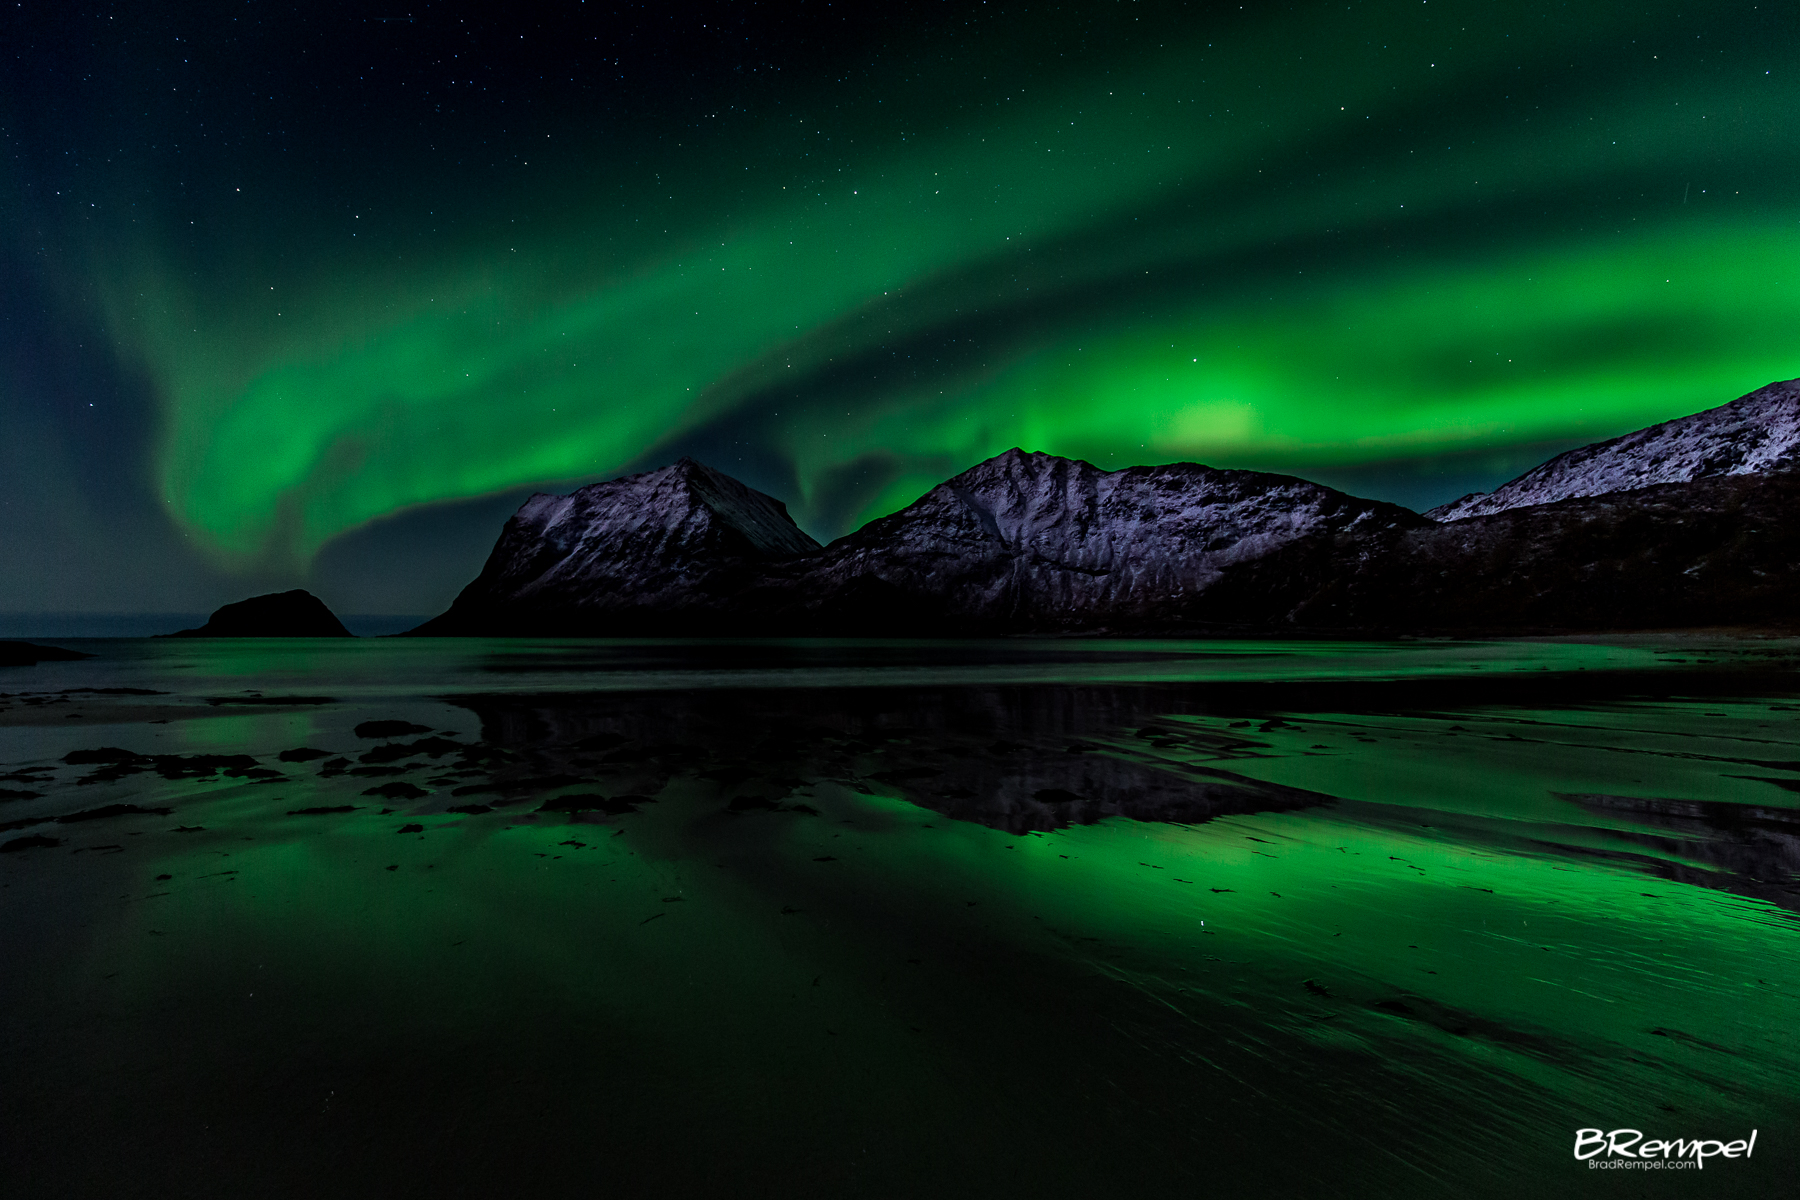
  • Lofoten Islands, Norway – February (with Brace)
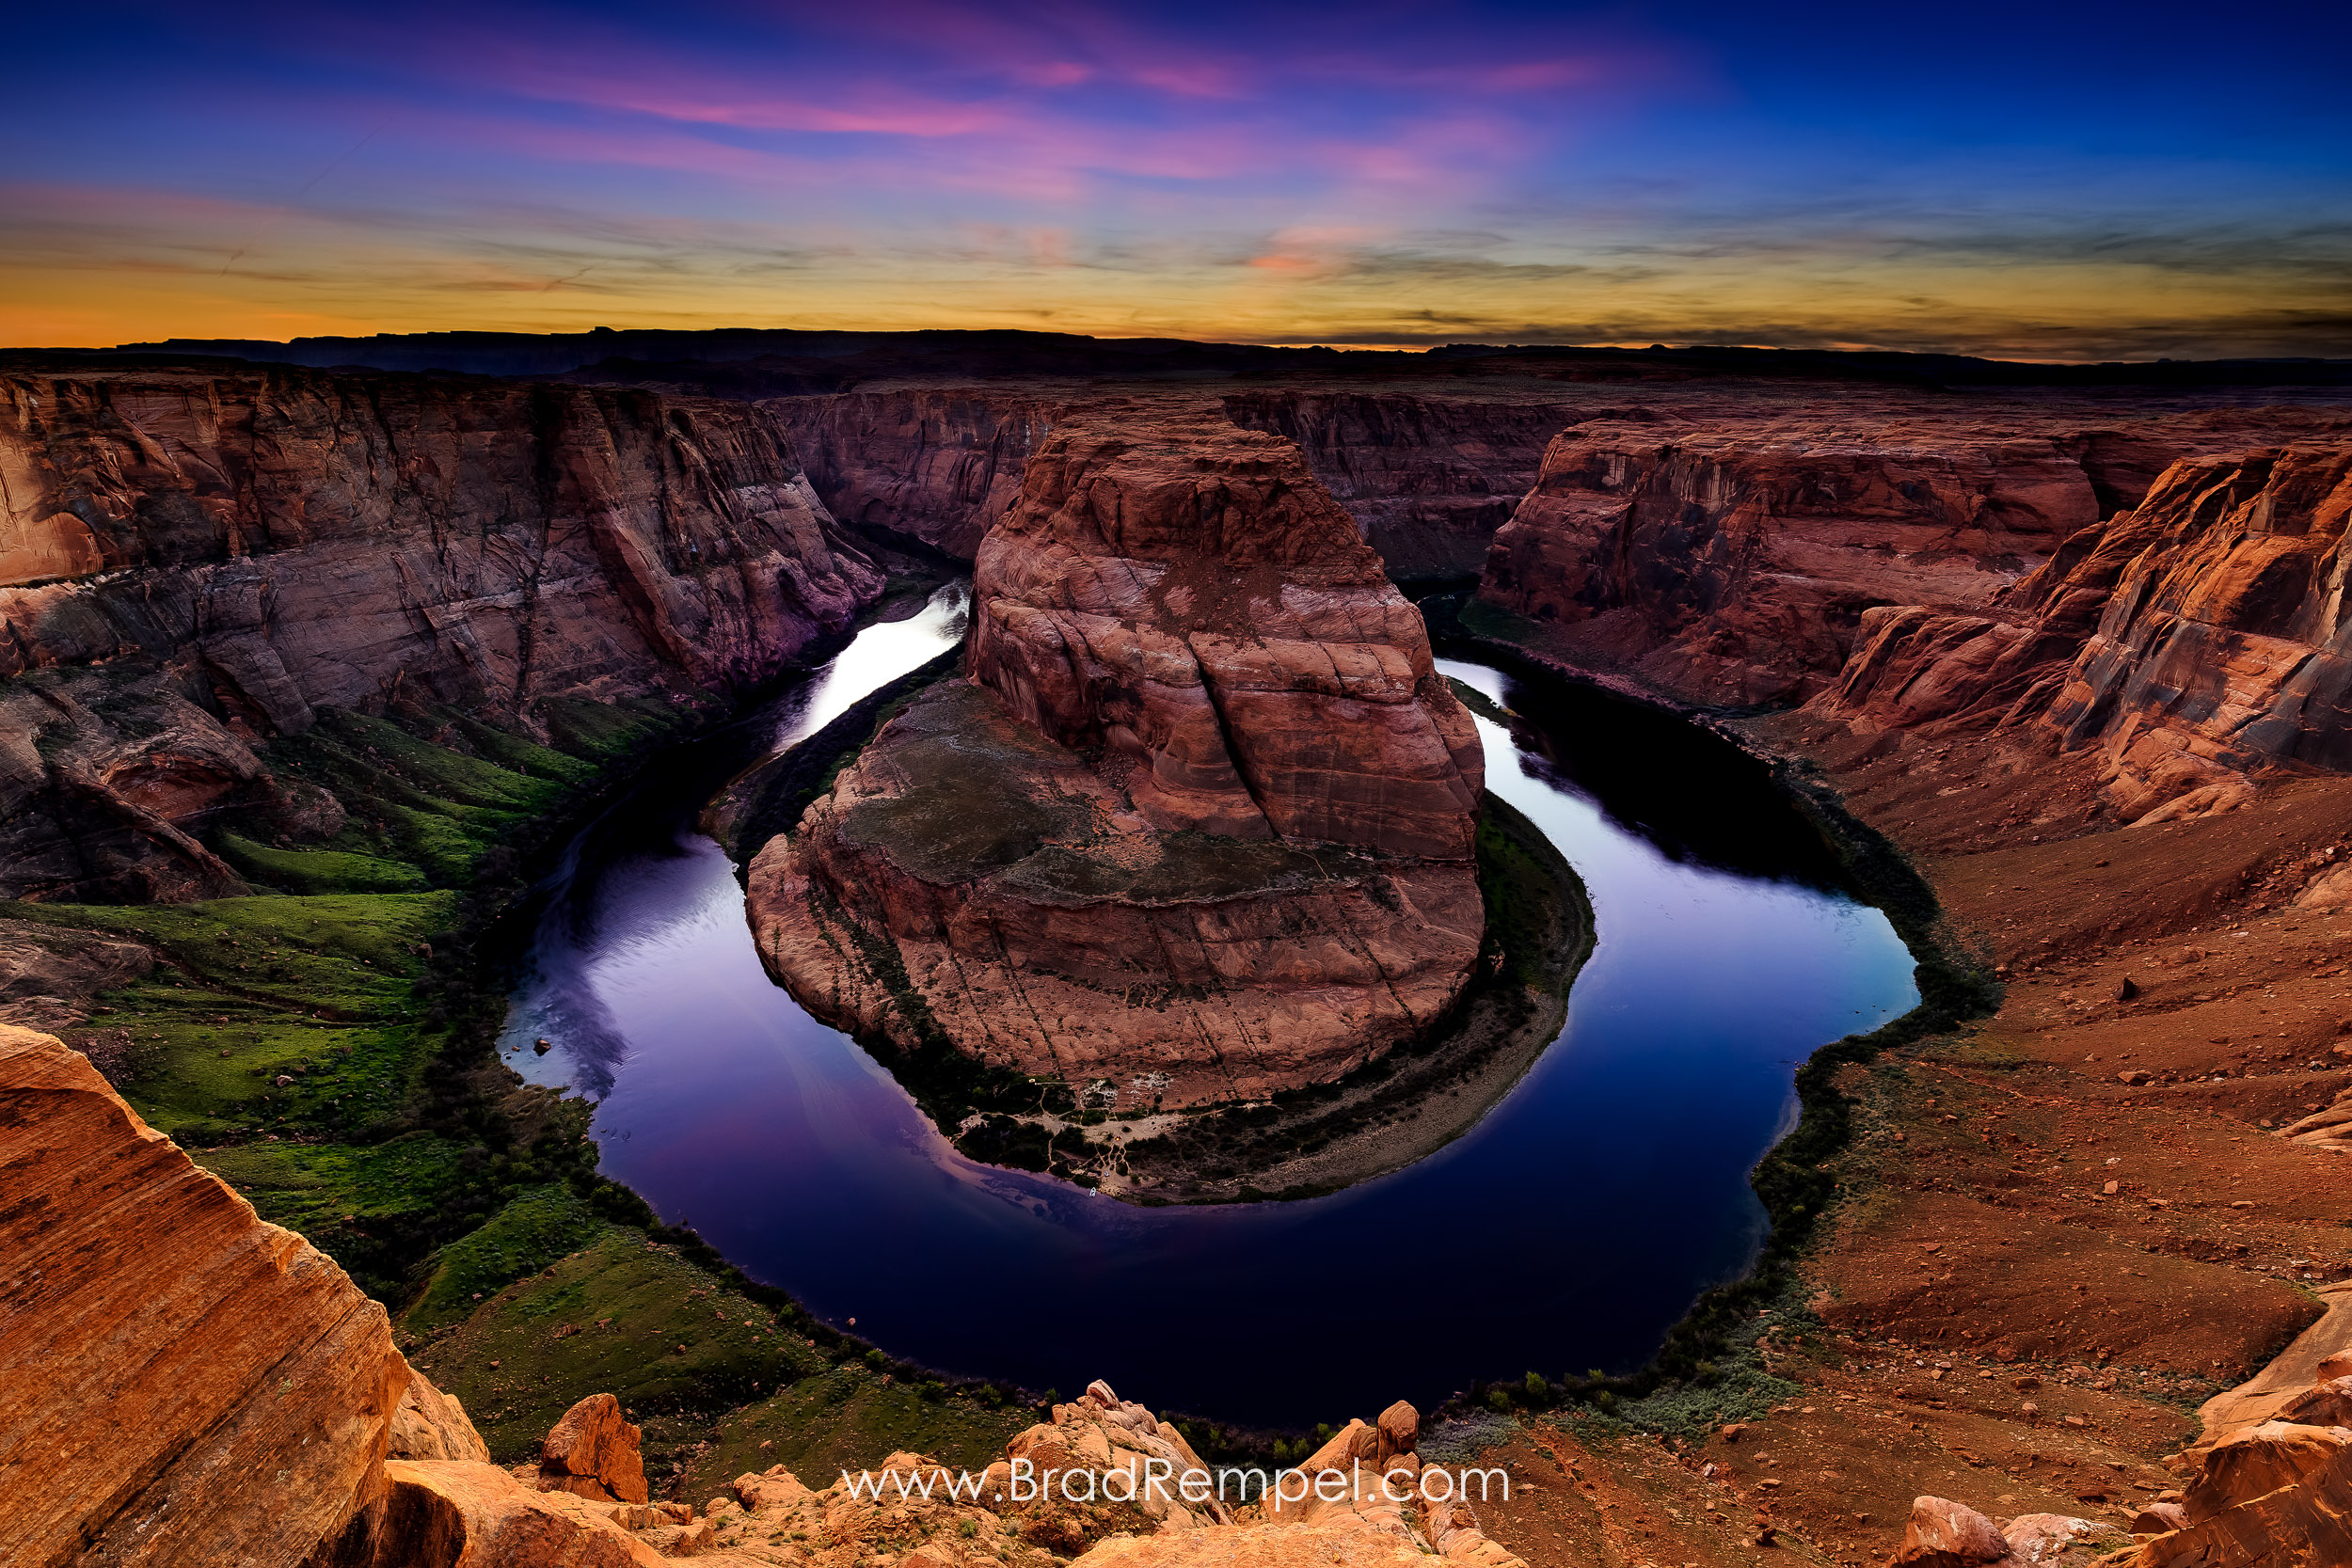
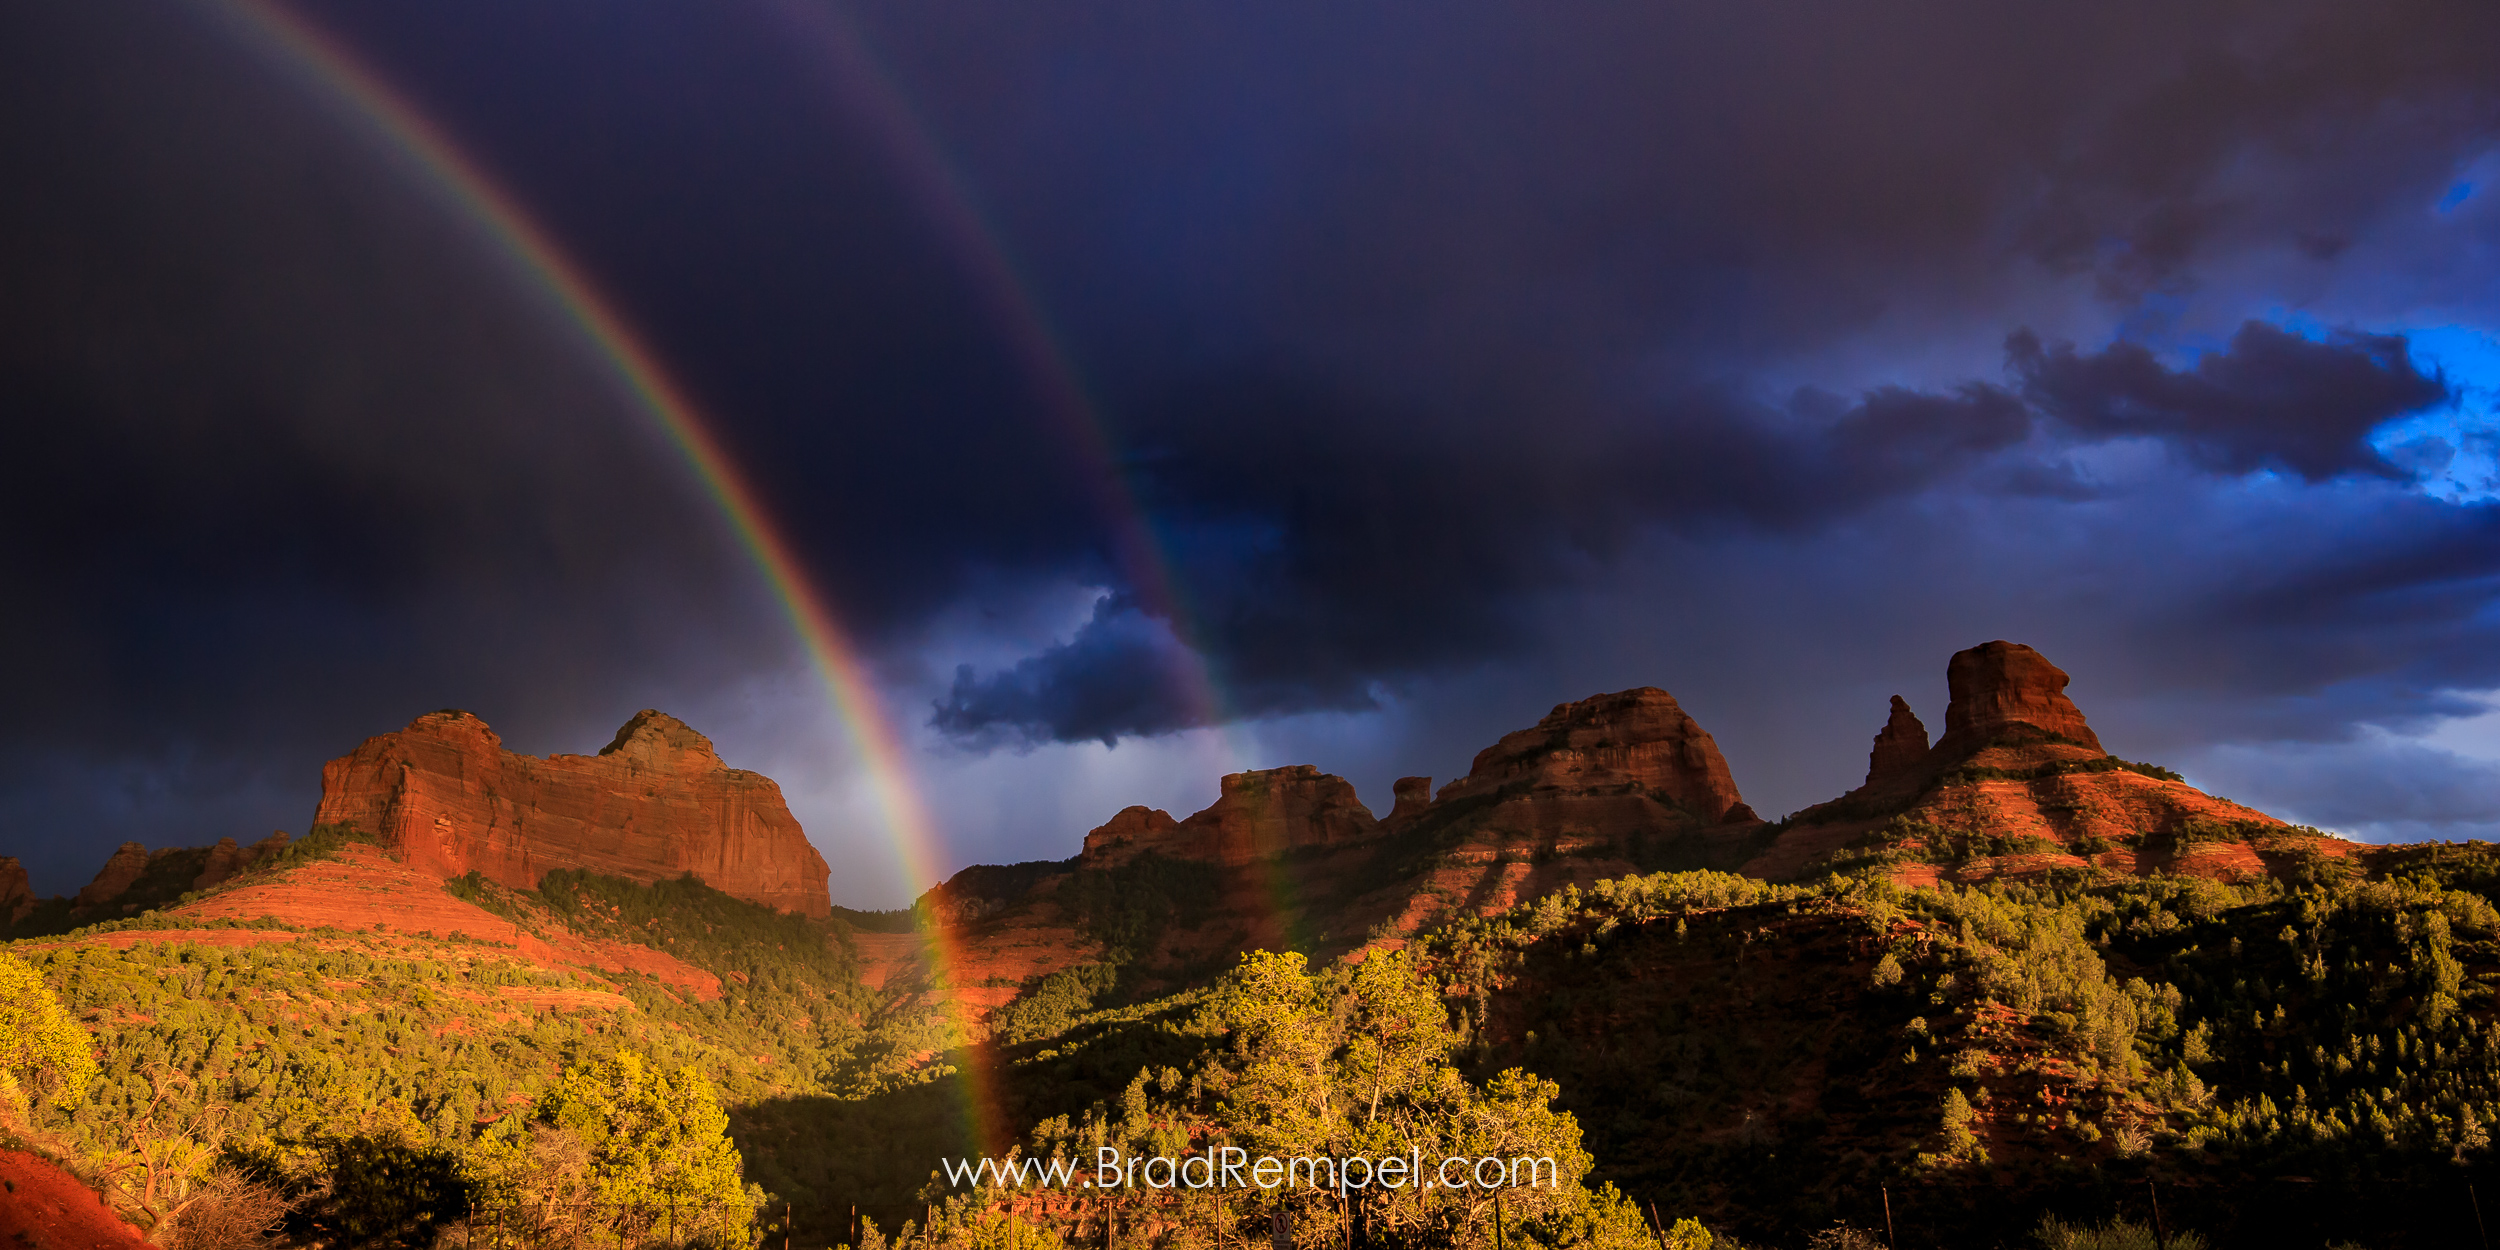
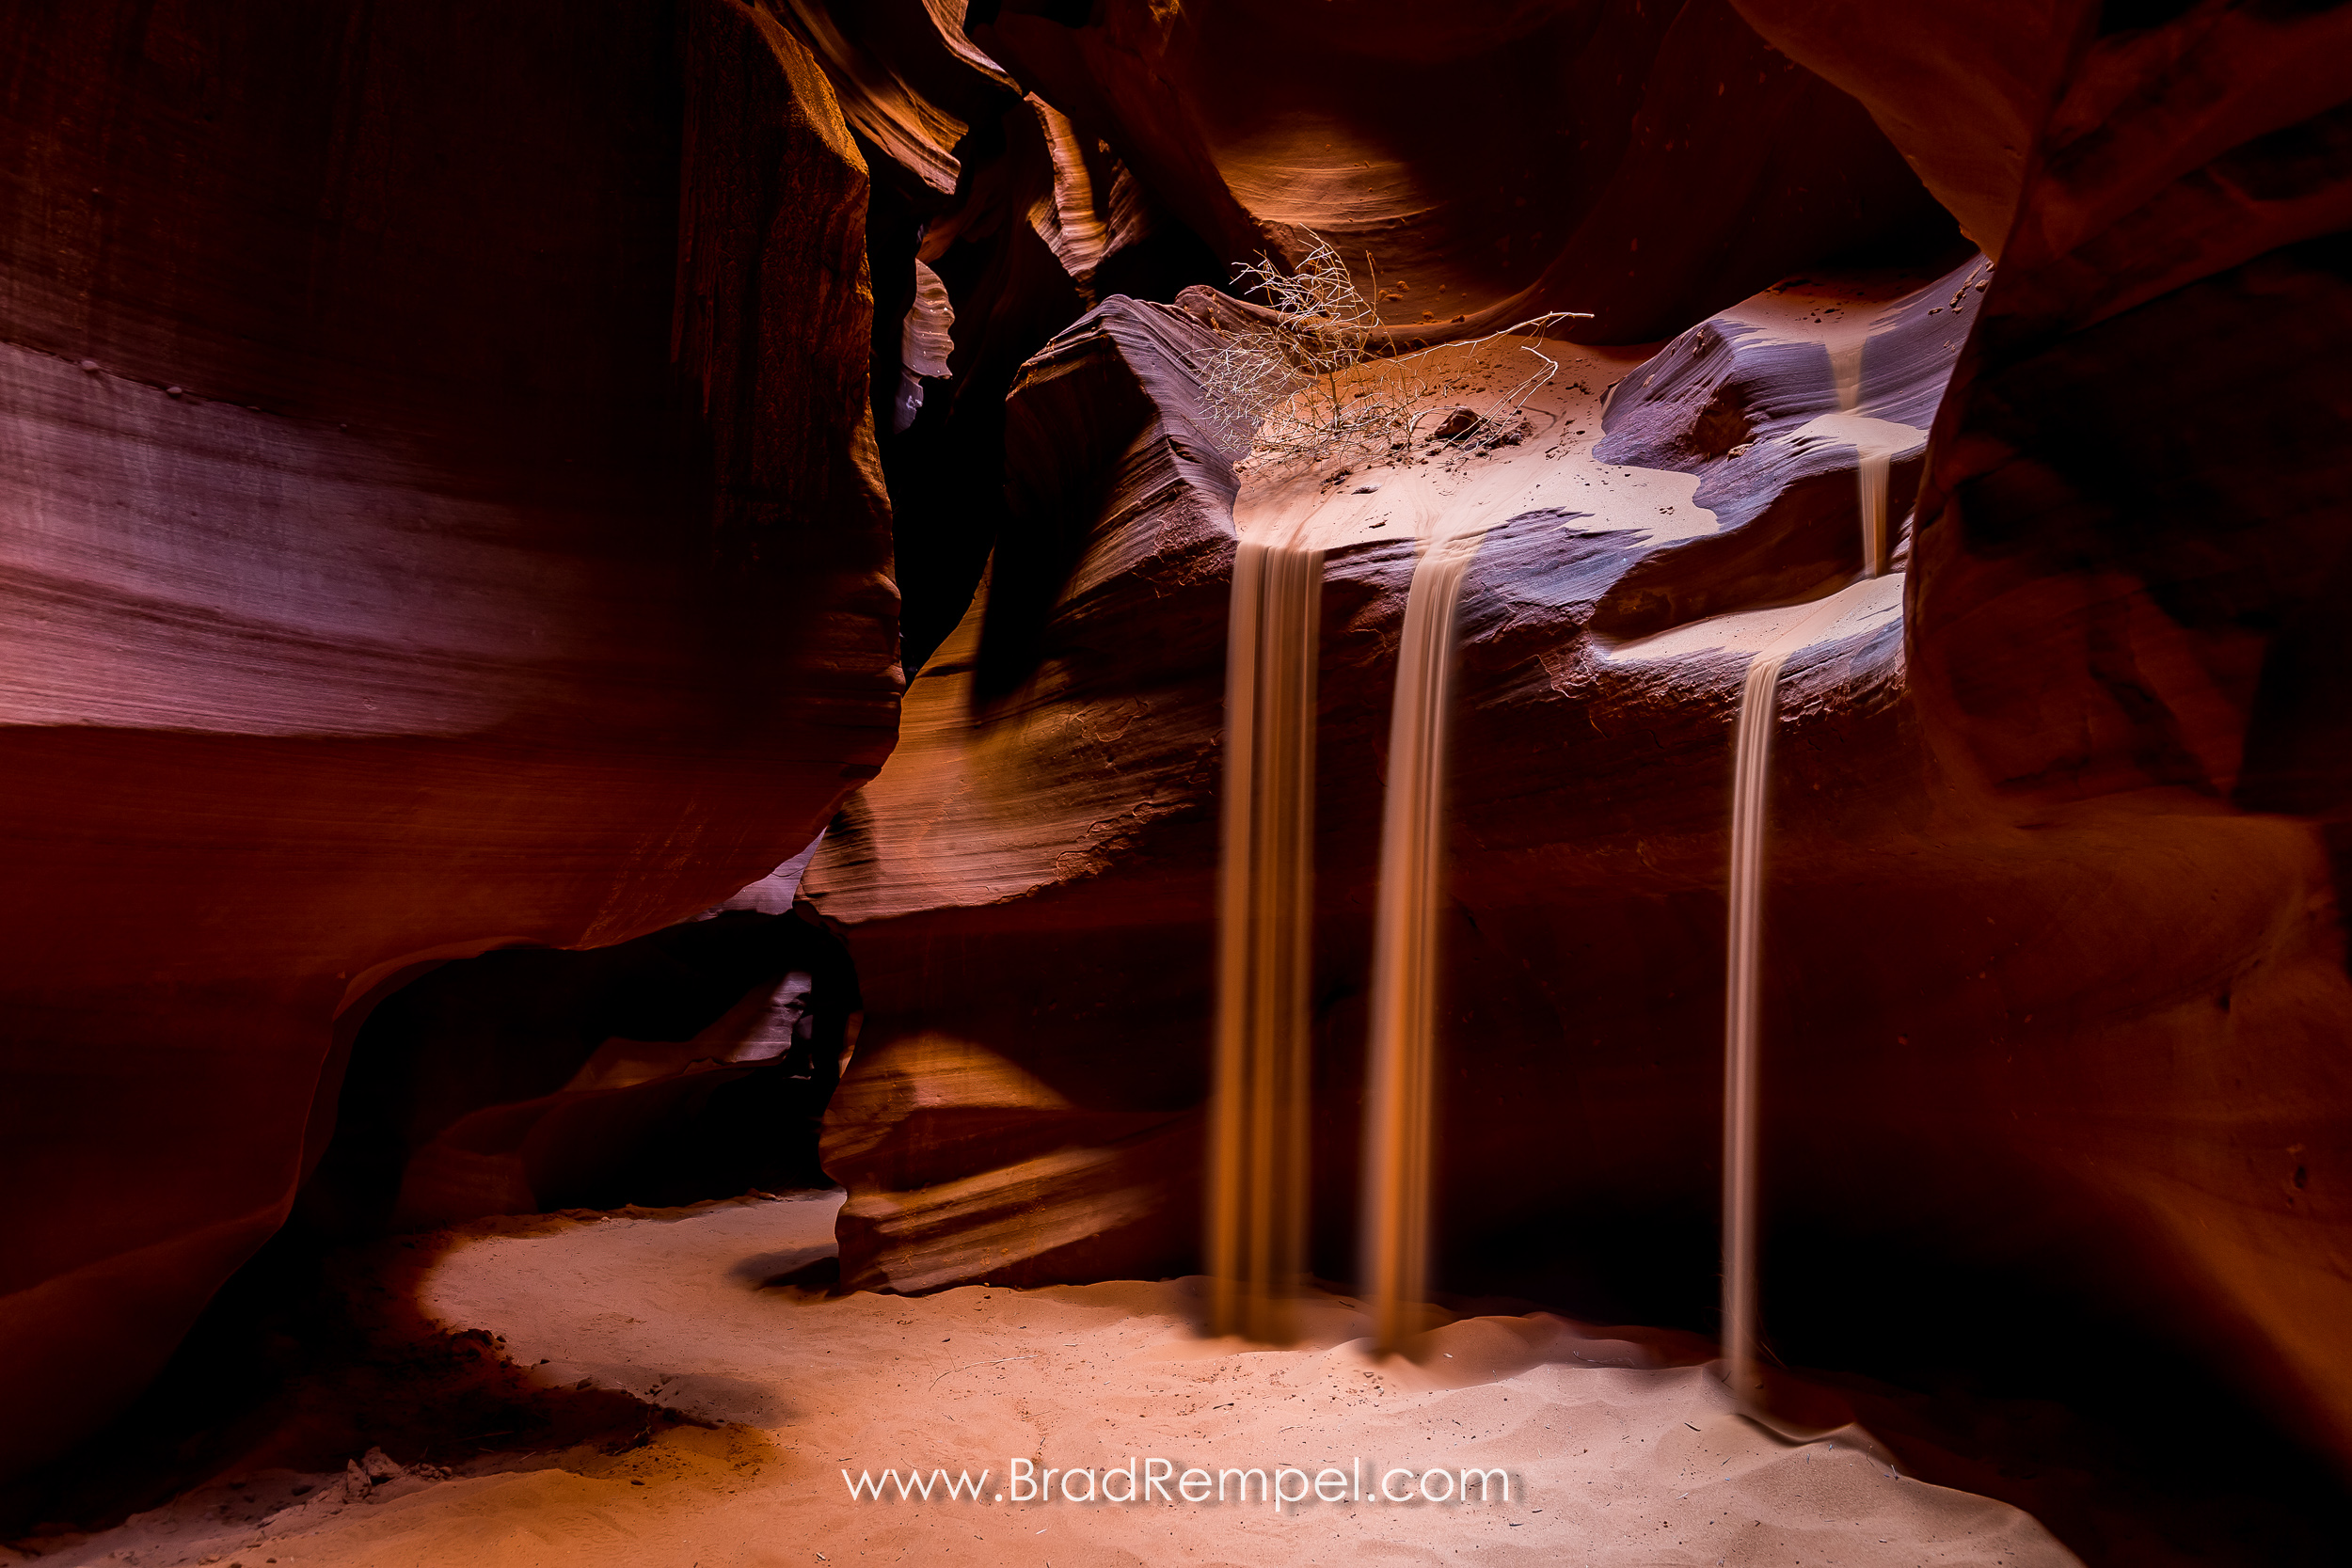
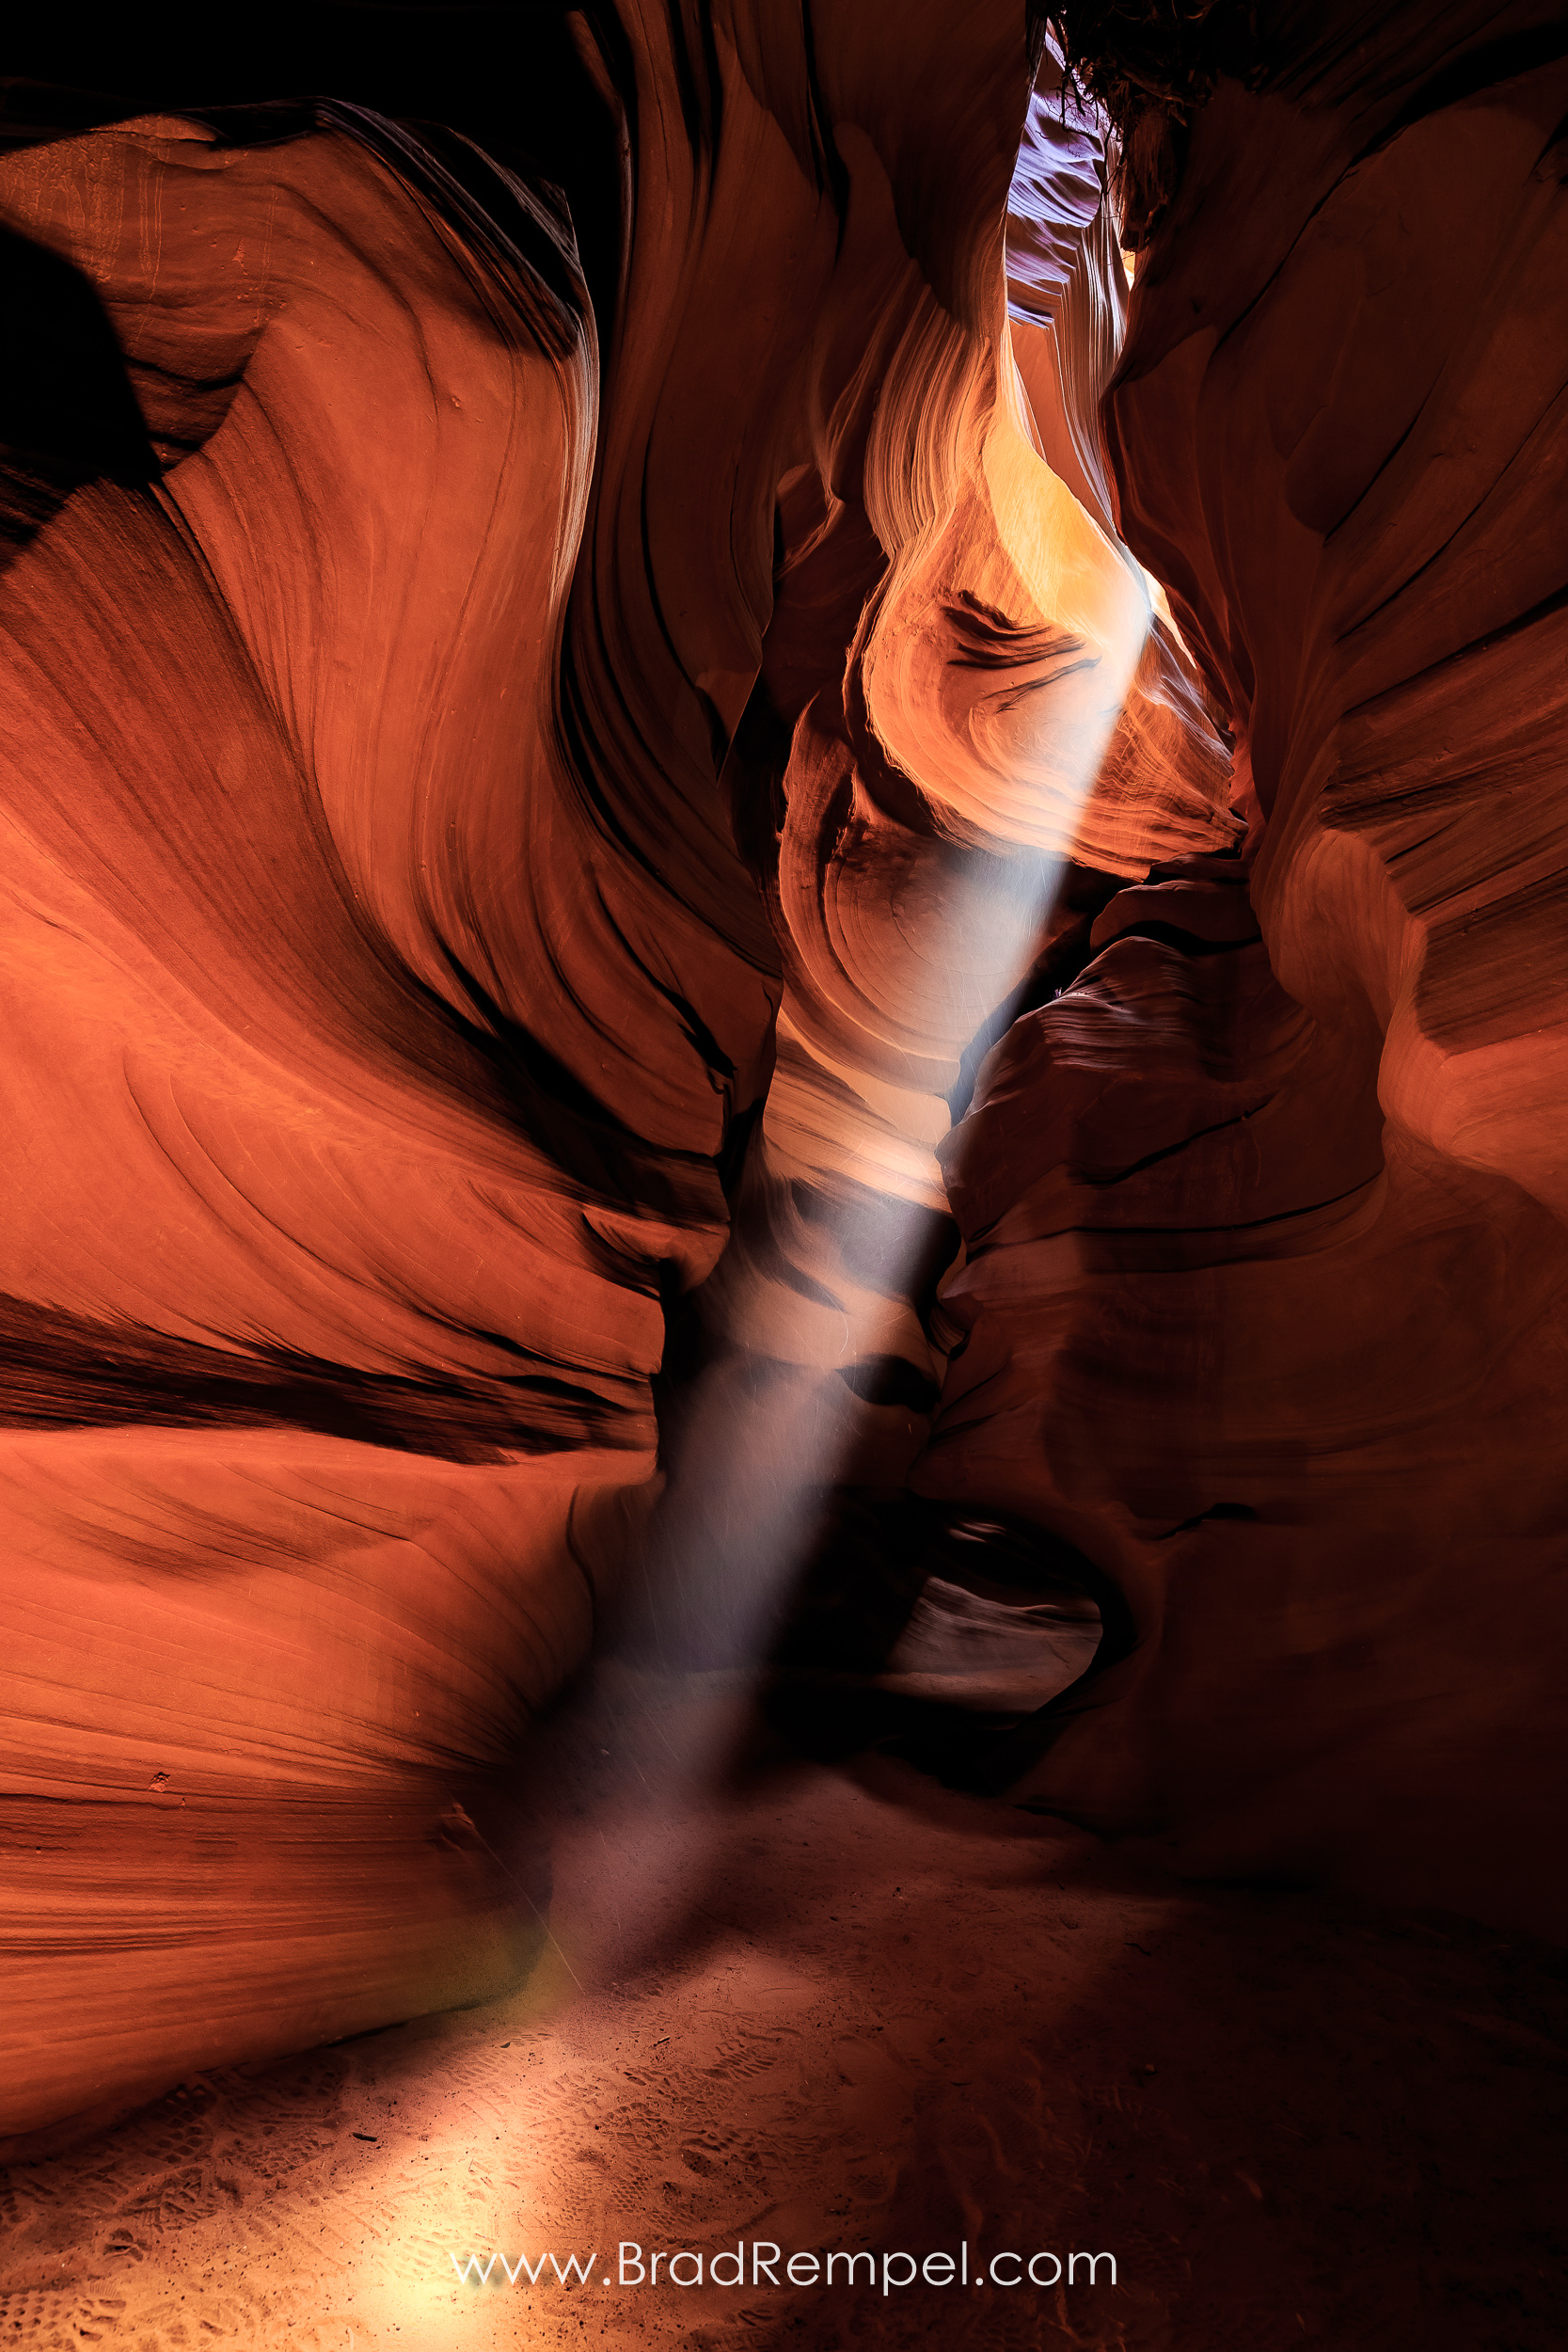
  • Arizona – April (family trip)
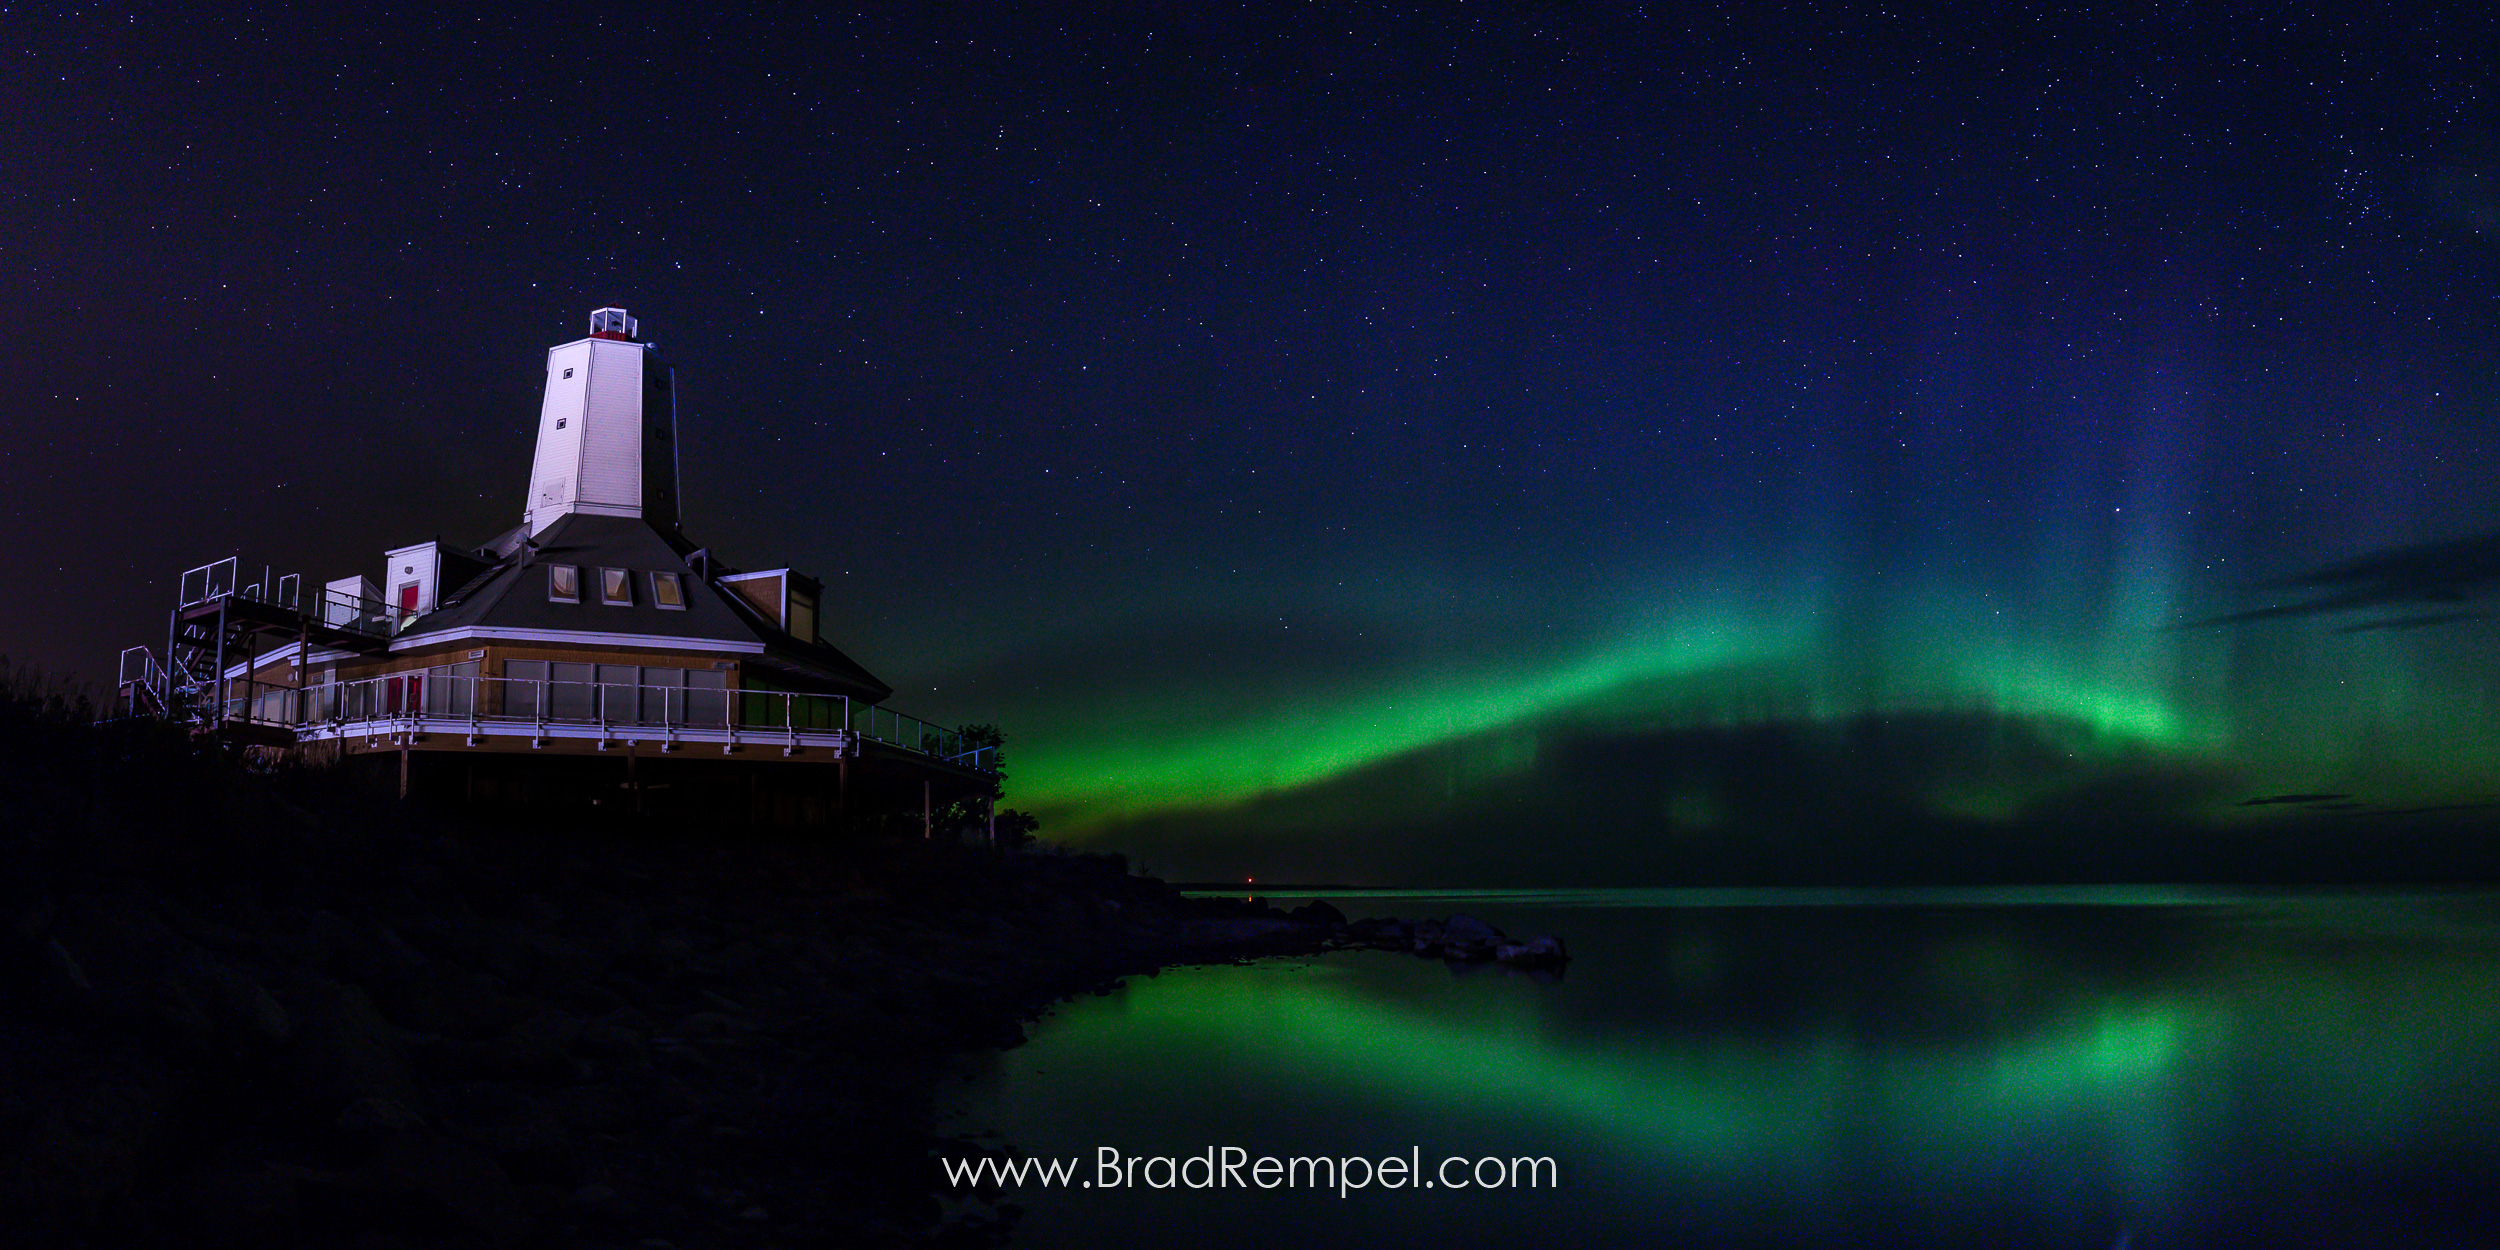
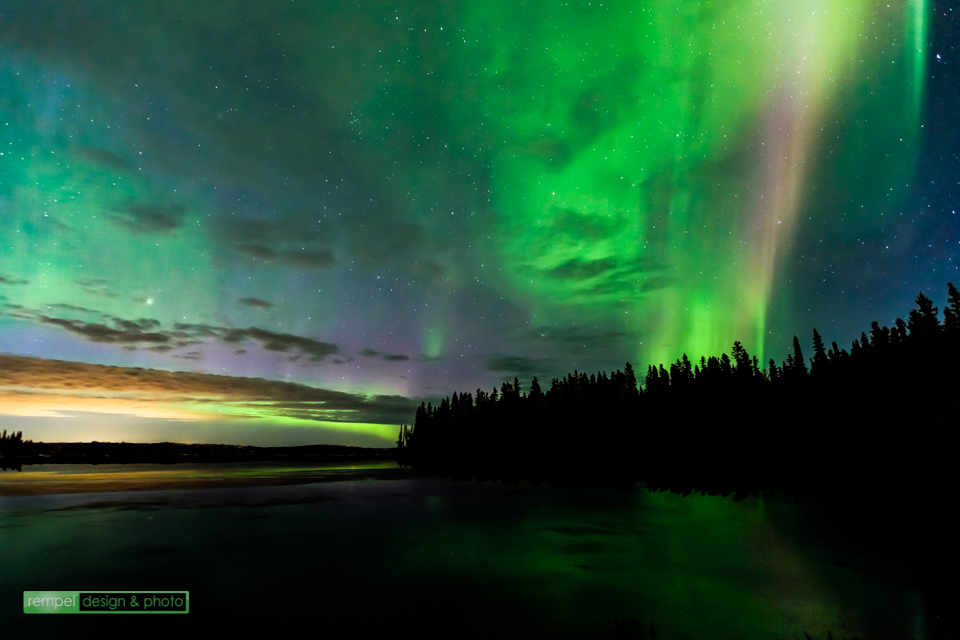
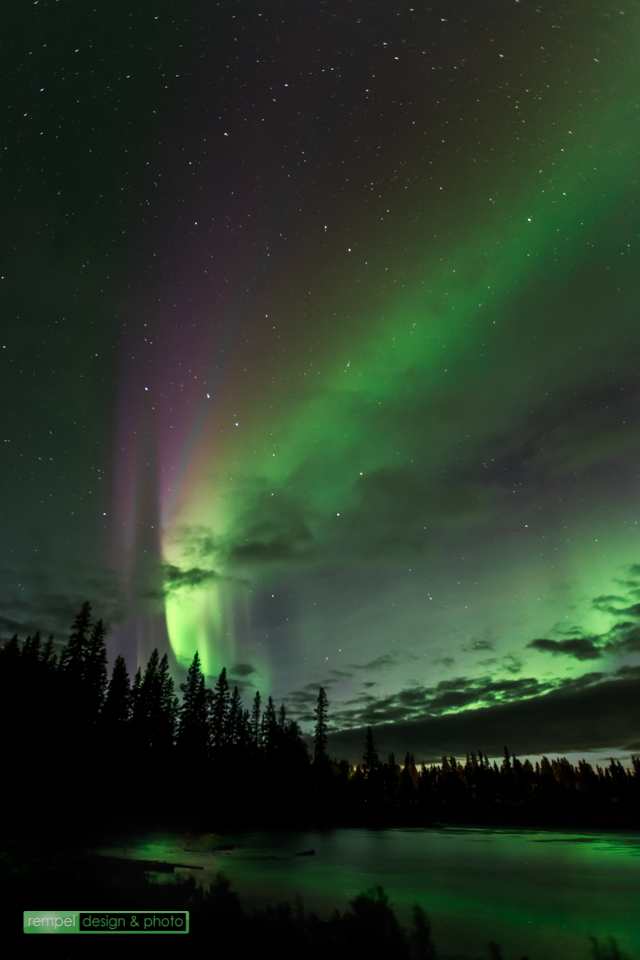
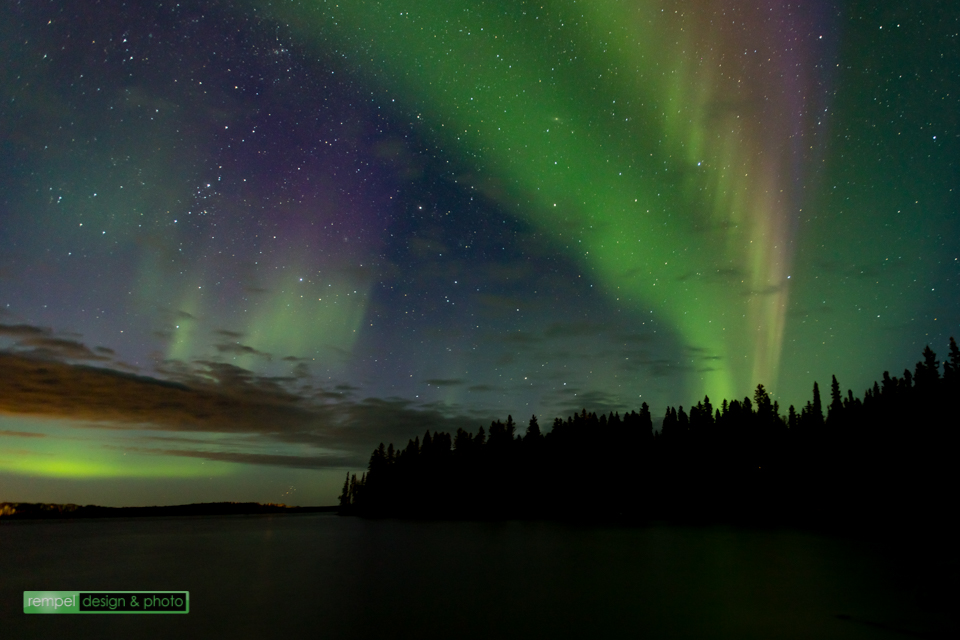
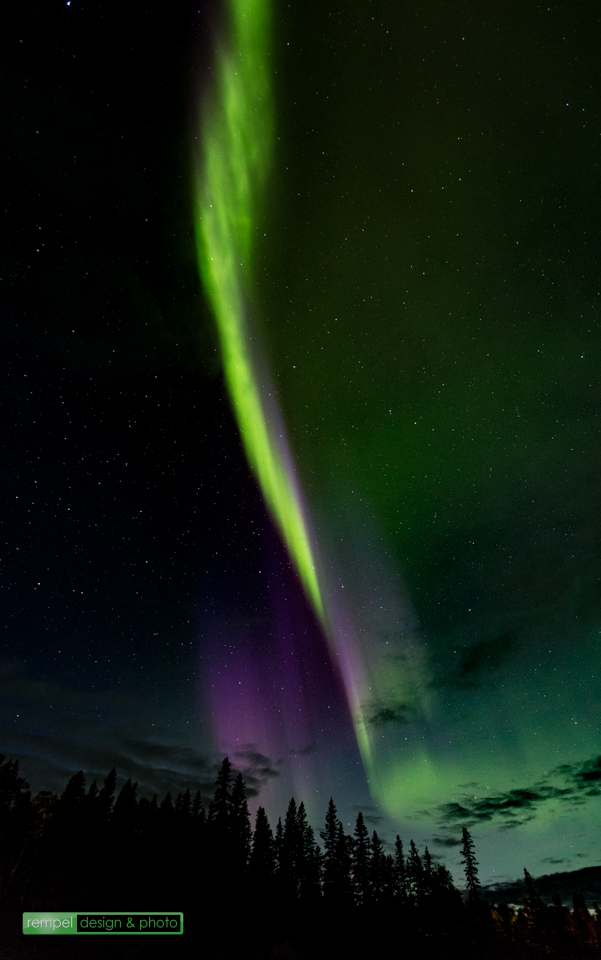
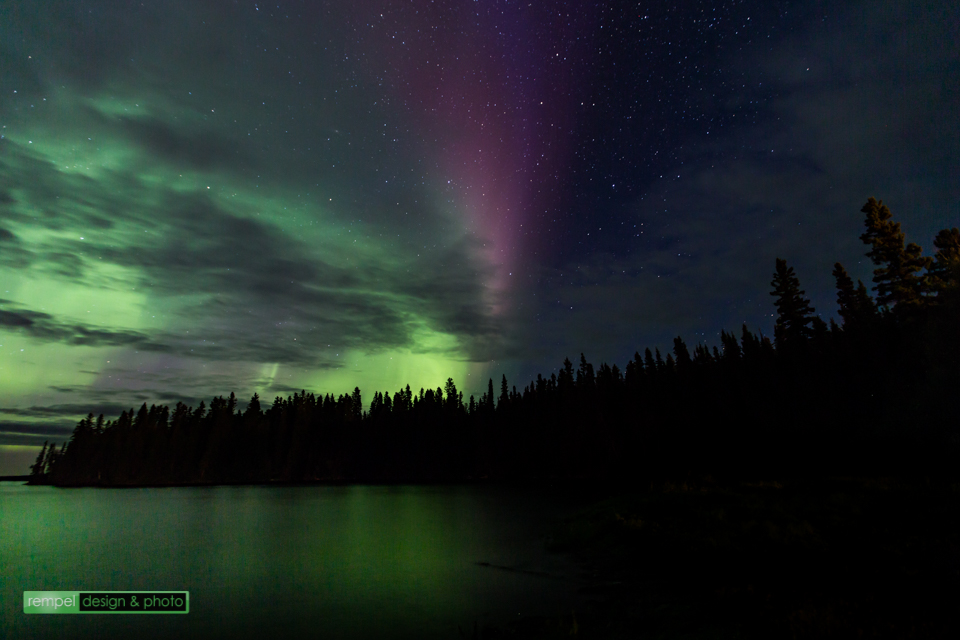
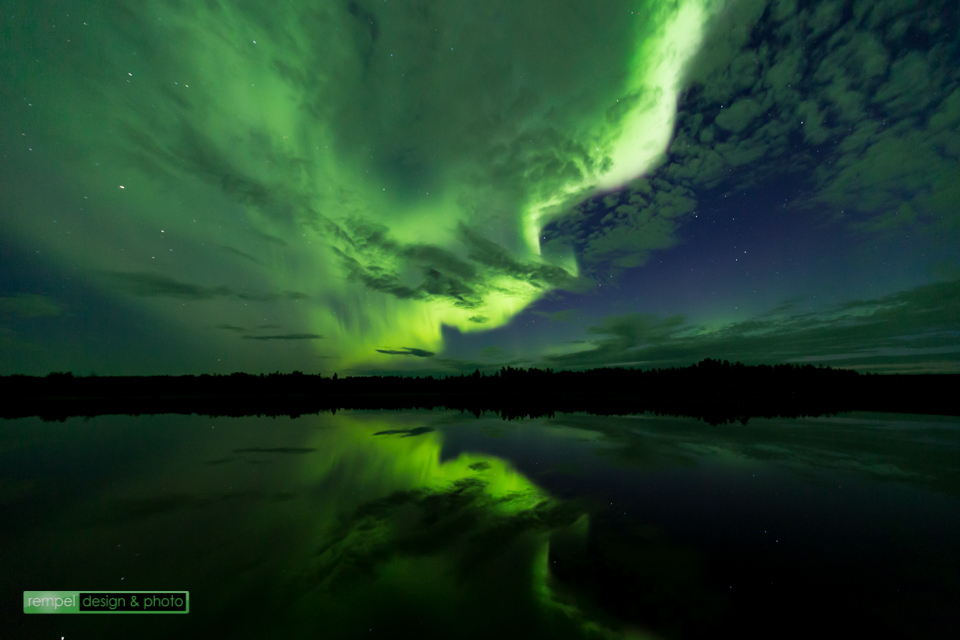
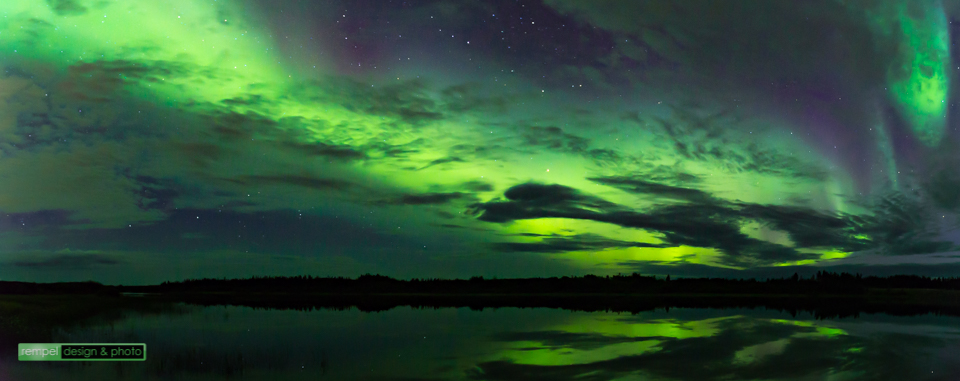
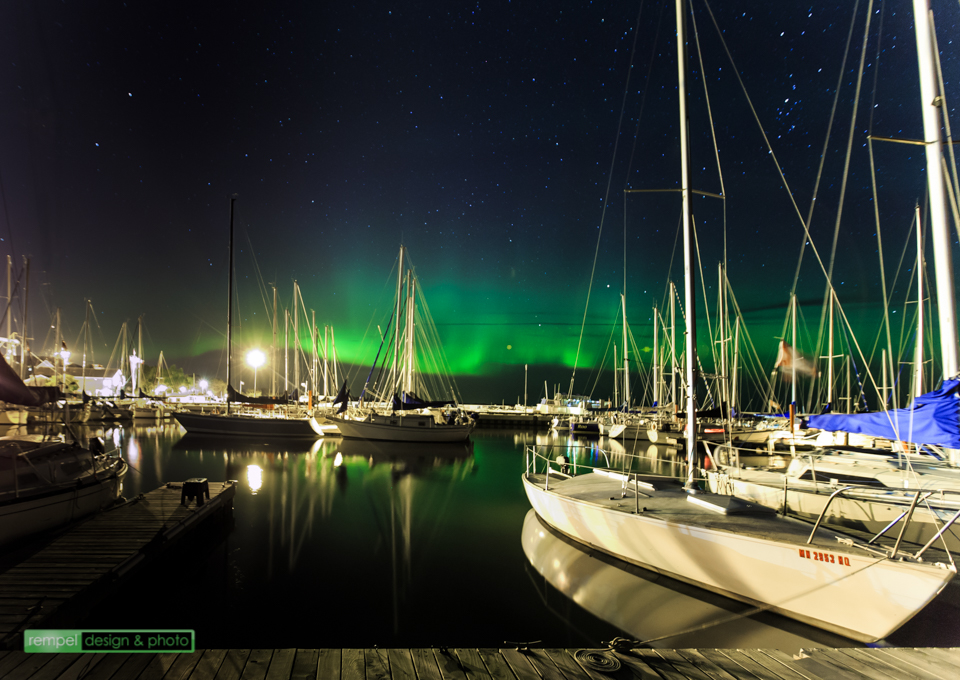
  • Manitoba – August (family trip)
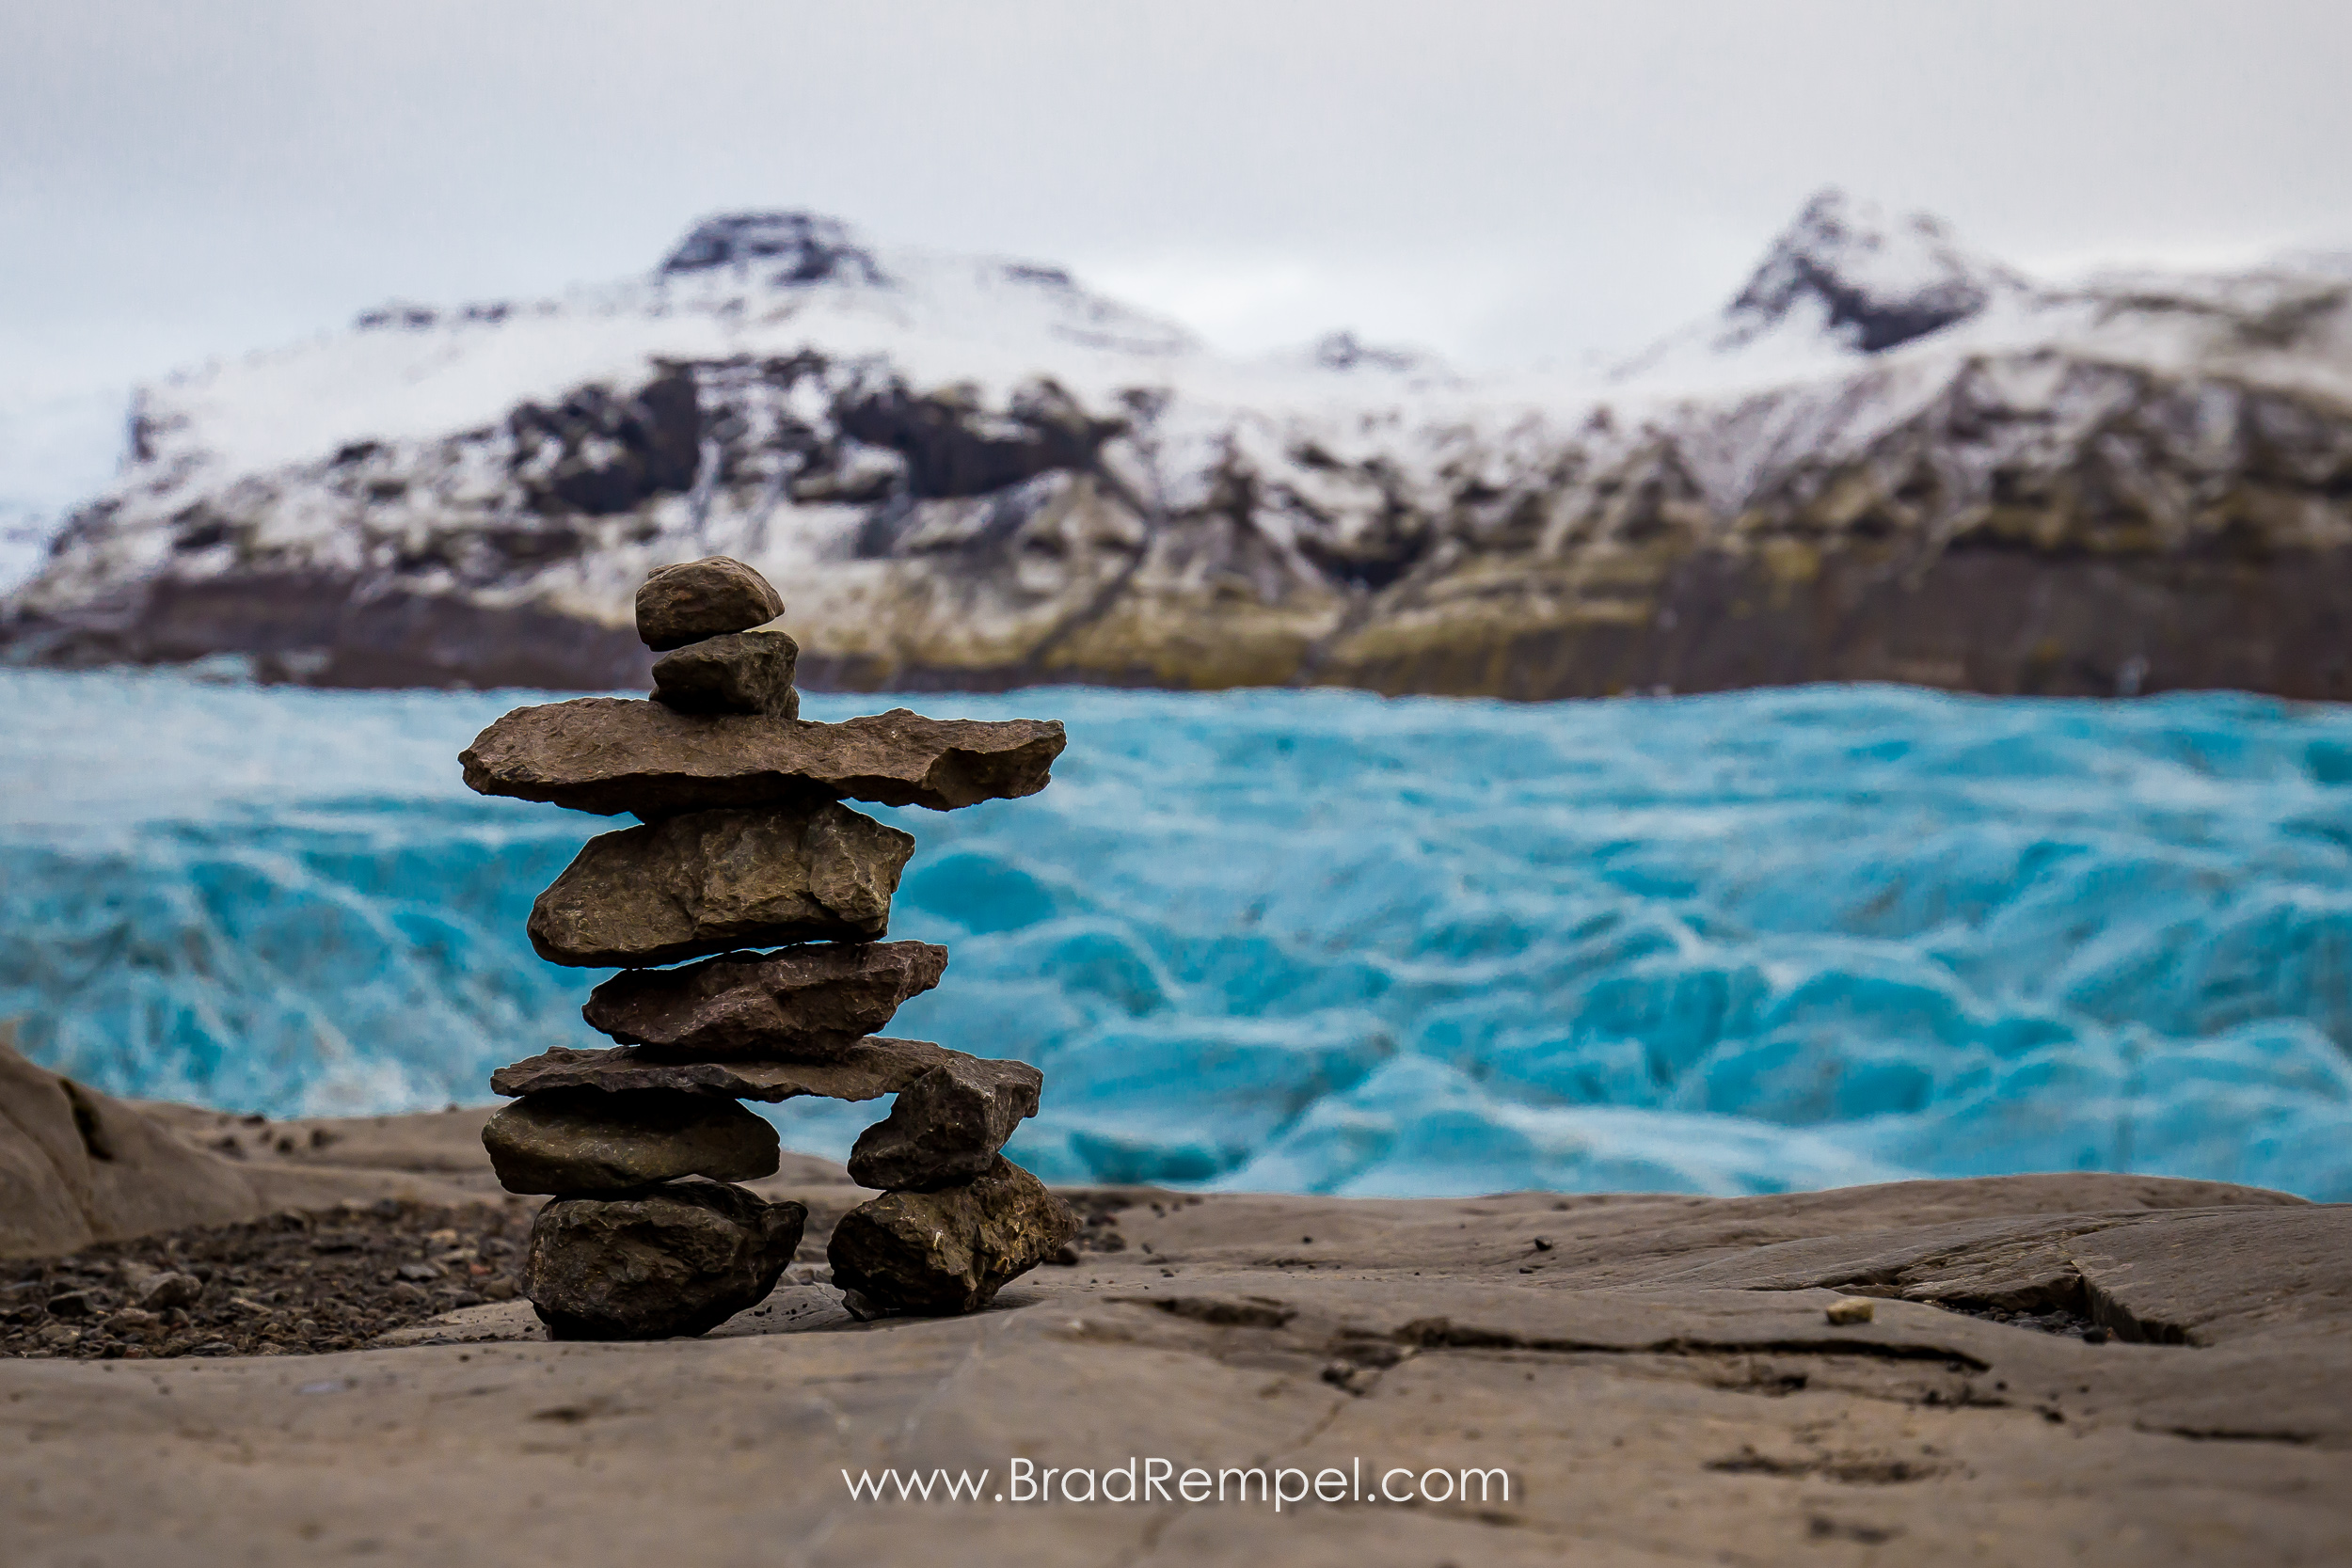
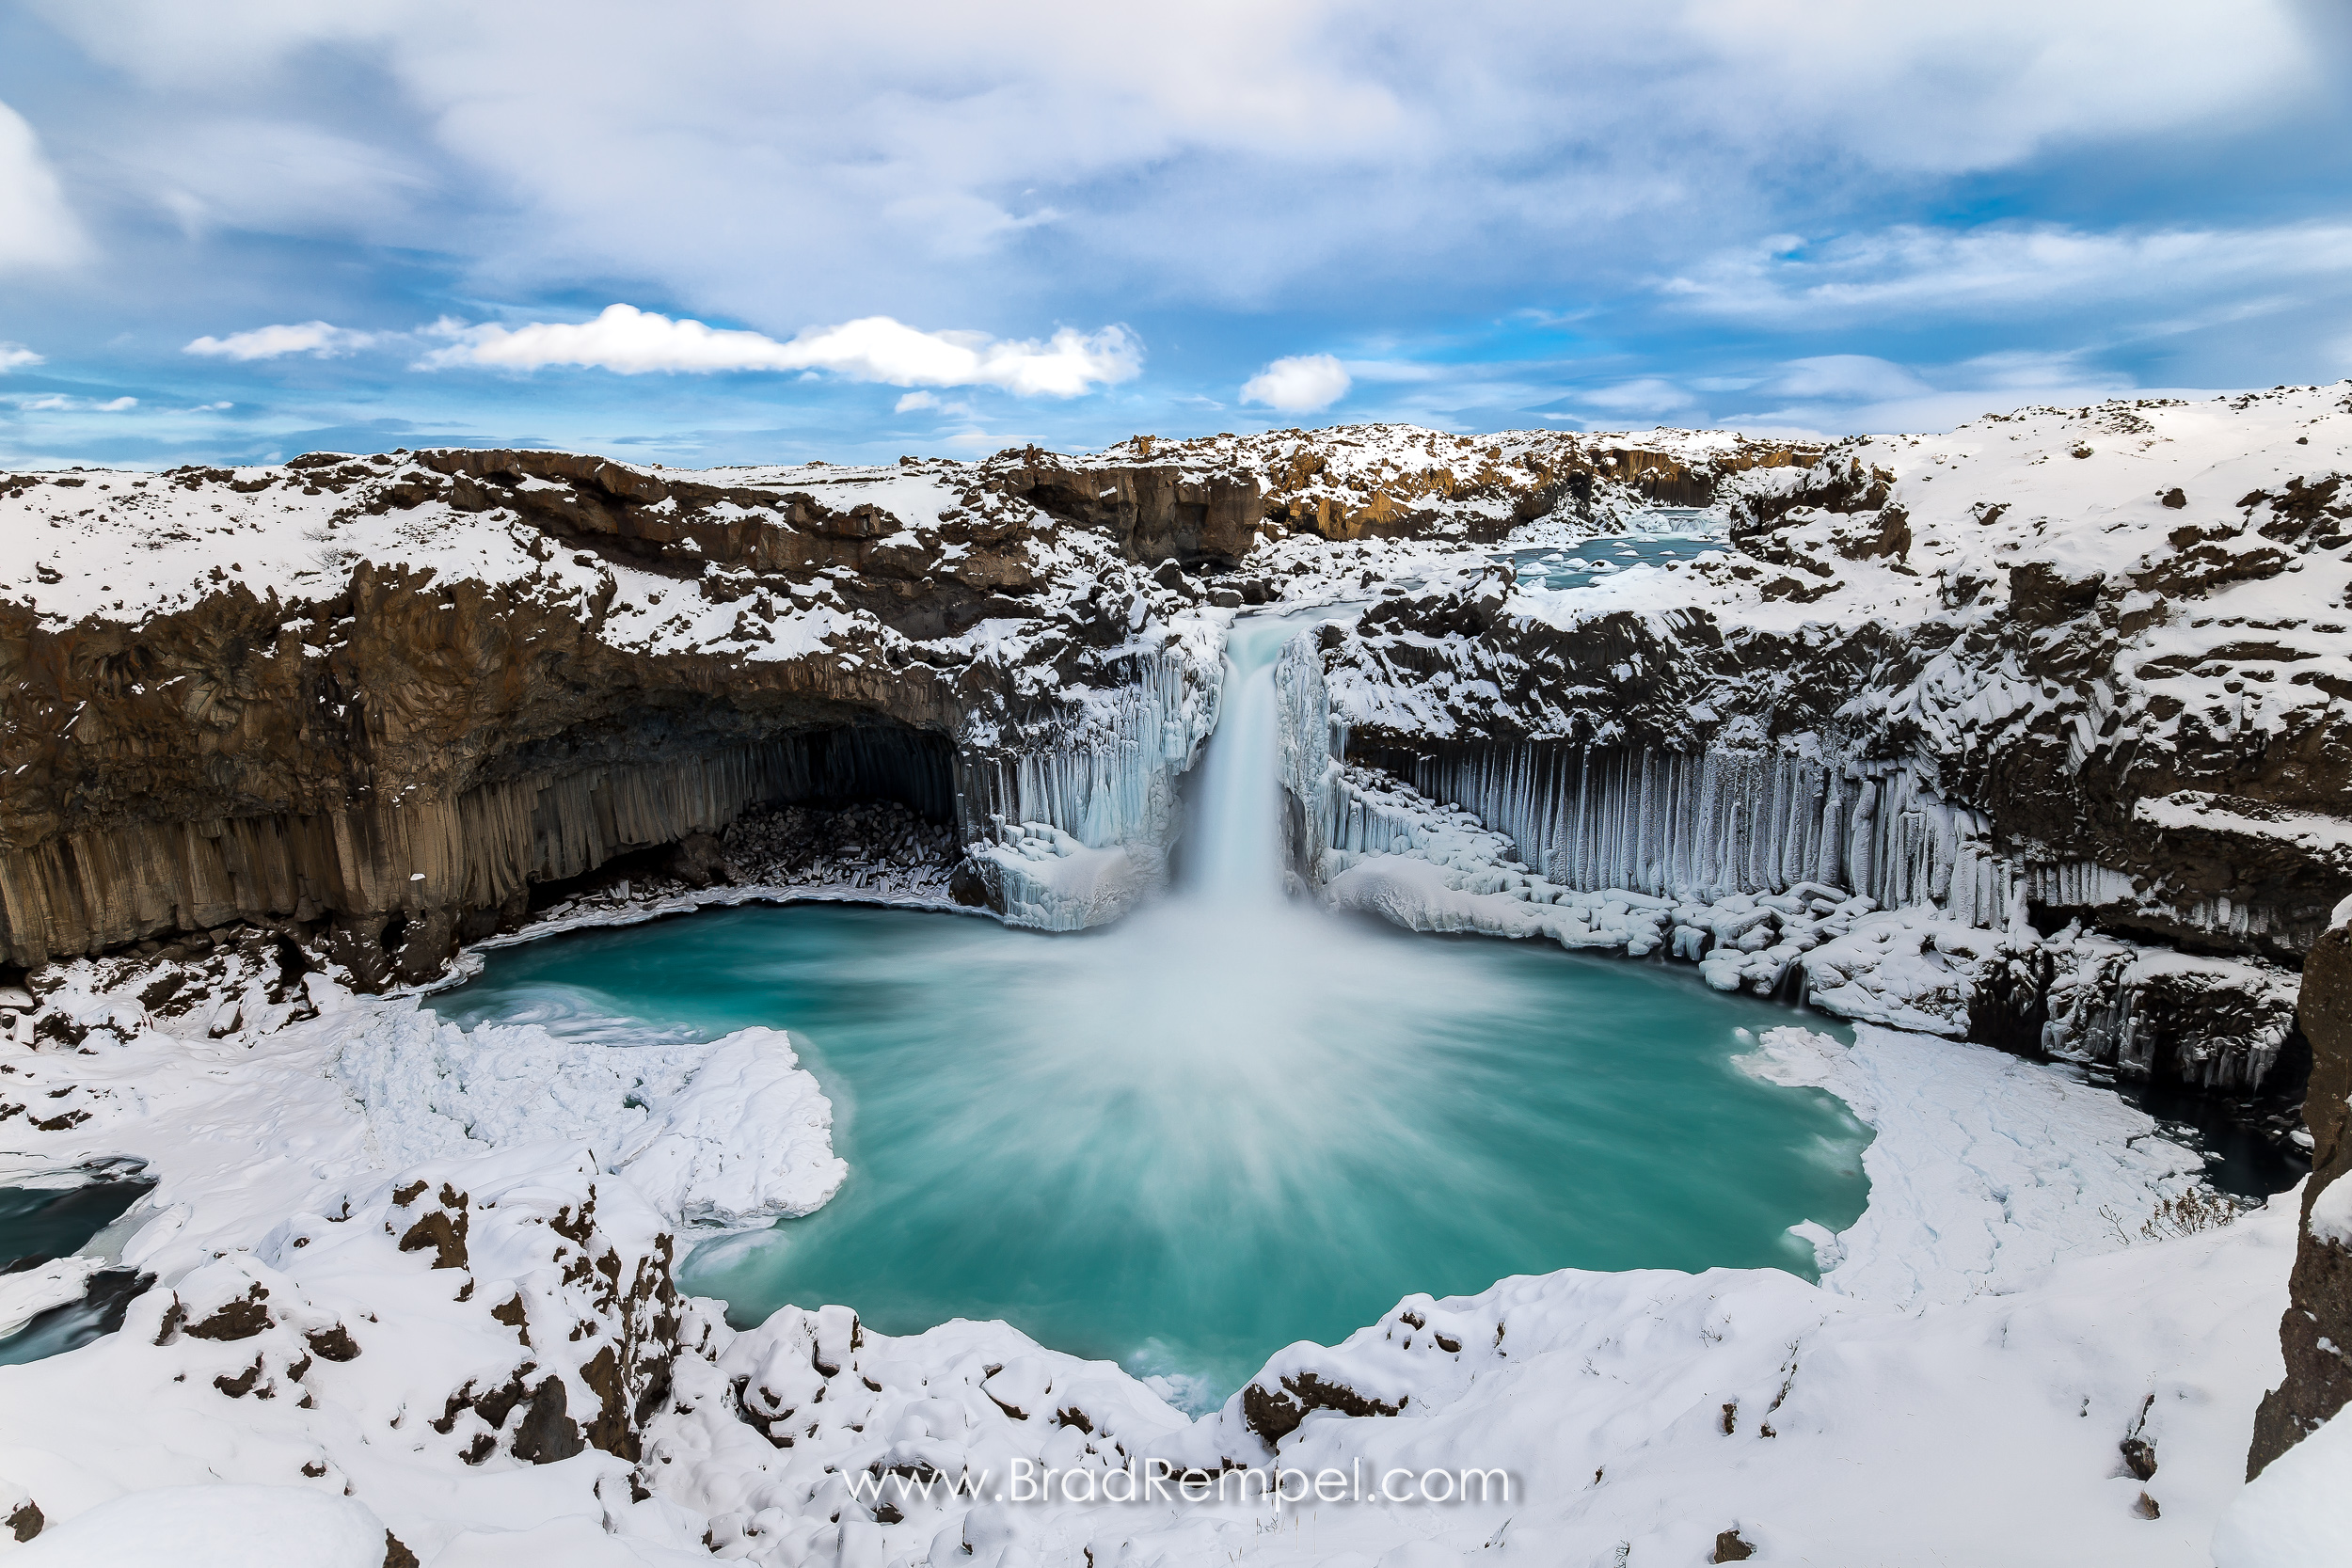
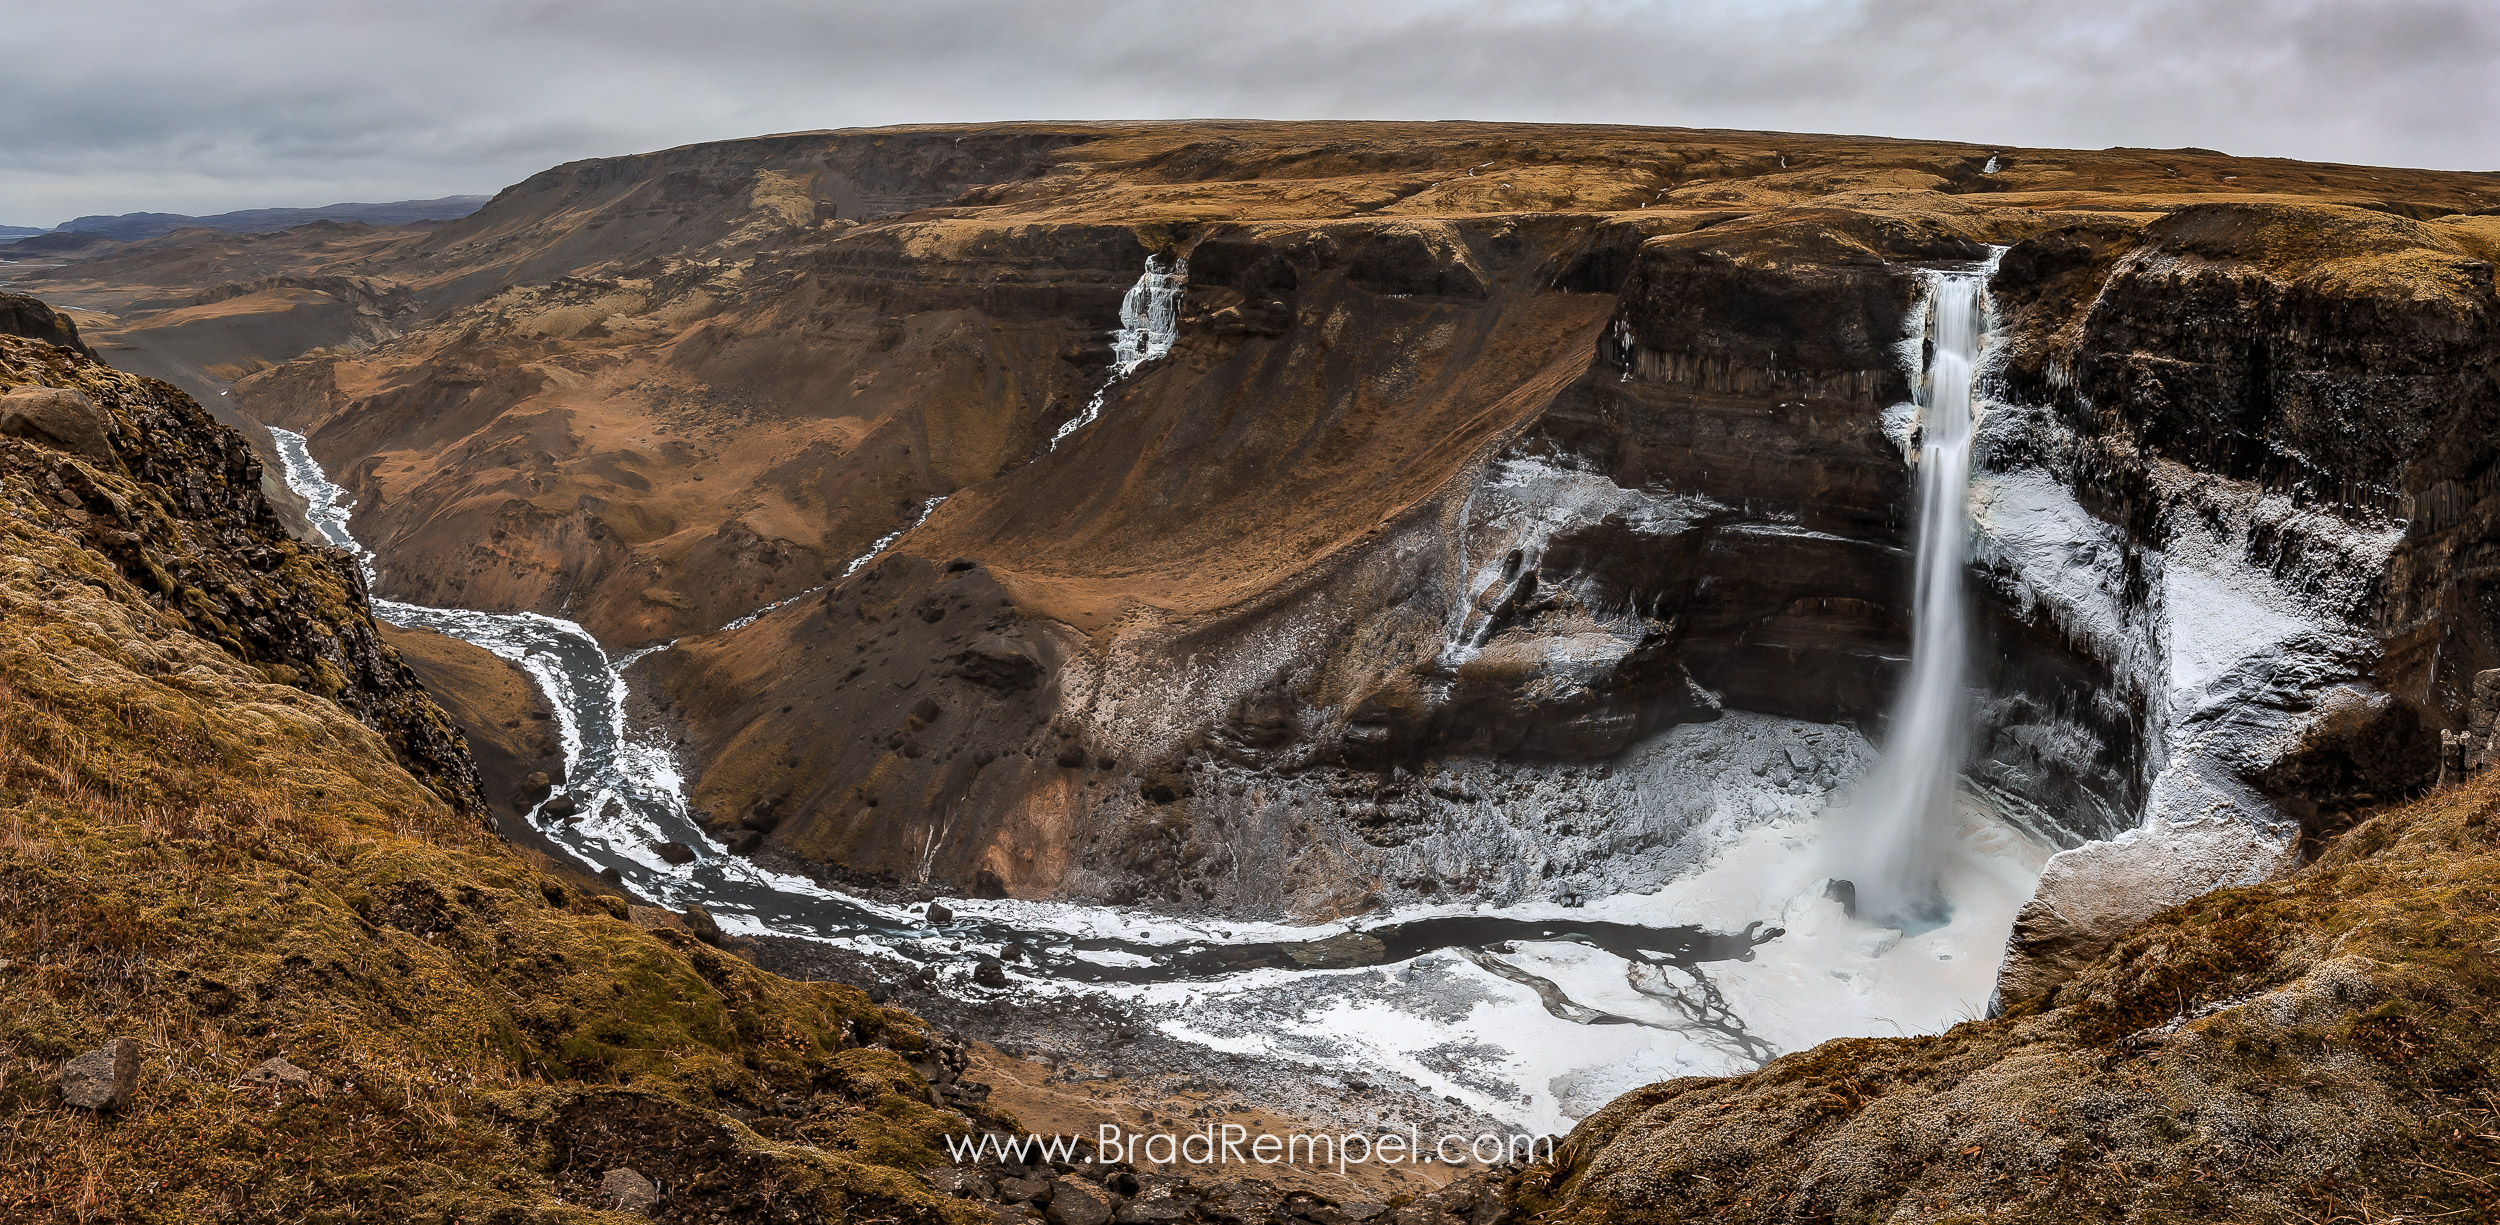
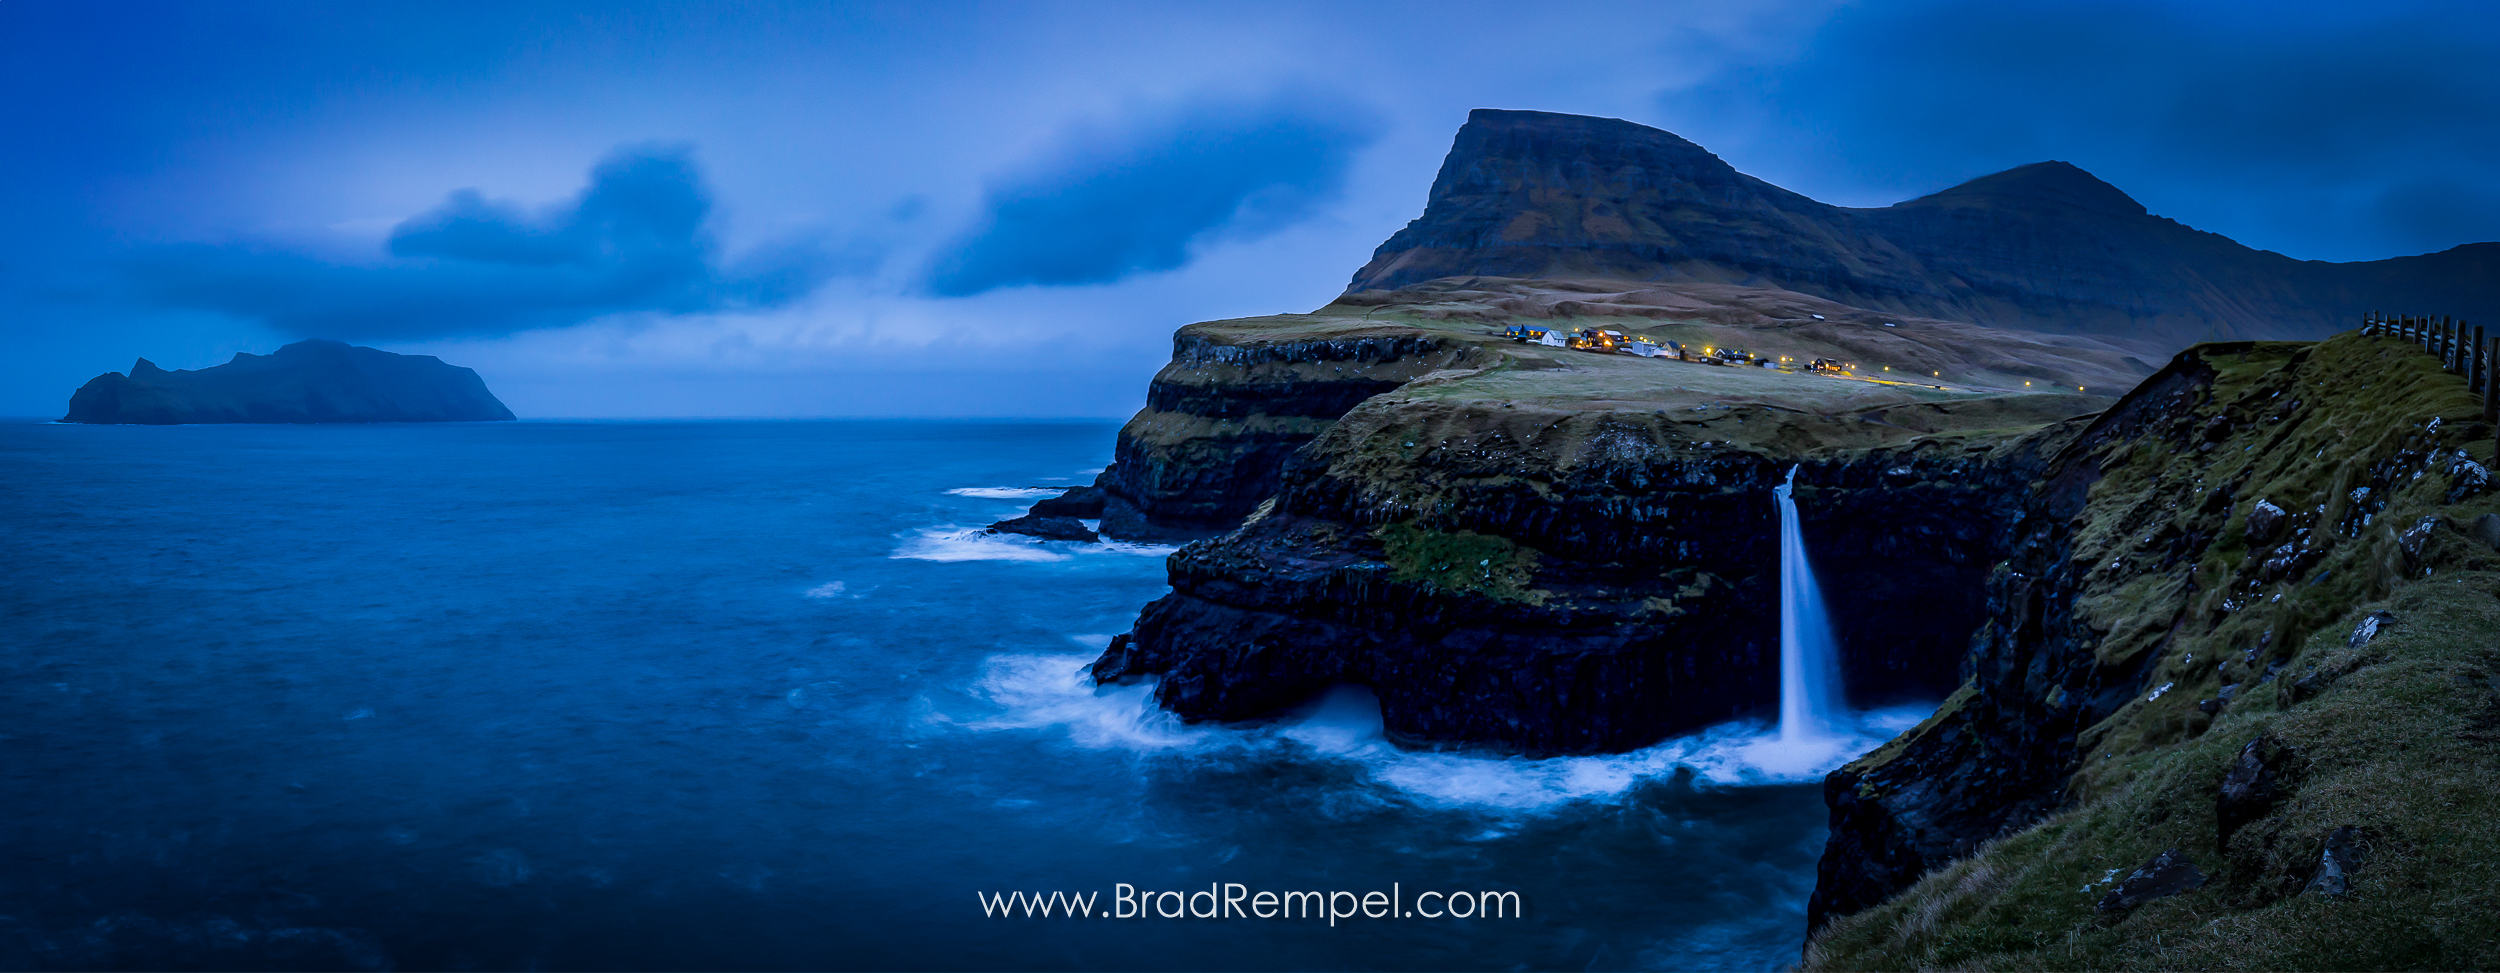
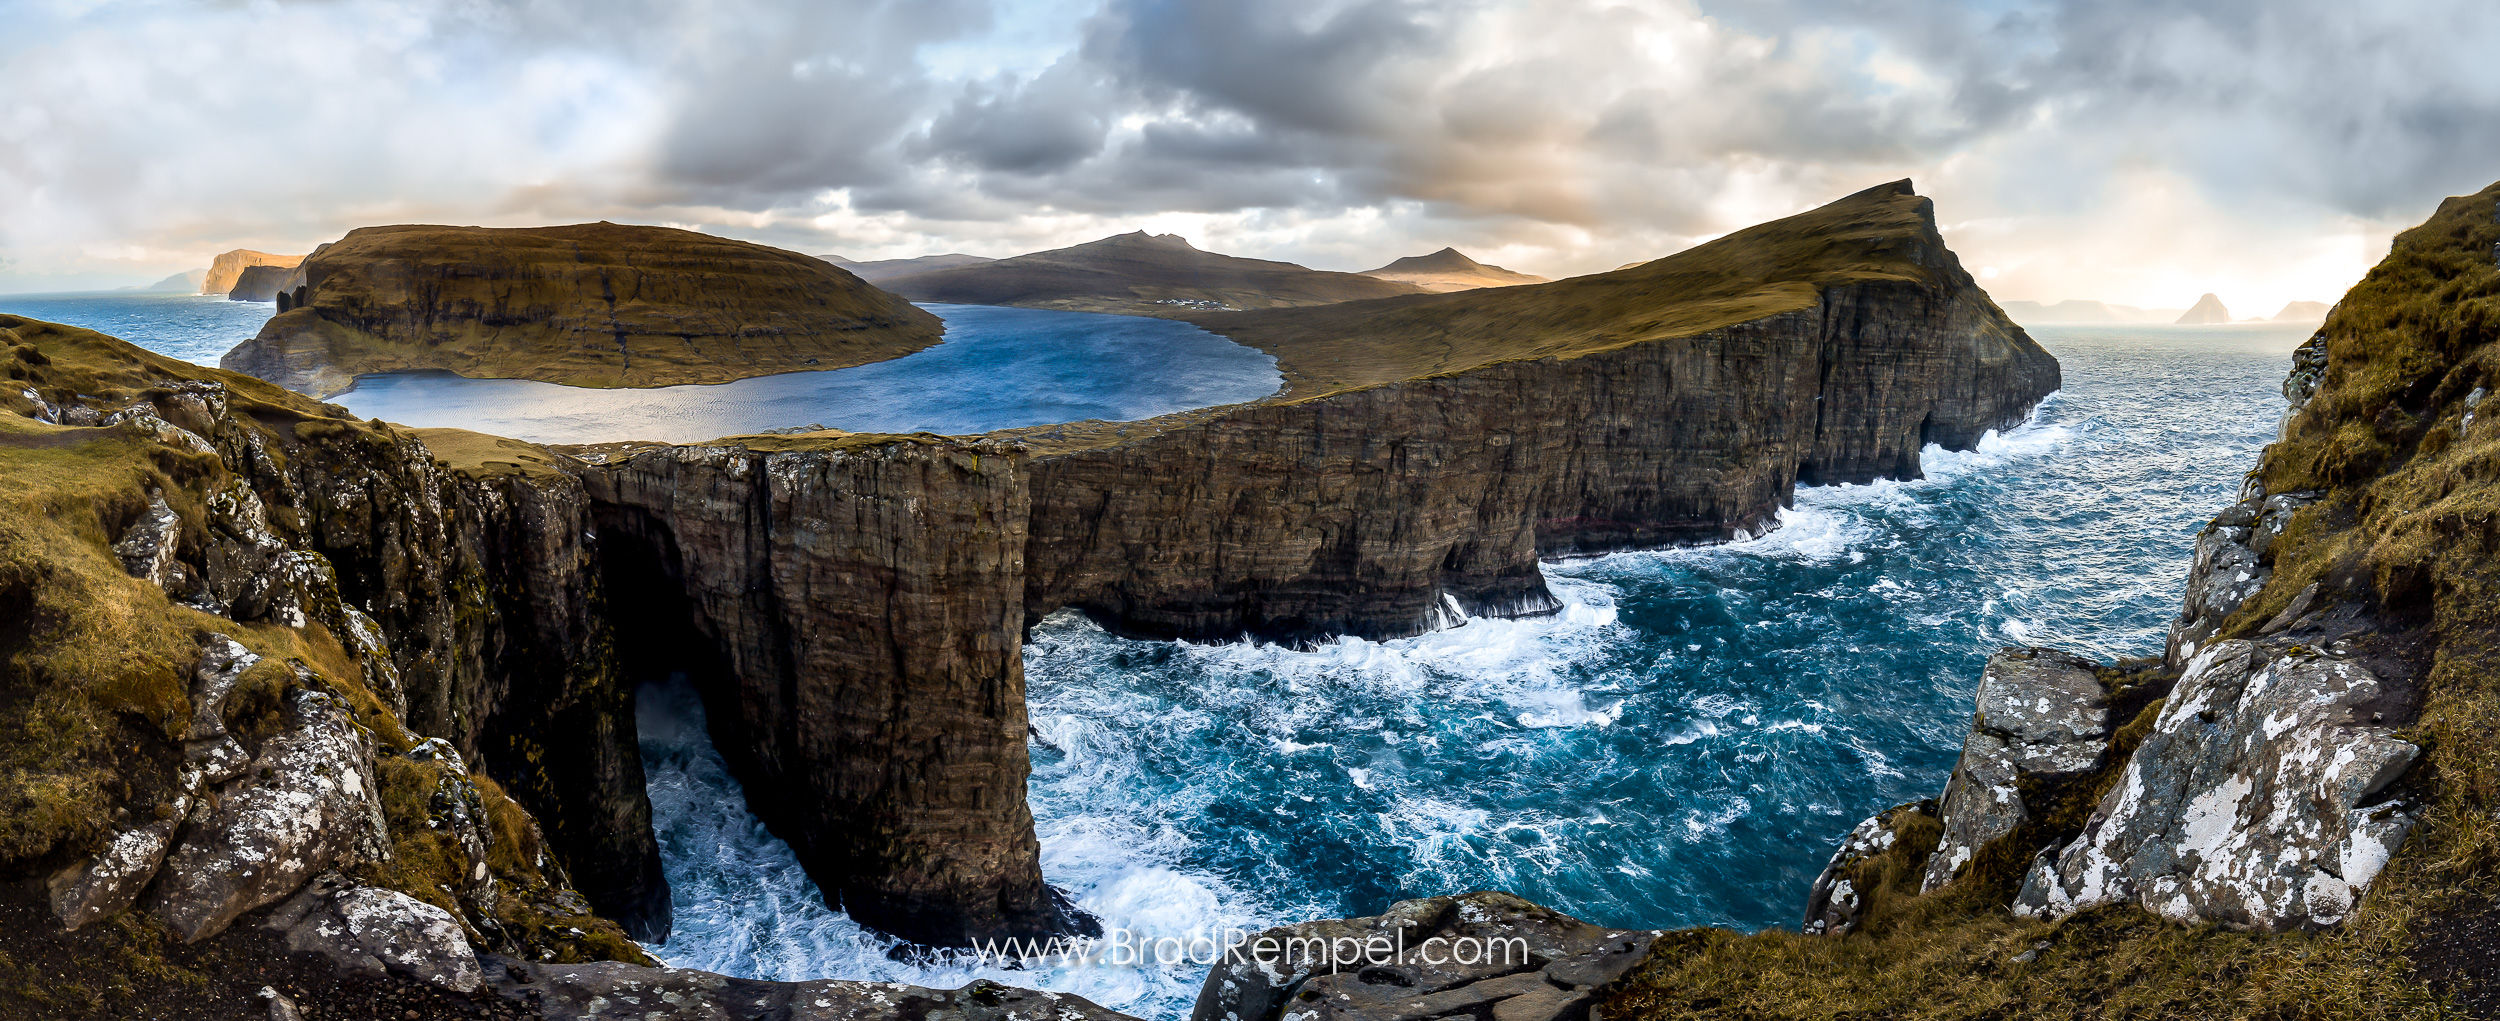
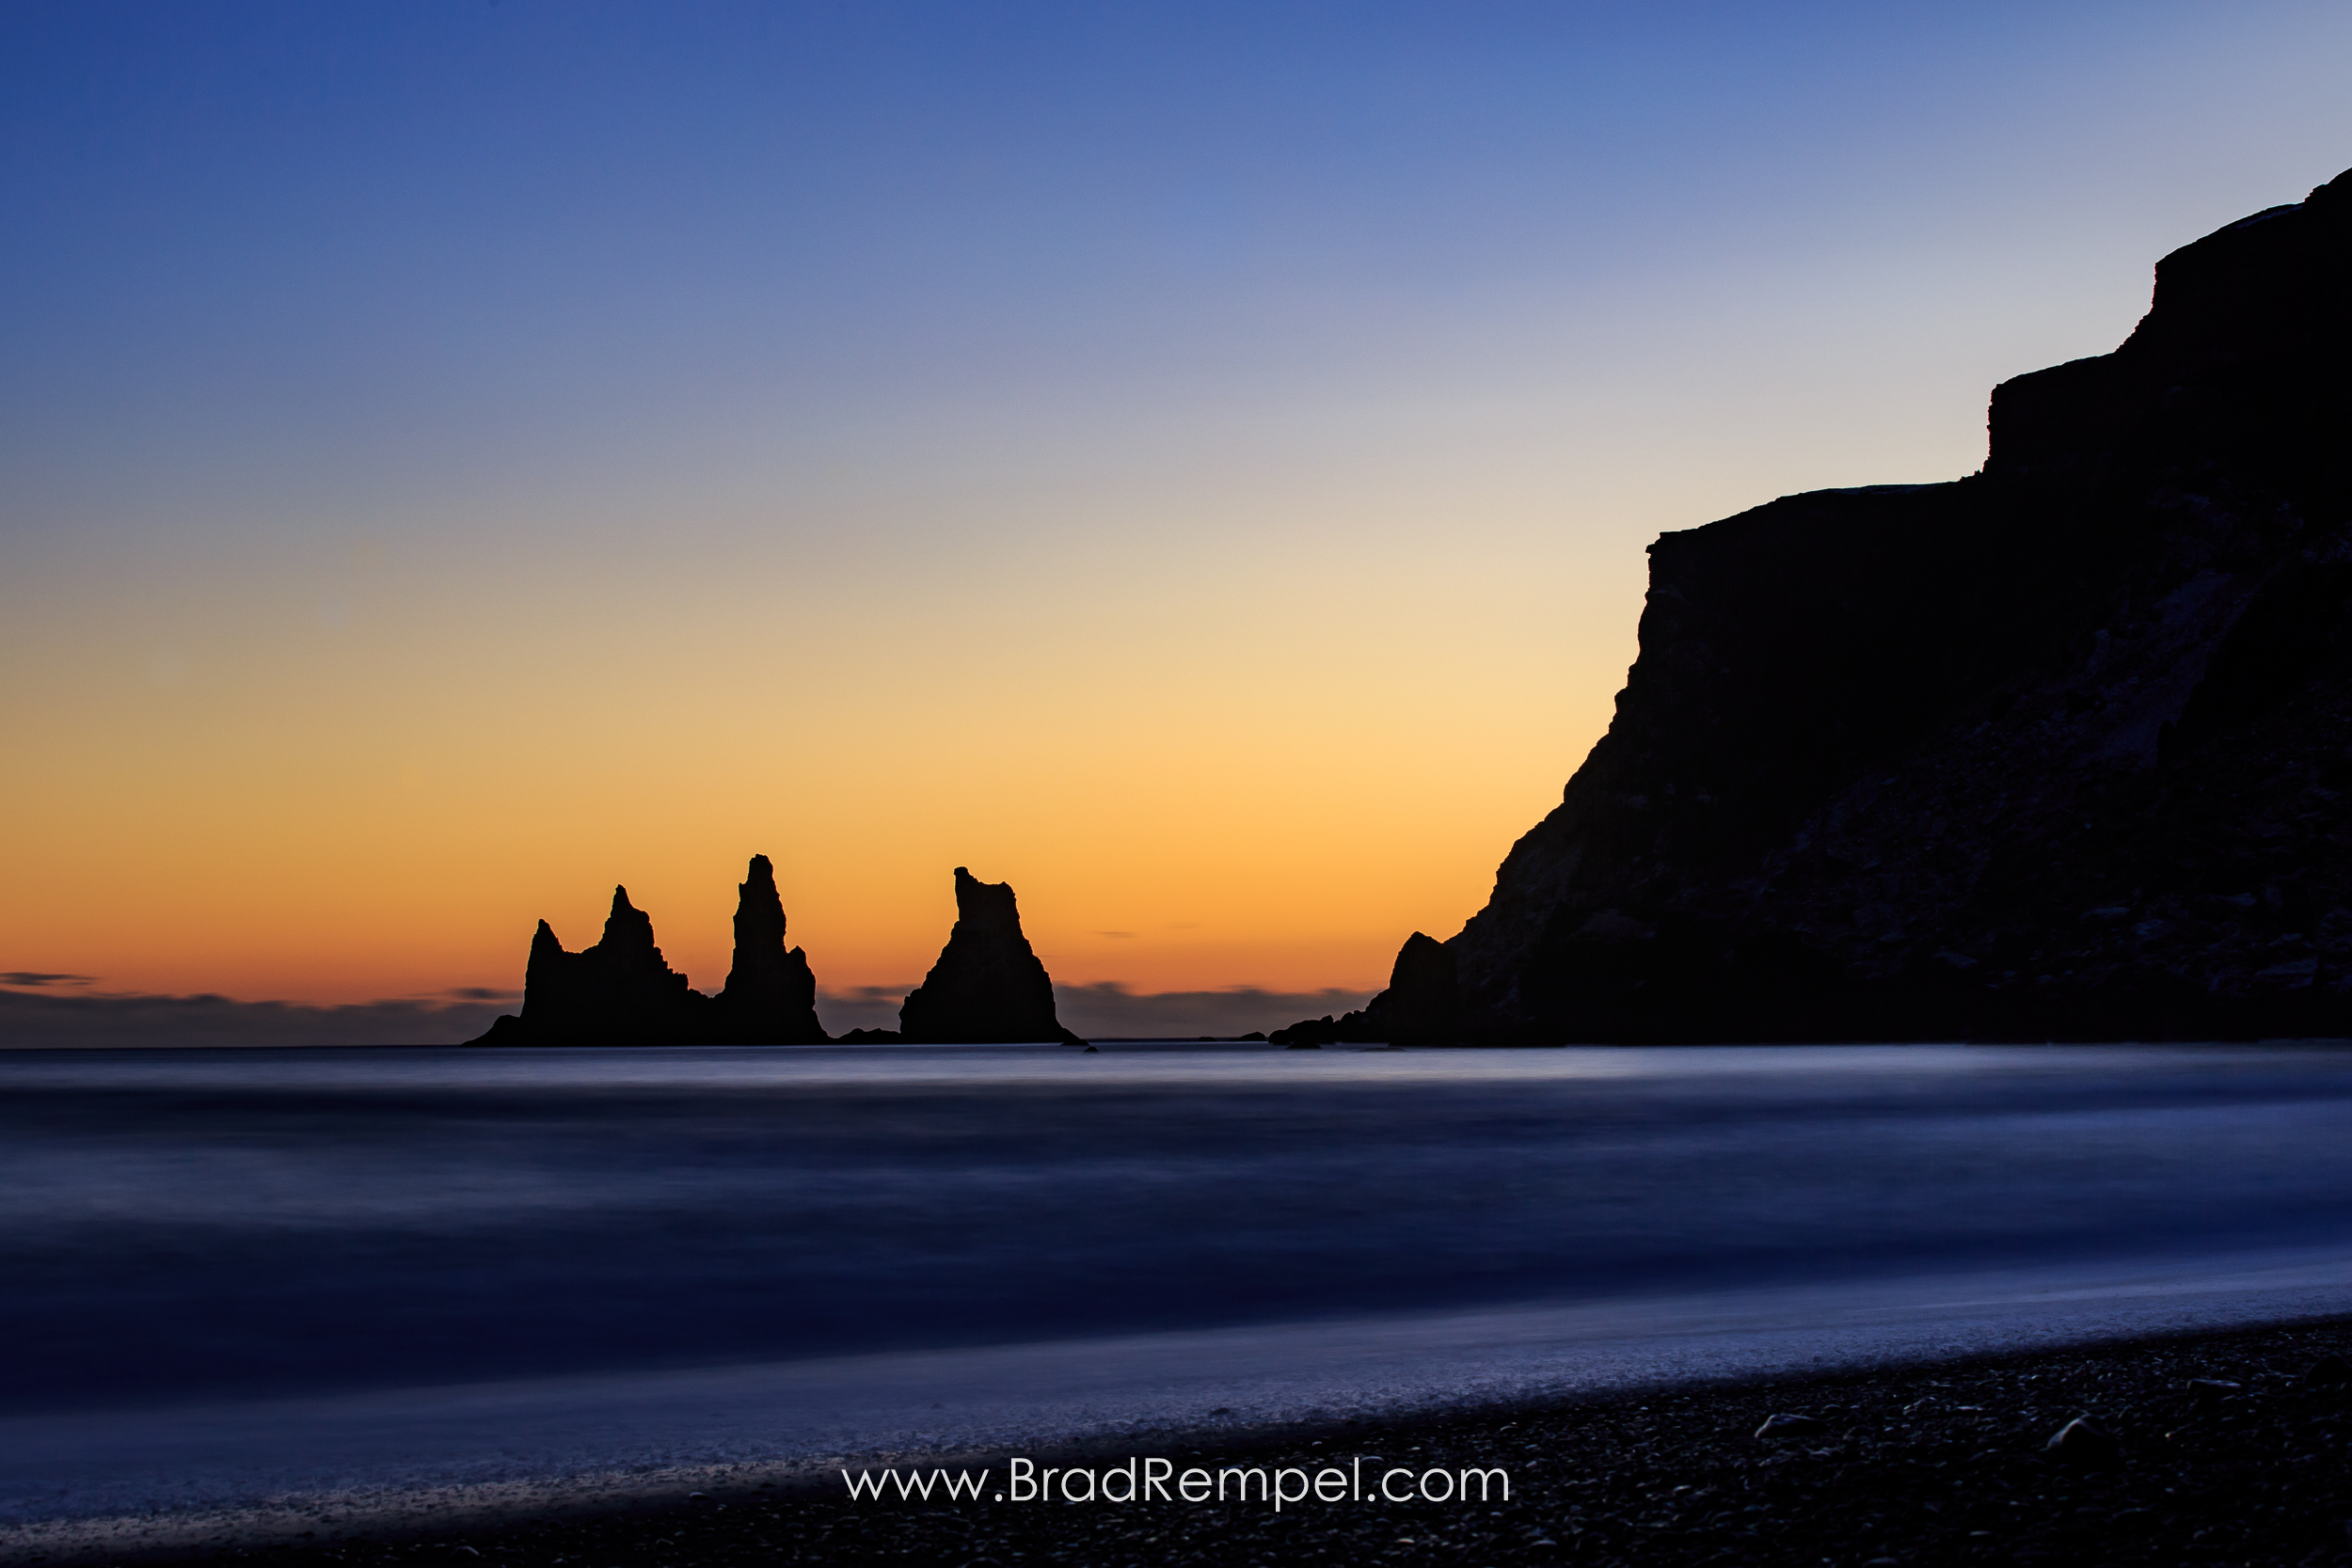
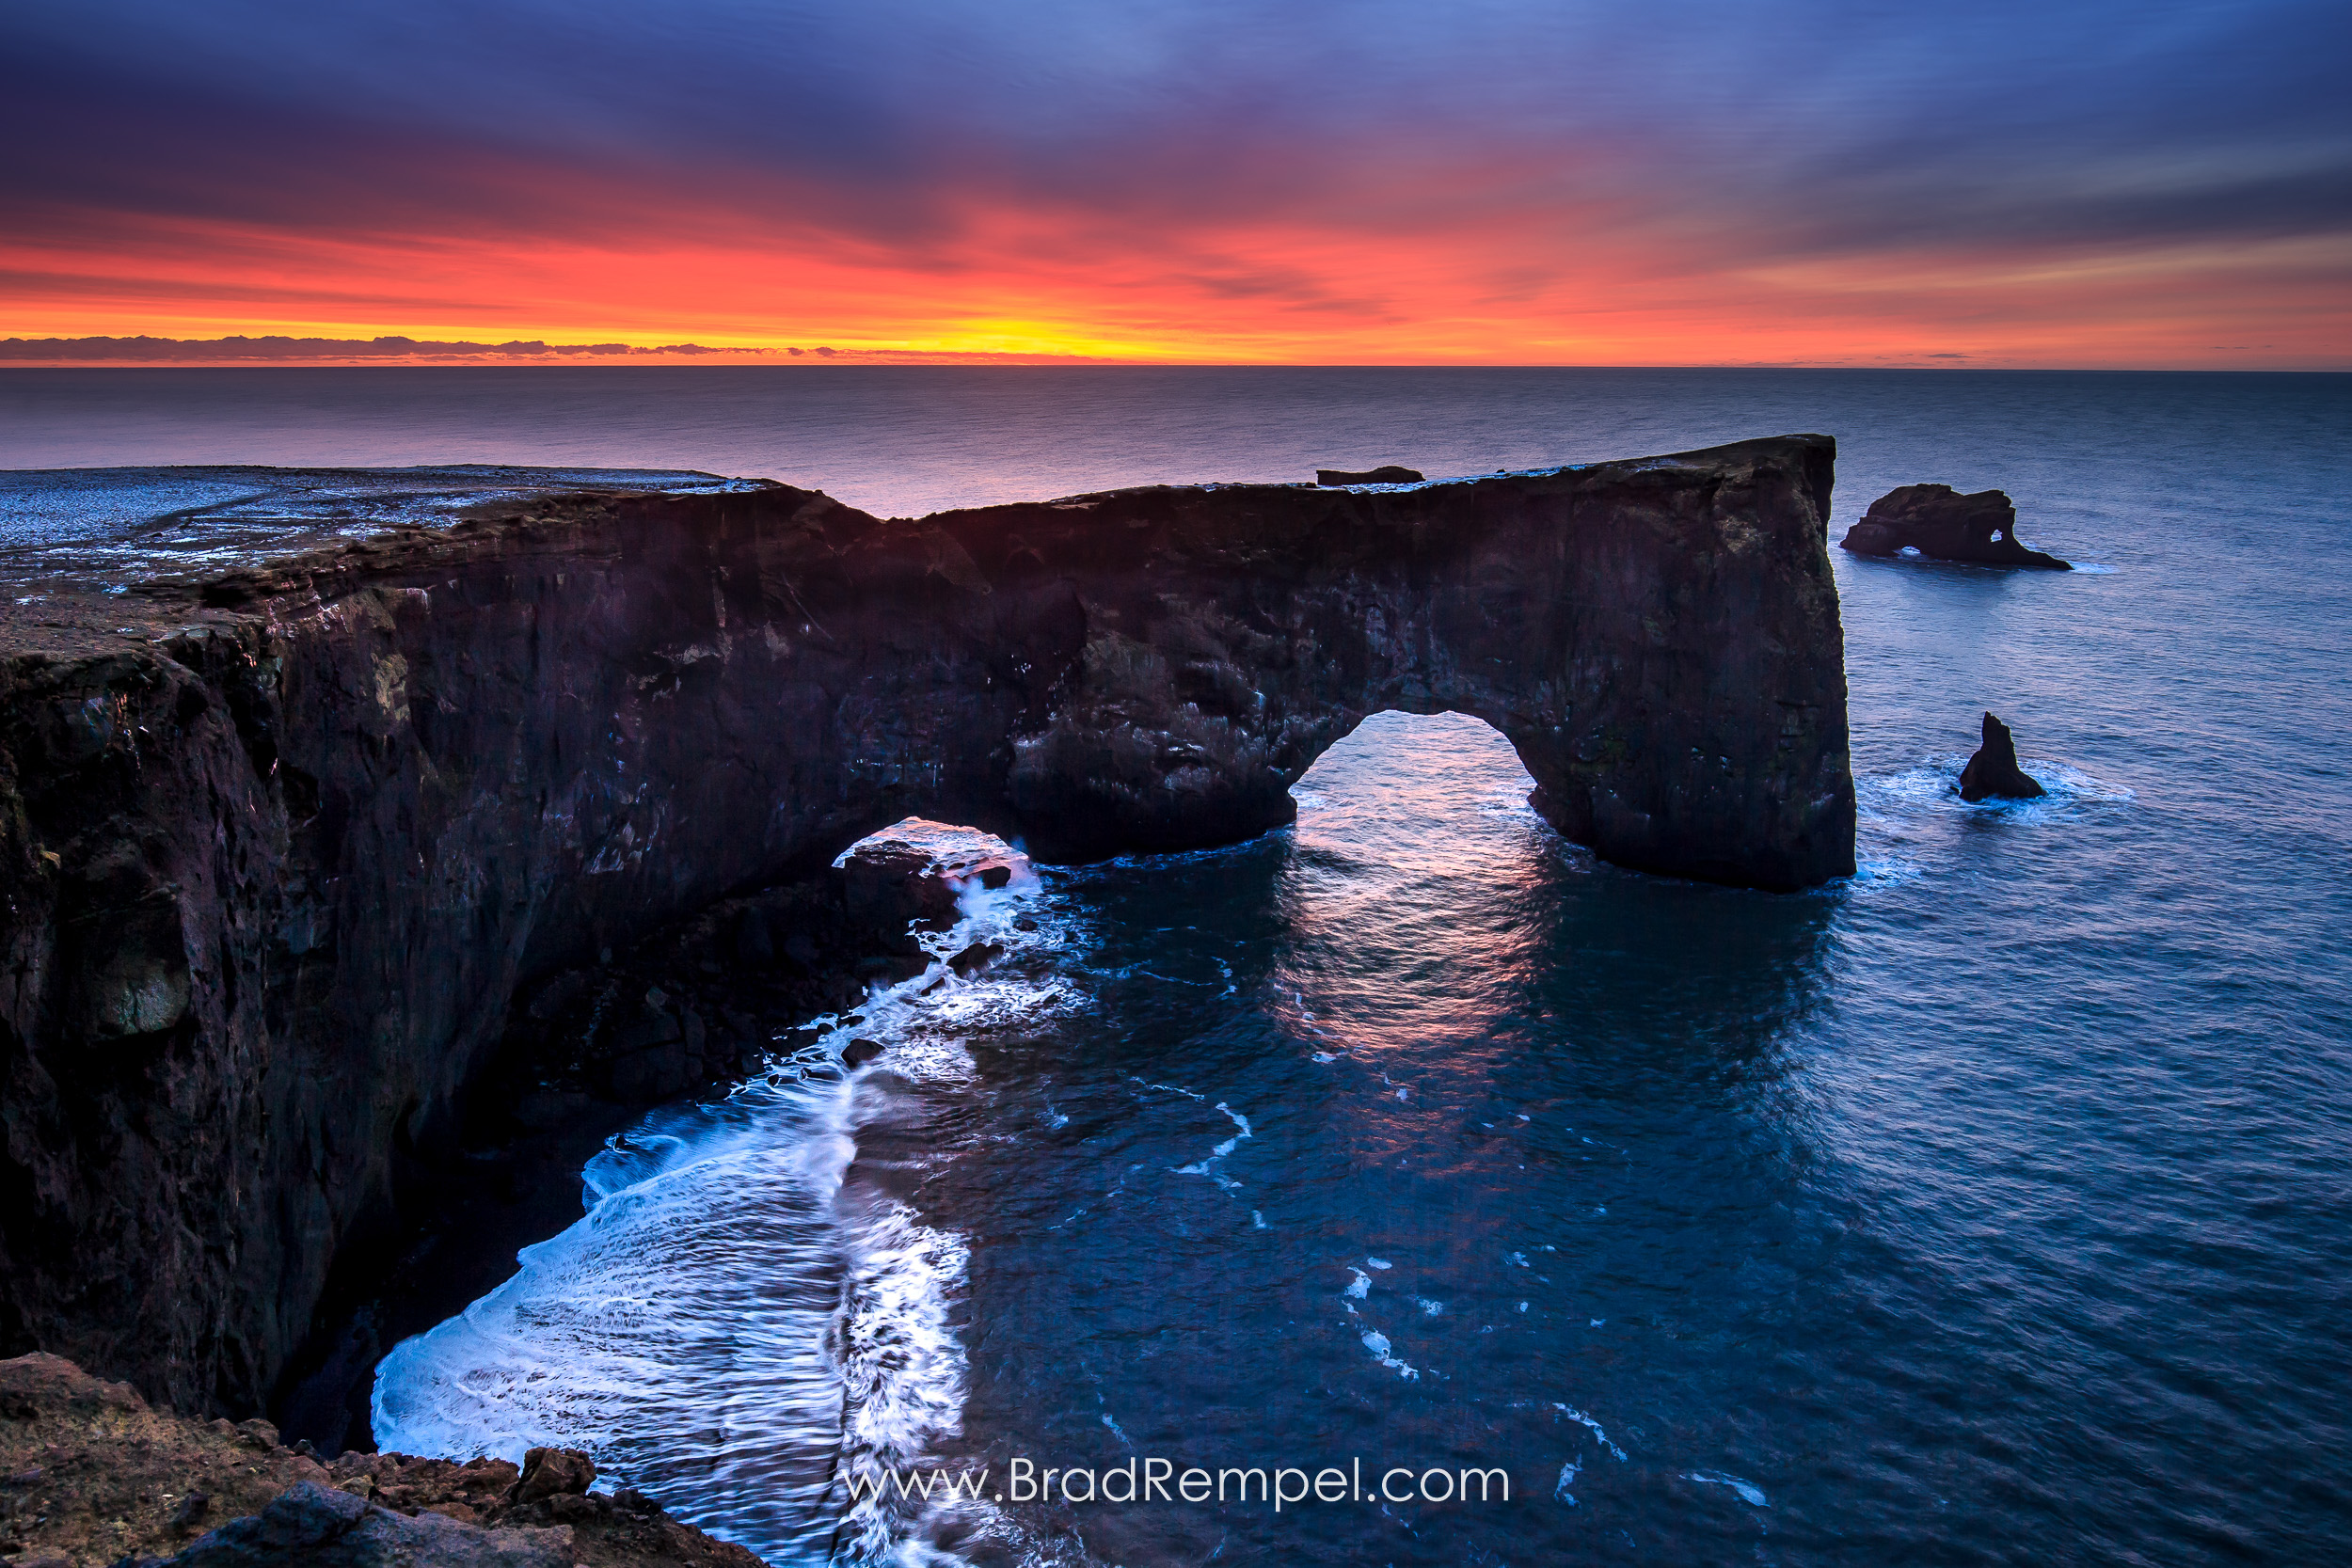
  • Iceland & the Faroe Islands – November (with Brace)

The photo trips are a lot of planning. Deciding where to go for the day, where to take sunrises, daytime exploring, sunsets, and northern lights. Go home edit, post, repeat. At the end of the trips we both enjoy putting the cameras down and exploring the city and culture for a couple days. We spent a couple of days in both Oslo and Reykjavik at the end of each photo trip, walking through downtown, eating, and exploring.

I doubt my 2018 travel destinations will top this so I hope you enjoy the photos (click to see full size). All images are for sale at: photoreflect.com

Please follow and share at:
Instagram: @brad_rempel
Twitter: @brad_rempel
Facebook: RempelDesignandPhoto

Read More
Norway Northern Lights

A photographer friend and myself decided to go on a photo trip to Northern Norway and explore the Lofoten Islands. We planned a 10 day adventure staying in Leknes and Reine exploring the area and taking pictures throughout the day and evenings. We had unbelievable luck and caught a Northern Lights show the first 5 days we were there. The islands are simply amazing and there is a scenic photo everywhere you turn. These were my favorite Northern Light images from the trip. All these images can be purchased through PhotoReflect. Enjoy!

Please follow and share at:
Instagram: @brad_rempel
Twitter: @brad_rempel
Facebook: RempelDesignandPhoto

Read More
Northern Lights

I made a recent trip up to Northern Manitoba and I really wanted to try and capture some images of both the Milky Way and of the Northern Lights. I’ve always loved the images I’ve seen on social media sites but I didn’t know how to photograph either of them. I joined a couple of groups on facebook, asked a few questions, and read a few articles online in hopes that I could quickly educate myself and get some great photos. Overall I’m happy with what I’ve learned and what I’ve photographed, so I thought I’d share my experience with others and maybe save them some time as well.

Just before I drove up to Thompson, Manitoba, I friended someone who lived there who was active in shooting the aurora (Doug Burkman). He was extremely helpful and after a ton of facebook messages back and forth I thought I had a good idea of what to do. I used a combination of 3 sites to help determine if the northern lights are going to appear and when.

  1. Aurora Forecast. Its a general site that gives you a 3 day outlook on expected Aurora levels. Its very basic but a good indicator.
  2. Space Weather Prediction Center. I loved using this site to look at the 30 minute and 3 day forecast. The 30 minute wasn’t completely useful because I needed to know a little further in advance. It looks like your basic weather radar but it show the Aurora.
  3. Aurora Service. This site was very useful in providing a 3 day Kp outlook in Universal Time (UTC). You have to convert the UTC into your timezone which added a little confusion but after awhile it makes sense. CST is -5 hours from UTC. The chart gives a 3 hour (military) time block like 00-03, meaning 12-3am on a Tuesday, but when you -5 hours, it’s 7-10pm Monday night. Now what is a Kp level? There’s a map showing what Kp level you need to make viewing the Northern Lights “possible”. Northern Manitoba needs a 3 whereas Minneapolis needs a 5+ or 6.

So between those 3 sites you have a pretty good idea if the northern lights were going to happen, but sort of like the cable company, it gives you a 3 hour window and you have to wait. The biggest factor in all of this, after you’re sure a Aurora will happen, is the weather! I figured out on my drive up to Thompson that there would be a good chance of Northern lights that night between 10pm – 1am. During the entire drive it was cloudy, raining, and overcast, meaning I wouldn’t see anything but you sit there and hope…”well its got 4-5 hours for it to clear up…maybe it’ll work”. Luckily, the skies kind of cleared for a couple hours, it gave me my window between 10-1, and I was able to capture some images. The next night was almost identical and I felt very lucky.

Camera Settings:
In most cases I saw new photographers asking what settings should there camera be at? I learned that I was really all over the place and there isn’t one magic setting that applies to everything. I included my camera settings on the photos so you can see what I used but here are some things that you will need to know.

  1. Shoot in Manual mode. I always do anyway so it wasn’t a change for me anyway. You’ll need to adjust your ISO and shutter speed but I left my aperture at f/2.8.
  2. I focused on a far away object like a tree, star or light. Then looked at my lens window to see if the focus ring was at “infinity”. I then turned my focus from auto to manual so my camera wouldn’t struggle to focus on the lights when I was trying to take a picture. Ideally you could tape down your focus ring but I forgot tape.
  3. I used “live view” mode with “simulated exposure”.  My biggest surprise with this entire experience was how much color your camera picks up that your eyes don’t see. So to help me, I would point my camera at the lights. They appear much brighter on the LCD screen and in camera then you’ll ever see with the naked eye. So if I was ever in doubt, I’d unmount my camera from the tripod and just point it at the sky to see what was happening.
  4. Turn your LCD brightness down a couple notches. I found the histogram a little tough to guide you so I relied on what the images looked like on the LCD. I usually had to increase exposure on all of them in post processing.
  5. White Balance. I shot everything in RAW mode and auto white balanced. I really don’t mind changing it in post production in Lightroom and it gives me more control to edit.

Other things you want or need:

  1. Tripod. You have to have it, get a good one.
  2. Remote Shutter release. Its much handier to trigger your shutter with this vs touching your camera our using a 2 second delay.
  3. Chair. Ugh..I didn’t bring one and you could be there for a few hours and it beats sitting on the ground.
  4. Headlamp or flashlight. You can’t have it on when you’re shooting but its handy looking for things or at your camera at 1am.
  5. Bug Spray or the right clothing. It got a little chilly so dress appropriately and it was northern Manitoba..crazy mosquitos.
  6. Be prepared to move. To my surprise, the lights appeared in different areas of the sky most of the night. I thought I just point the camera in one direction and I was good to go. They’re up, left, right, panoramics…..I was unprepared the first night shooting and I didn’t sit much.

Hopefully this helps and feel free to ask me anything: brad@rempeldesign.com
Follow me on Instagram and Twitter: @brad_rempel

Read More